Last Updated on October 20, 2023 by lindseymahoney
Welcome back to week 3 of the One Room Challenge! This week I spent time upcycling furniture, including a thrifted peg rail and two IKEA Ribba photo ledges. I think it may be my favorite IKEA hack to date!
Last week I chose the wall color (Likeable Sand) and it really helped me to nail down a few more design decisions in my daughters’ bedroom. The design process has been a little bit backward since I chose the paint color first and am now choosing the textiles, but it’s working out!
Catch up on earlier posts for the Fall One Room Challenge…
Week 1 | Week 2 | Week 3 | Week 4 | Week 5 | Week 6 | Week 7 | Week 8

For those of you who are stopping by for the first time, welcome! Two years ago we moved into our 1960’s fixer-upper in Toledo, Ohio, and have been documenting our renovations on the blog. This will be my fifth time participating in the One Room Challenge and it has been a fantastic way to complete projects in our home! Thanks for following along as I work to transform our daughter’s bedroom in 8 weeks.
Dining Room Reveal | Boys Bedroom Reveal | Master Bedroom Reveal | Living Room Reveal
Upcycling Bedroom Furniture
Whenever I am renovating a space in my home, I do my best to purchase second-hand furniture, upcycle furniture I already own, or buy pieces that will last.
Evelyn’s bedroom is furnished with many items we already own and items I found while thrift shopping. Applying a fresh coat of paint or adding unique details can give the furniture a custom look. It feels good to save a piece of furniture from the landfill while also saving money!
Peg Rail Refresh
I bought this peg rail at an estate sale for $5 and it was exactly what I was looking for!
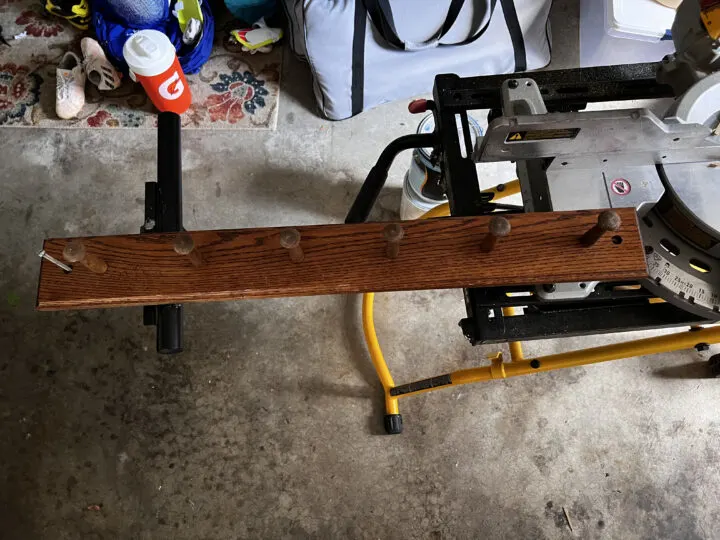
The plan was to give the peg rail a fresh coat of paint to match the wall color. I gave it a quick sanding and then applied two coats of primer.
There was still plenty of Extreme Bond Primer leftover from my mudroom painting debacle so this entire project cost $5.
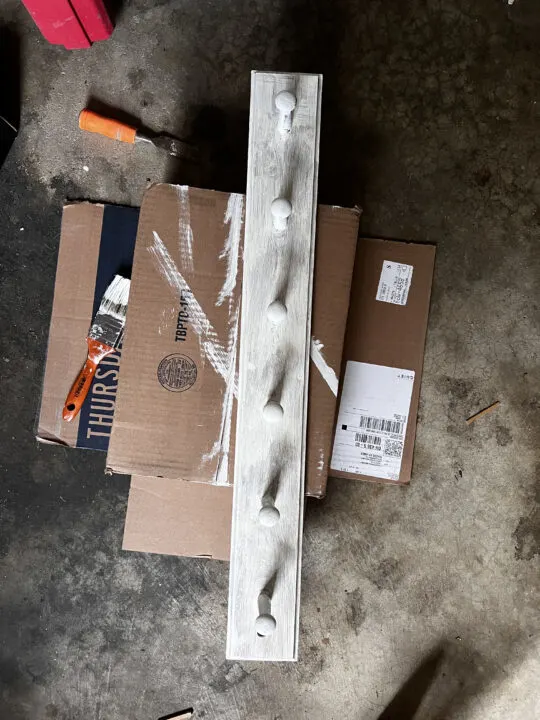
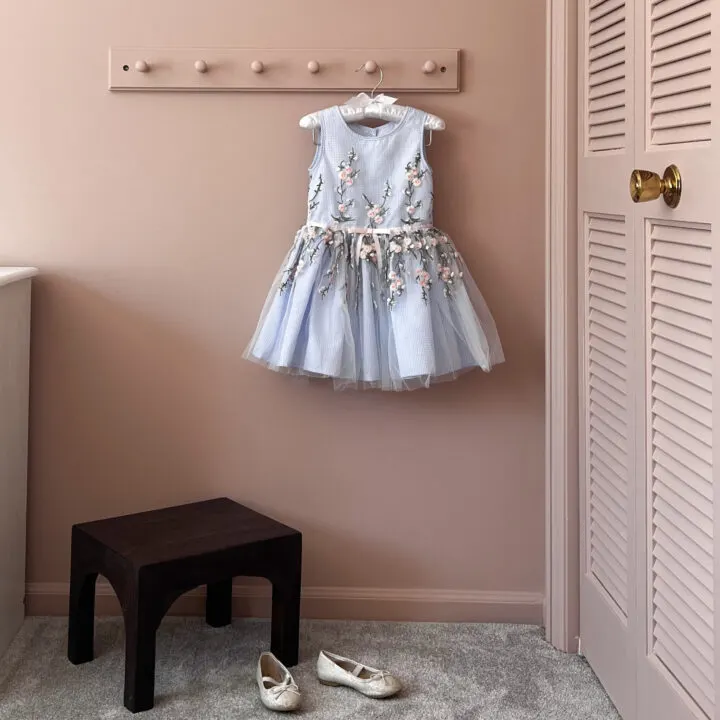
I am so happy with how this peg rail turned out! Peg rails are functional and a great way to display beautiful items like hats and hanging clothes.
IKEA Ribba Photo Ledge Hack
I bought these IKEA photo ledges when I was pregnant with my first child 10 years ago. They hung in his nursery and I have used them in one of the kid’s bedrooms in every single house!
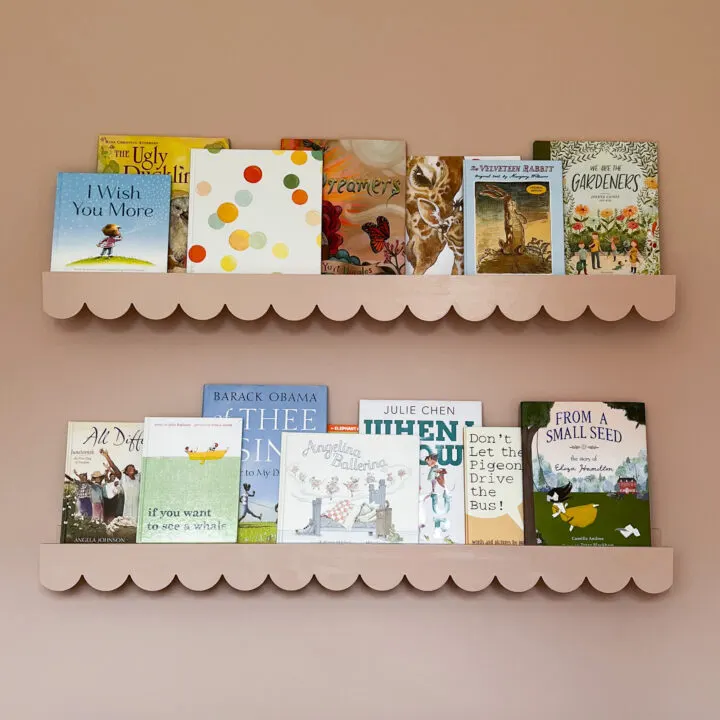
They currently live in Evelyn’s bedroom where they display some of her book collection. I love using books as an inexpensive way to decorate a room and I definitely wanted to reuse them.
Scalloped designs that are currently trending are something I really wanted to incorporate into the bedroom design. I found premade MDF scalloped trim via Etsy and decided to attach the trim to the photo ledge.
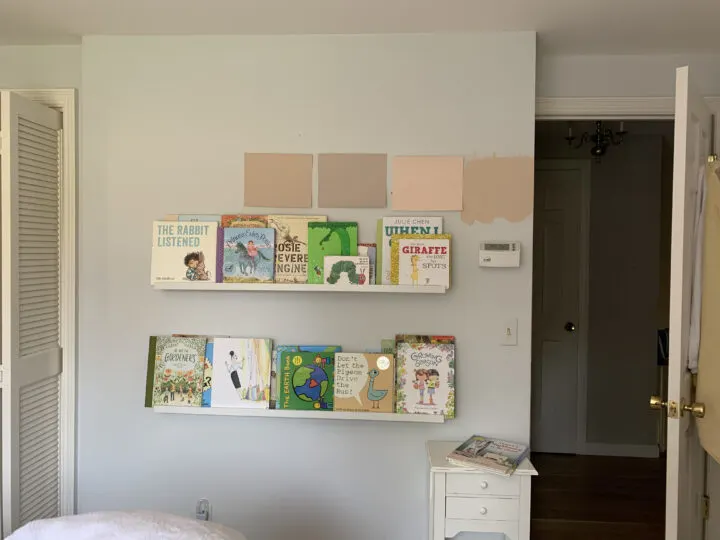
This IKEA hack(tutorial) is by far my favorite and it was a really easy DIY!
First, I cut the MDF trim and attached it to the front of the ledge using wood glue. I used clamps and Frogtape to hold the trim in place for 24 hours while it dried.
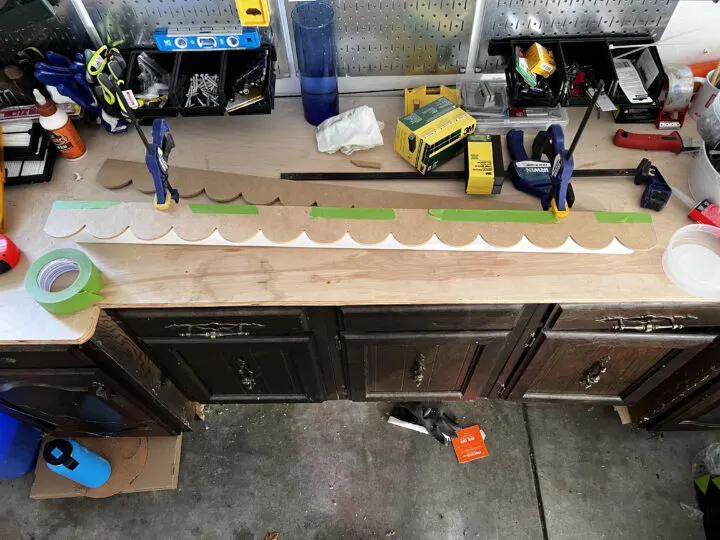
Next, I gave the entire ledge a quick sanding and wiped it clean to prep for paint.
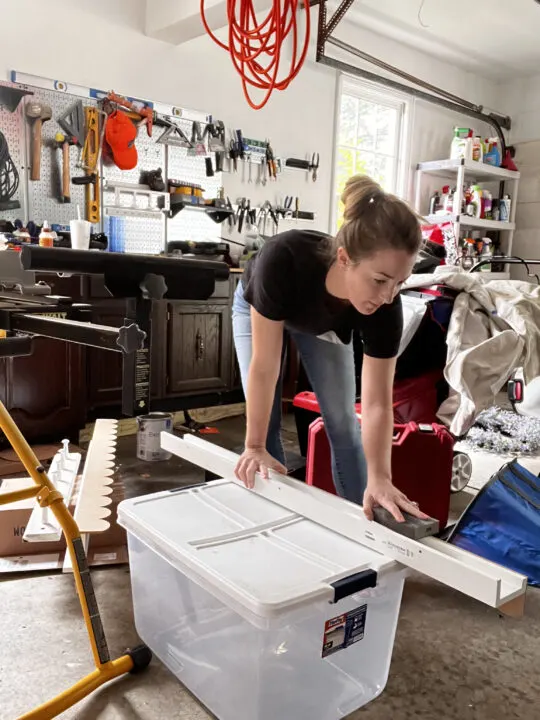
The shelving has a shiny surface and the MDF board is brown, so I applied two coats of Extreme Bond Primer to ensure the paint would adhere.
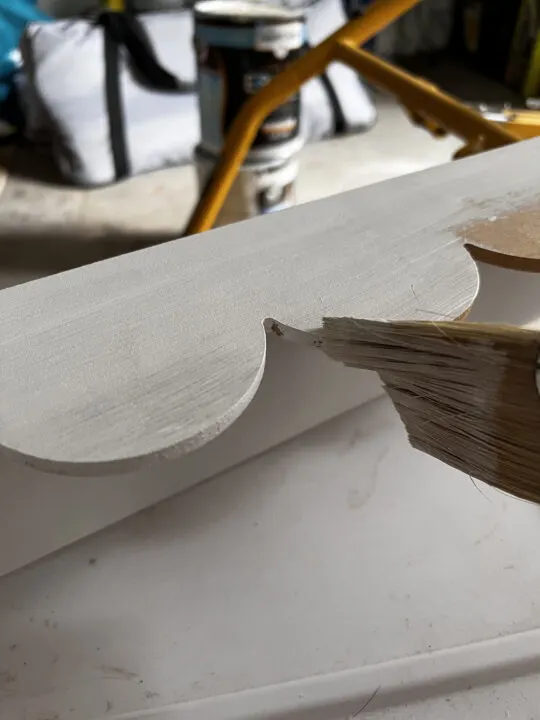
Once the primer was dry, I applied two coats of the pink wall paint.
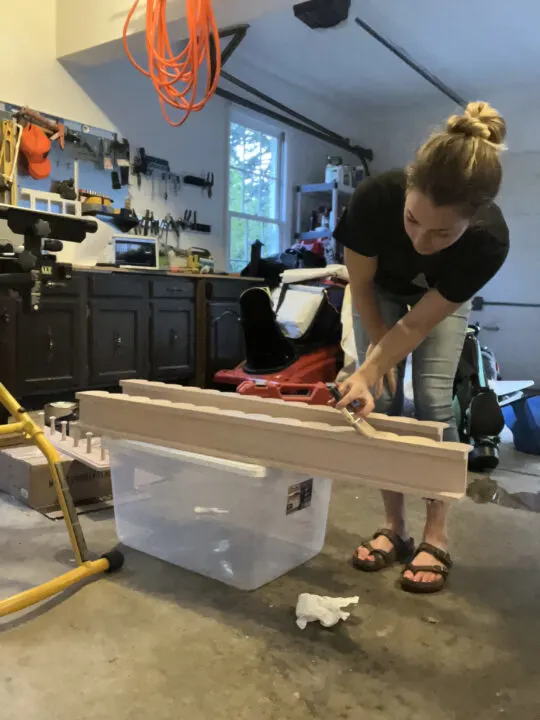
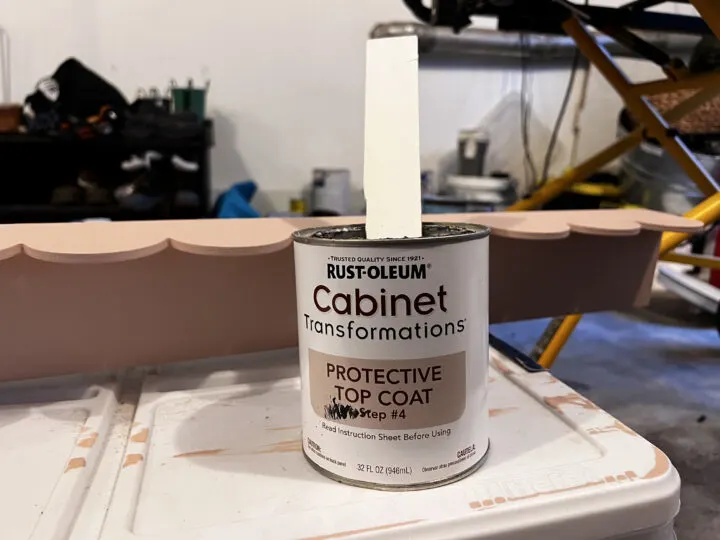
When painting furniture, I now purchase specific paint to prevent chipping. T
he shelves get used daily with taking books on and off the ledge and I was concerned that the paint I used for the walls would not hold up well.
Last year I added trim to our IKEA Hemnes dresser and painted it using Rust-Oleum’s Cabinet Transformation and I have a ton of the clear topcoat left over. I applied a single coat of clear acrylic for maximum durability.
The shelves are absolutely perfect!
They have the subtle English cottage vibe I was going for. You can call it cottagecore or grandmillennial, either way, it is perfect for the bedroom design.
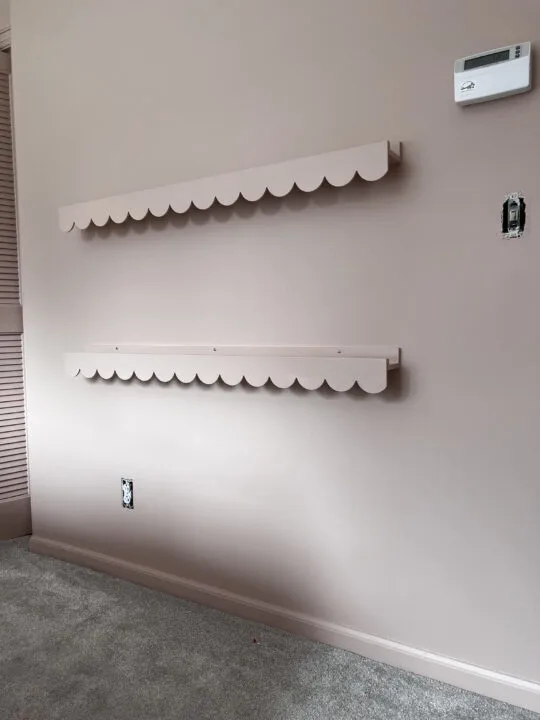
This paint color is a chameleon and really challenging to photograph in a consistent tone.
The image above and below look like different paint colors, but I assure you, they are the same! I love the shadowing below the scalloped shelving, it makes them pop even though they are the same color as the walls.
Do you enjoy upcycling furniture in your home?
DIY Upcycling Furniture Projects to Try
- Easy IKEA Hemnes Dresser Hack to Try at Home
- Popular Ikea Billy Bookcase Hack | DIY
- How to Paint an Old Cabinet the Perfect Green | DIY
- How to Paint A Bed Frame | Easy DIY Tutorial
I have a few more DIY projects planned for next week so come on back for week 4 to see the progress. Also, don’t forget to check out all of the other participants and their projects over on the One Room Challenge blog. Thanks for stopping by!

Sarah Flynn
Saturday 16th of October 2021
I love that you're upcycling and reusing! The picture ledges are so feminine and such an easy project to tackle. Brilliant! I'm looking forward to following along and watching this room come together.
lindseymahoney
Sunday 17th of October 2021
Thank you so much!
Alicia
Thursday 14th of October 2021
This turned out so cute!
lindseymahoney
Thursday 14th of October 2021
Thank you! I am really happy with how it all turned out!