
Last Updated on December 18, 2023 by lindseymahoney
This year, the checkered pattern has become a popular home design trend and I love it! Incorporating a checkered pattern into your home decor is a great way to add a modern element to the design. I am joining the checkered trend bandwagon with this easy DIY checkered frame project!

While the checkerboard pattern is currently trending on social media, the graphic pattern has been a popular design throughout the decades.
Whether the checkerboard pattern is on your floors, blankets, or picture frames, the bold pattern is sure to make a statement! With just a few simple materials and some spare time, you can add a pop of style to any room in your house.
Let’s get started!
How to DIY Your Own Checkered Picture Frame
*Affiliate links are included in this blog post, thanks for supporting Building Bluebird!
One of my favorite ways to decorate for the holidays is to display holiday-themed family photos. At Christmas, I set out framed photos of family members over the years sitting with Santa. I am making this graphic checkered picture mat to display one of our family costumes at Halloween.
This is an easy and inexpensive decoration that is a great excuse to swap out family photos throughout the year.
1 | Gather Materials
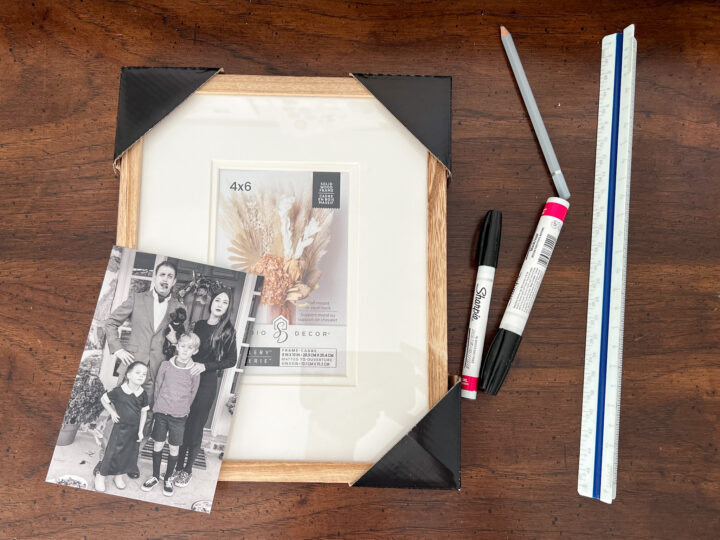

First, you will gather the materials needed for this DIY project. I have a 4×6 photograph, so I purchased an 8×10 frame with matting for a 4×6 picture. This gave me enough blank space to create a substantial checkered pattern.
Next, I chose the size of the squares for the checkered frame pattern. I decided on a quarter of an inch square and it was a lot more squares than I expected! The pattern turned out great but a slightly larger square would have been easier and still create the same effect, in my opinion.
I decided to use black and white for the checkered pattern to fit with the Halloween theme. At our local craft store, I found an extra-fine point black Sharpie to fill in the black squares. Because the pattern is black and white, the white background on the mat works perfectly for the white squares.
The ink is oil-based so it dries immediately and prevents smudging. As a leftie, this is very important! I purchased a medium-point Sharpie pen as well but didn’t need it for these small squares.
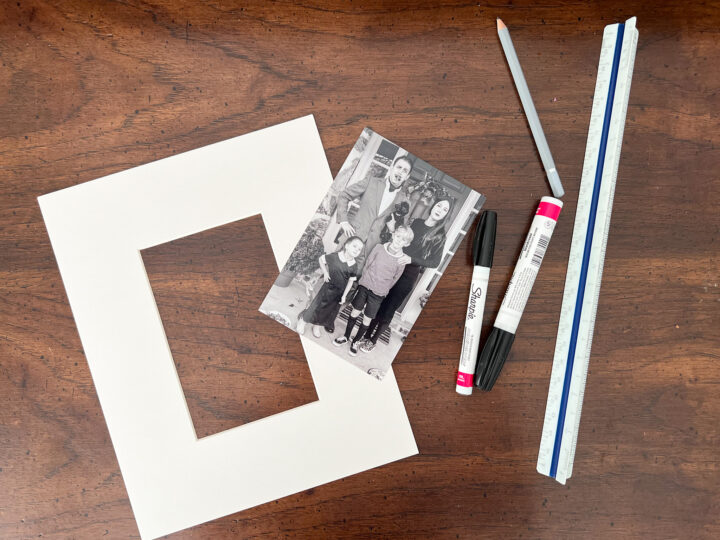
DIY Checkered Frame Materials List
- Picture frame with 4×6 matting
- Pencil
- Ruler
- Extra fine point black Sharpie

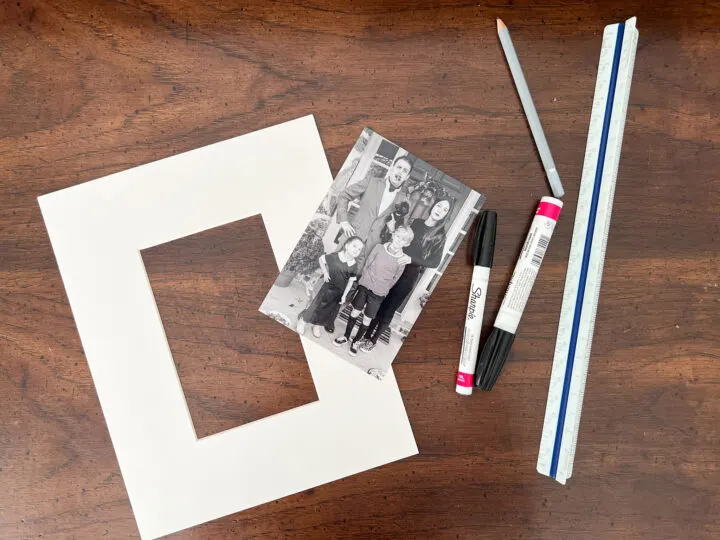
2 | Draw a Checkered Pattern Using a Pencil

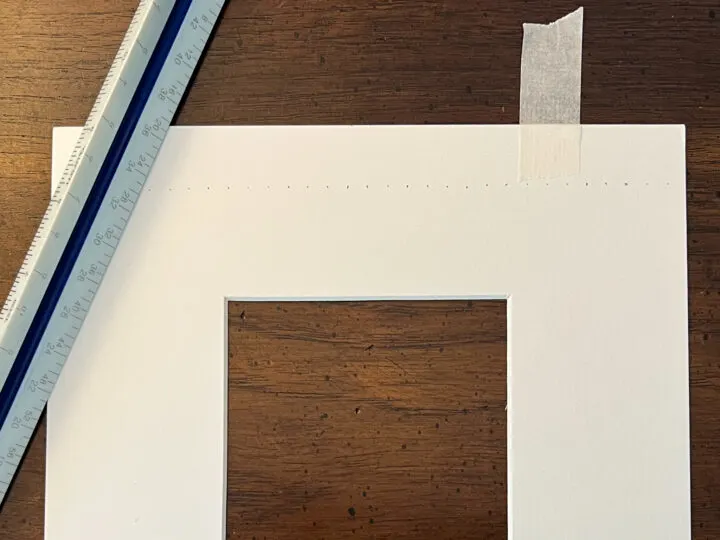
In order to draw a straight line across the 8×10 picture frame matting, I placed a dot 1/4 inch on each side of the matting. Then I aligned each dot with the ruler and drew a straight line lightly with a pencil.
Once the vertical lines were complete, I marked 1/4 inch horizontally on each side of the matting. Using the ruler and pencil, I drew each line horizontally to create the checkered pattern for the picture frame.
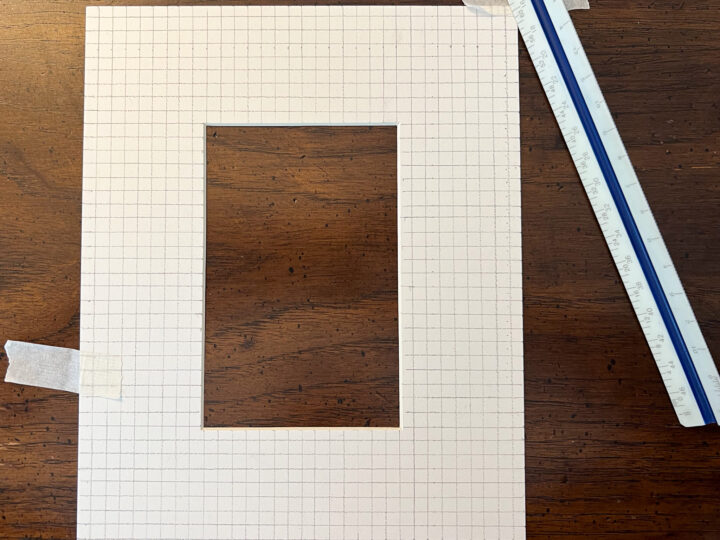
3 | Trace Checkered Pattern with Black Sharpie

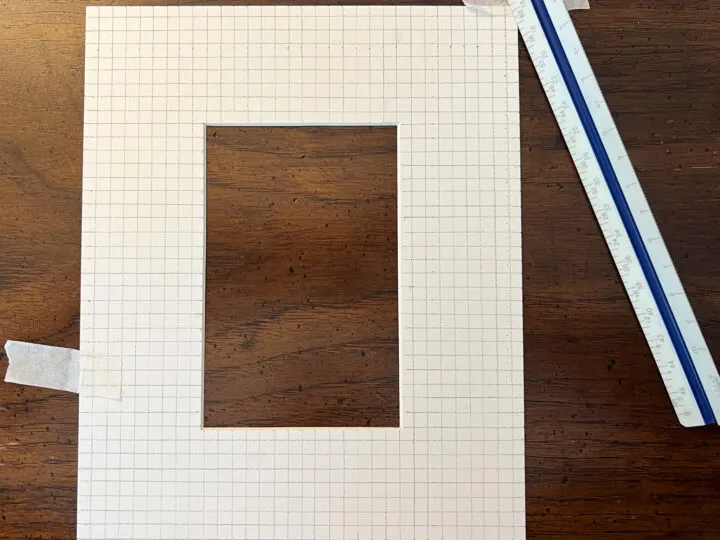
Now that the pattern is drawn out with a pencil, I traced the checkerboard using a fine-point black Sharpie. I used the ruler to keep the lines crisp and straight.
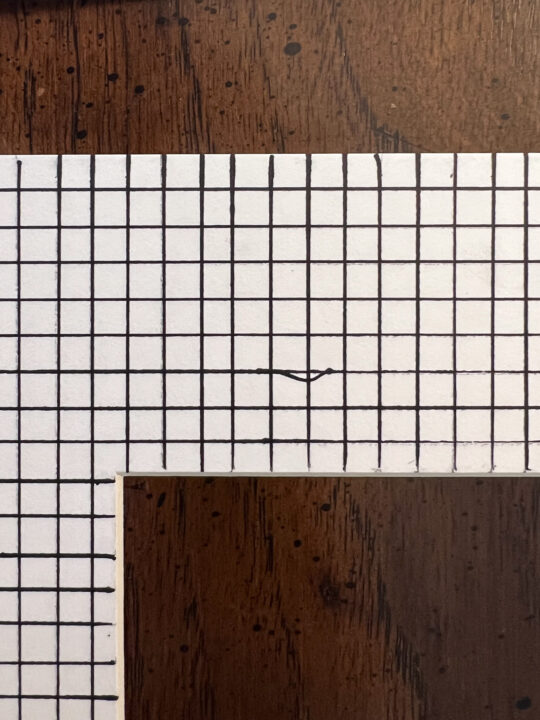

A few spots on the matting show mistakes, like when the pen hit my finger and I made a hump on the straight black line.
I was bummed about this, but I am also confident that it won’t be very noticeable once the pattern is complete.
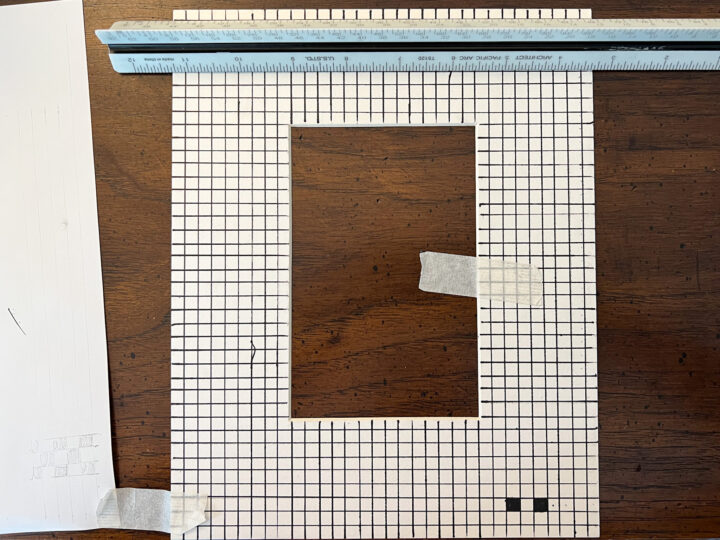
4 | Fill in Black Squares to Create a Checkered Frame
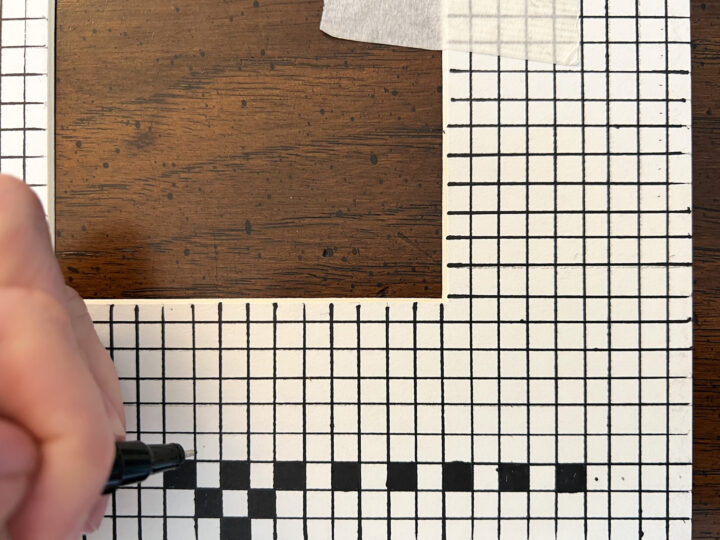
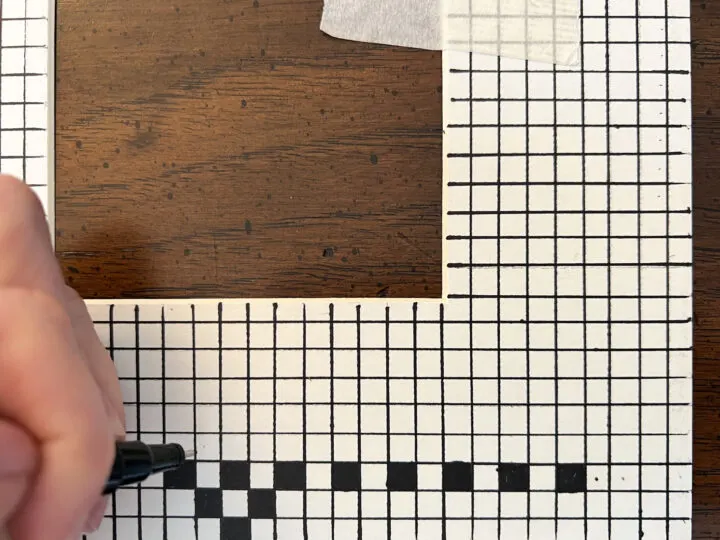
Once the checkered pattern was complete on the picture frame matting, I then had to fill in every other square with the black pen.
This is the most time-consuming part of the project, but it is kind of relaxing! I put on a podcast and colored in the squares one by one.
If you prefer to use a different color for your checkerboard design, there are many options to choose from.
When deciding on marker size, the smaller the pattern, the thinner the marker. A thicker marker can be used with a larger square pattern.
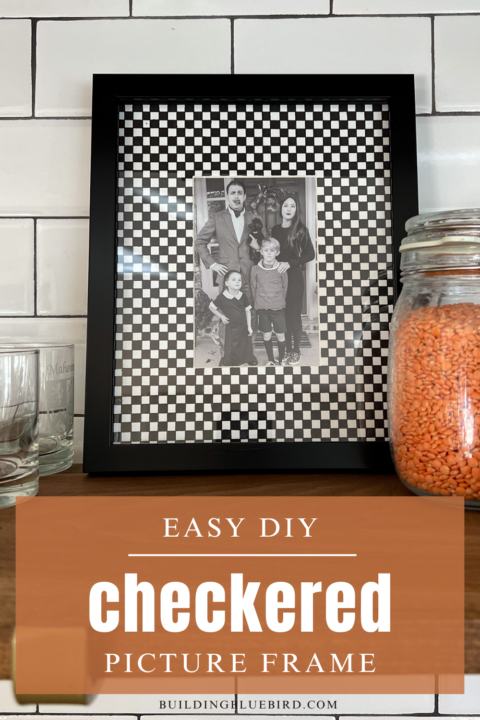
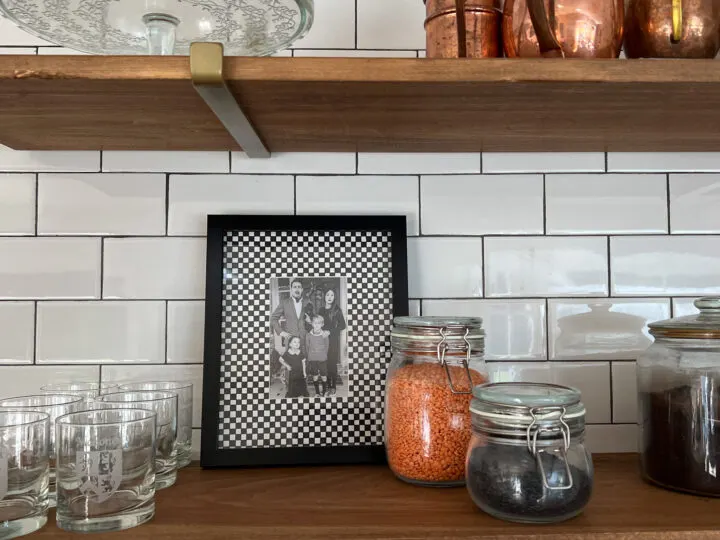
DIY Checkered Frame Reveal
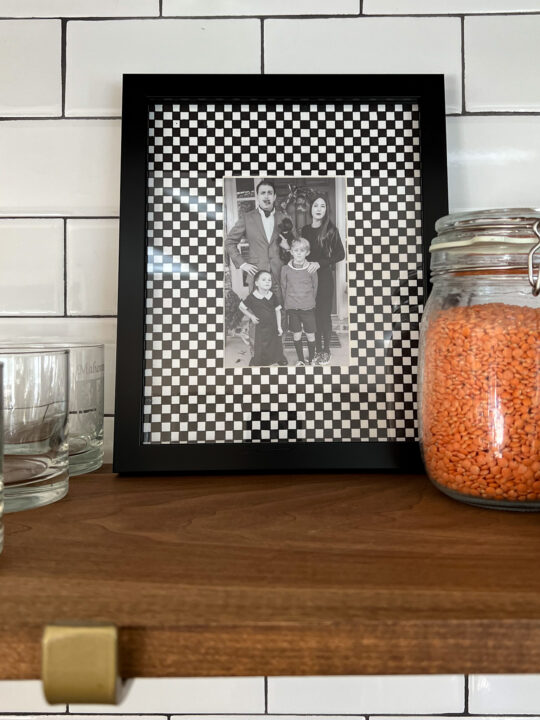

How cute is this black and white checkered frame?!
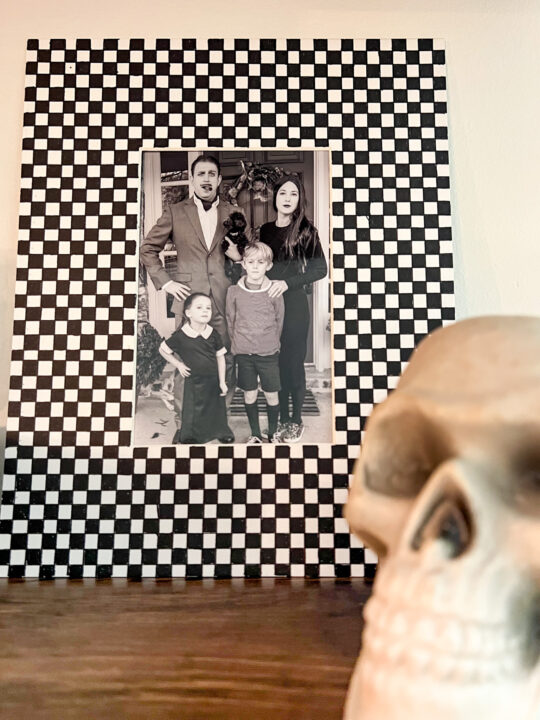

I will admit that if I look at it too closely, I kind of feel like I’m being hypnotized, but I am really happy with how it turned out! Next time, I will make the squares a little larger.

More Checkerboard Pattern Ideas For the Home
DIY Checkered Mirror

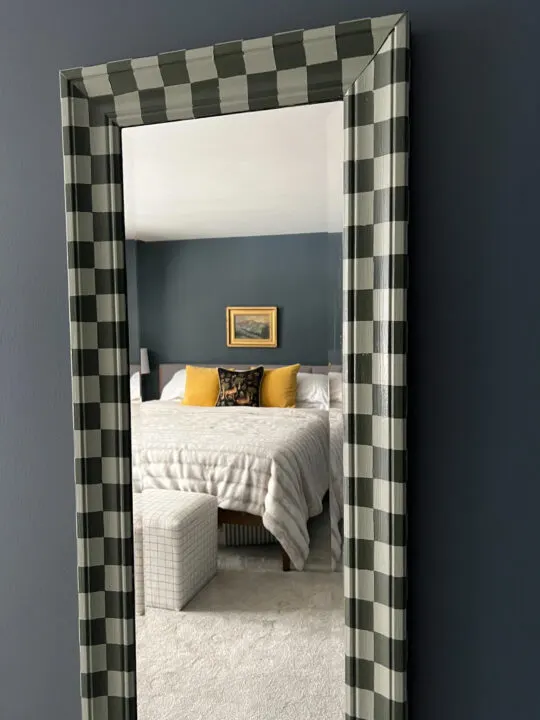
This checkered mirror was a fun weekend project using an old mirror and leftover paint!
Painted Checkerboard Floors

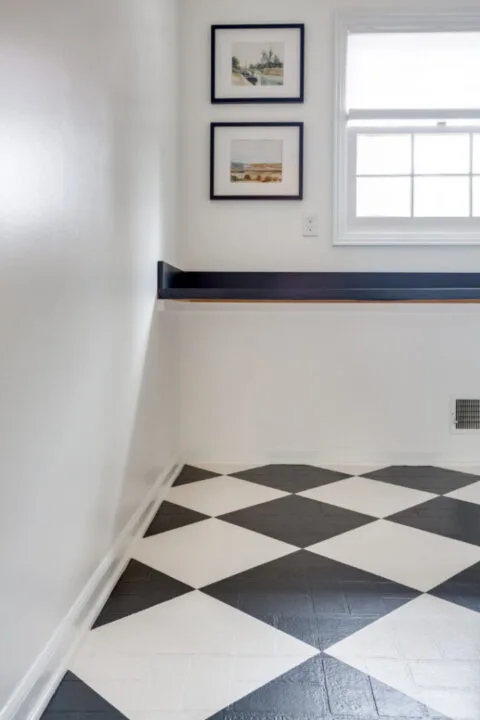
Update old floors by painting this classic checkerboard pattern! Using paint specific for flooring, I updated our laundry room with this traditional pattern that gave this space a whole new look!
Thrifted Marble Chess Board
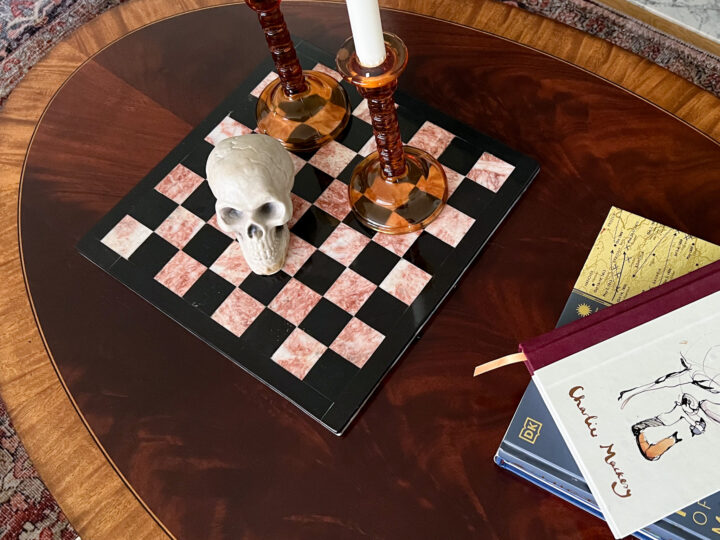

I snagged this marble chess board at an estate sale and love how it looks in the living room. It adds a pop of style to the top of our vintage Ethan Allen coffee table and guests use it as a coaster or I display other decor items.
Checkerboard Backsplash
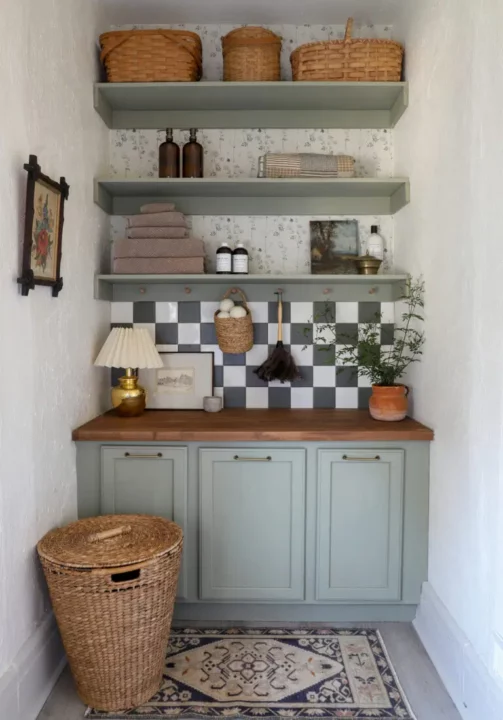
Jenni from ISPYDIY painted square tiles and laid a checkered pattern as the backsplash in her laundry room. To paint the dark tiles, she used a special paint that adheres to ceramic tiles. The checkerboard pattern is a fun twist to an affordable tile pattern.
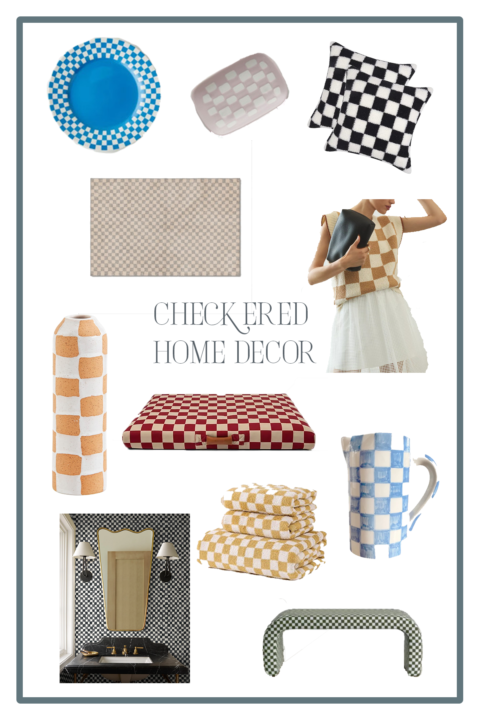
Checkered Home Decor You Can Buy
If you aren’t interested in a checkered DIY project, check out the items below to purchase.
More Content You Will Love
- How to Paint Concrete Basement Floors
- Must-Try Spooky Halloween Decor with Easy Photo Filter DIY
- How to Make a Beautiful Pumpkin Flower Arrangement
- Fall Wreath DIY using Decor From the Dollar Tree
- Decorate for Fall on a Budget | Easy Ideas
- DIY Thrifted Ghost Painting TikTok Trend
- 7+ Easy Rub N Buff DIY Ideas for Beginners
- Make a Patterned Photo Mat with Wallpaper
- 10+ Affordable Unfinished Basement Ideas