
Last Updated on October 17, 2023 by lindseymahoney
Looking for an easy Halloween DIY that your family will love? This spooky Halloween photo filter DIY is the perfect craft that everyone will love! I first saw this creepy DIY at a friend’s house and I knew I had to create my own to display in our house.

This Halloween photo DIY can cost as little as it takes to print out the filtered photos if you already own picture frames.
Since these are clearly Halloween photos, I plan on swapping out the pictures after the holiday and reusing the frames to display family photos.
How to Make Creepy Halloween Photos
[Affiliate links may be included in this blog post, thanks for supporting Building Bluebird!]
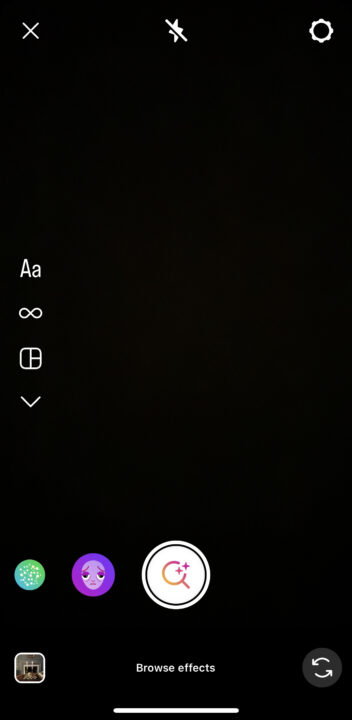
1 | Find Creepy Filters on Instagram Stories
When you go to create a story on Instagram, the dots on the bottom allow you to add filters to your images. Scroll to the right where you can choose more filter options. Choose “browse effects” to find more filters.
Click the search icon and type in Halloween.

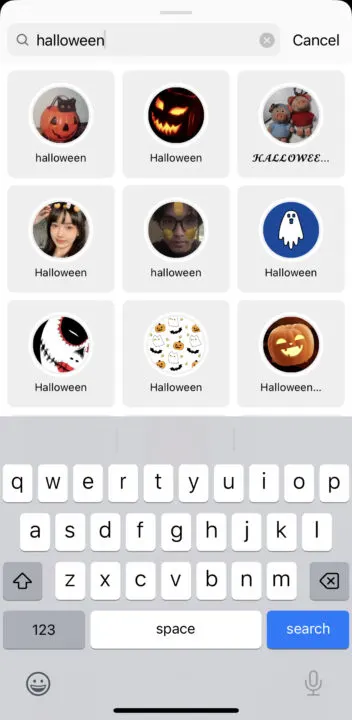
Creepy Halloween filters will populate and you can choose which one is the best for your photo!
2 | Take a Portrait Against a Blank Background
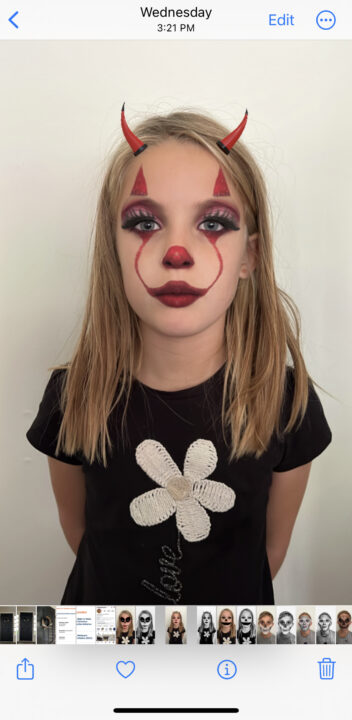

My kiddos loved trying out all of the different filters, it was hard to choose which one we liked the best! I took multiple filtered photos and saved them to my photo album.
3 | Save the Story Photo
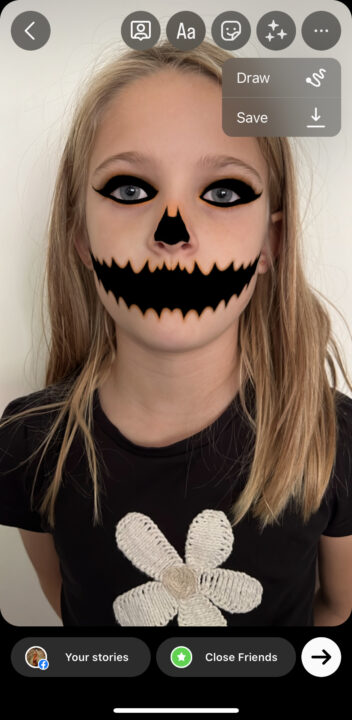

To save a filtered image from an Instagram story, click the three dots in the top, right-hand corner of the screen. Click save and the story will be added to the photo album on your phone, you don’t even have to post the story!
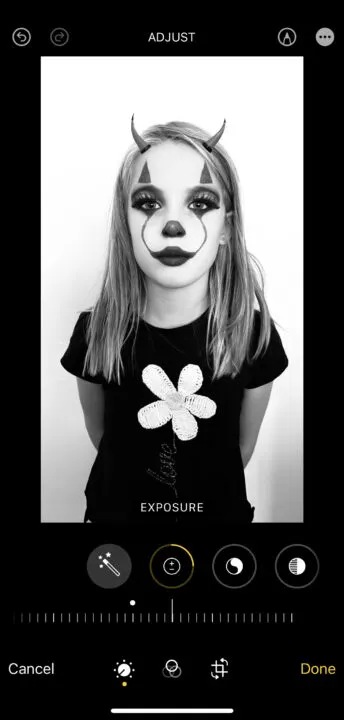
4 | Edit Photos to Black and White
Once you save the filtered photo, it is time to make them black and white. In the top, right-hand corner of your photo, you will see the option to edit.
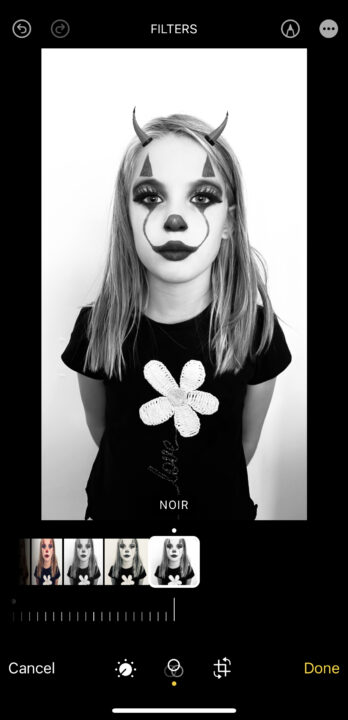
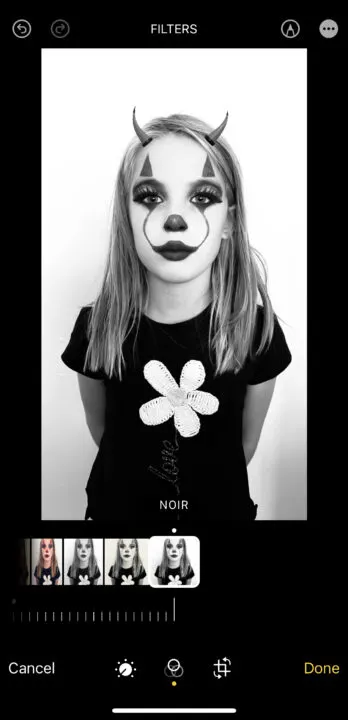
The photo editor includes various filters to apply to your photos (three rings on the bottom panel). Scroll to the right to choose black and white. I chose NOIR because it had the most contrast, but you can choose any filter you want.
Next, I went to the “adjust” section in editing and played around with the exposure. Increasing the exposure brightened the background, which I prefer.
Play around with all of the editing options until your photo image is just how you want it.
5 | Print Photos to Your Desired Size

Once the photos of my two kiddos were edited, I ordered prints through Walmart.
I wanted the size of the framed prints to be substantial, so I ordered 11×14 photo prints.
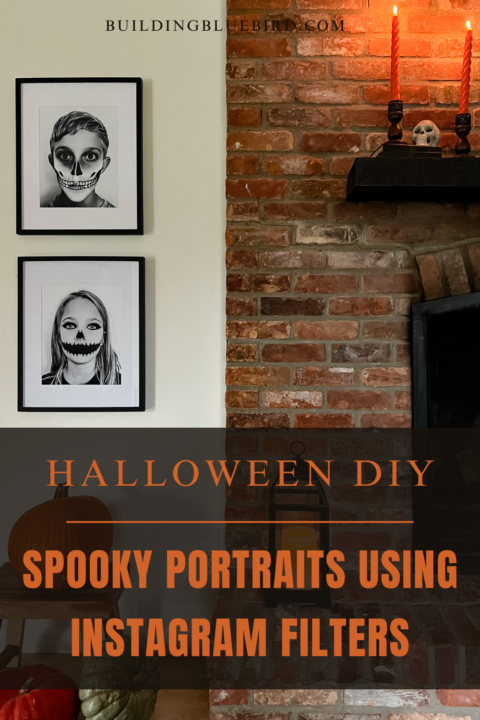
6 | Frame and Hang the Creepy Halloween Photos
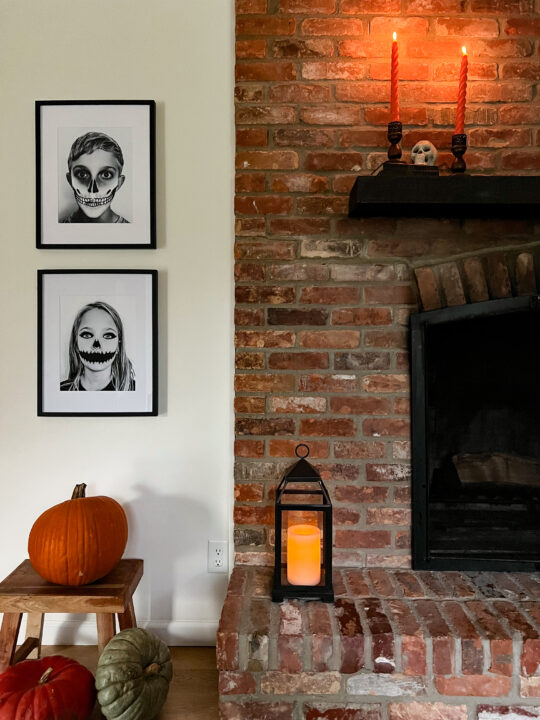

The simple black frames included a thick white photo mat to give the artwork an even larger appearance. I stacked the frames hanging on the wall with about a 6-inch distance between the two frames.
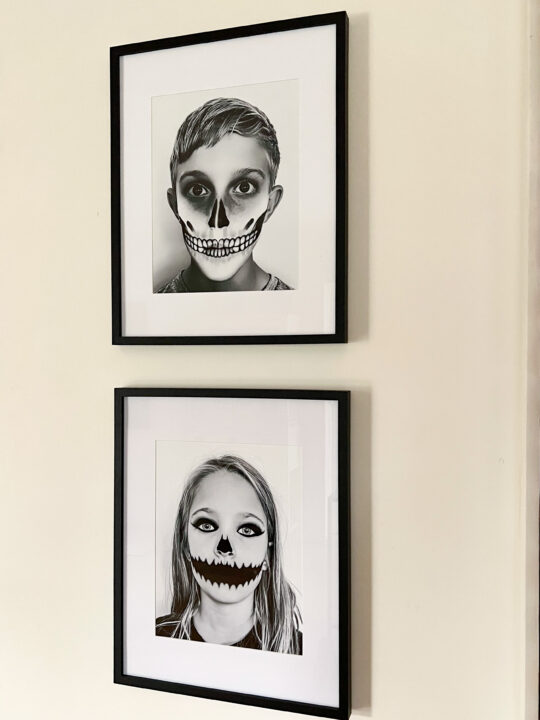
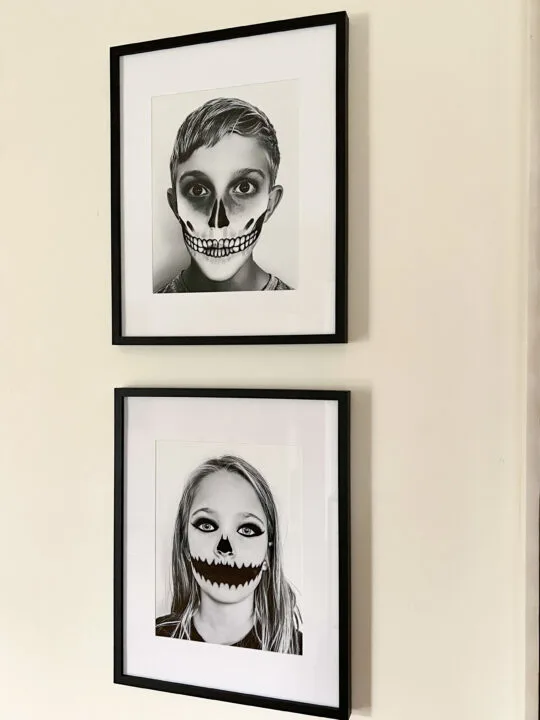
This gives the appearance of one large piece of artwork, instead of two, separate frames.
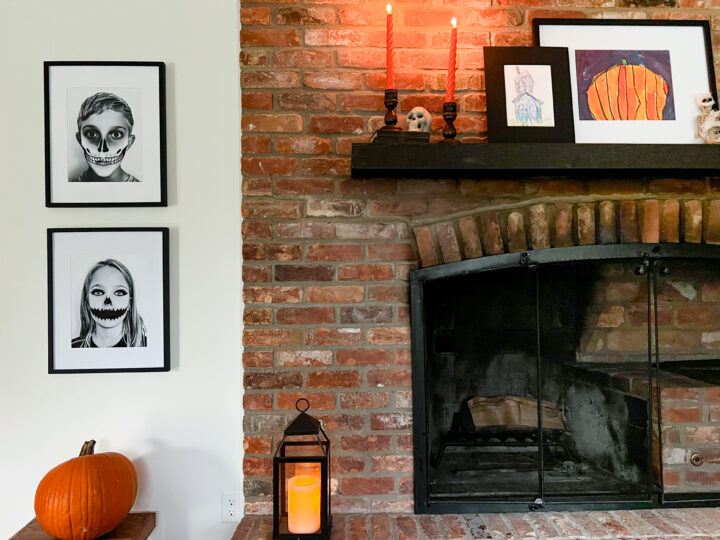

I love the look of these creepy Halloween photos hung on the wall, the black and white contrast really gives the spooky effect I was going for.
This spooky Halloween photo DIY is one of my favorite Fall decorations, yet!
Add a super fun decor to your walls that is personalized and the only cost is printing out the photos and purchasing frames (if needed).
I hope this easy and affordable DIY has inspired you to try it yourself at home!
More Content You Will Love
- 30+ Cheap and Easy Halloween Decorating Ideas | DIY
- Fall Wreath DIY using Decor From the Dollar Tree
- DIY Checkered Frame | Fun and Easy Decor Trend
- Make a Patterned Photo Mat with Wallpaper
- 20+ Cheap Wall Decor Ideas and DIYs to Try
- How to Make a Beautiful Pumpkin Flower Arrangement
- Make Spooky Halloween Wall Art Using a Thrifted Frame | DIY
- How to Paint A Bed Frame | Easy DIY Tutorial