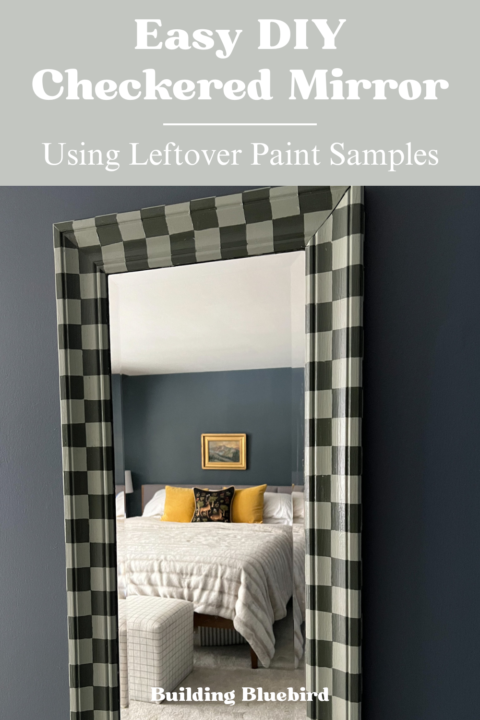
Easy DIY Checkered Mirror Using Leftover Paint Samples
Last Updated on April 30, 2025 by lindseymahoney
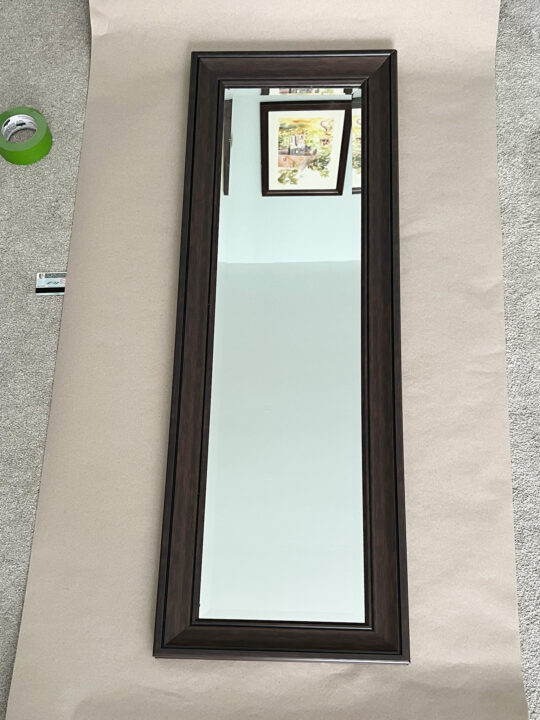
This DIY checkered mirror was so easy and the perfect solution for a boring floor-length mirror I have owned for years. I have been looking for a large mirror for a few months now and have not found one that I love.
Well, I was tired of waiting for the perfect mirror and took matters into my own hands! I have owned this long mirror for over a decade and decided to spruce it up until I find the perfect mirror for our bedroom.
Because this is a temporary fix, I didn't want to spend a fortune on a makeover, so I got thrifty with leftover paint samples in my storage closet.
I love a blue and green color combination and I decided to create a checkerboard pattern around the mirror trim using a light and dark green.
Let's get started on the tutorial!
Table of Contents
- How to Paint a Checkered Pattern Around a Mirror
- DIY Mirror Project Materials
- 1 | Prep Your Workspace
- 2 | Apply the Base Paint Color
- 3 | Create a Checkerboard Pattern with Tape
- 4 | Painted the Checkered Squares
- 5 | Remove the Painter's Tape
- 6 | Touch-up The Pattern with Paint
- 7 | Create the Checkered Pattern in Reverse
- 8 | Complete the Checkered Pattern
- DIY Checkered Mirror Reveal
- More Content You Will Love
How to Paint a Checkered Pattern Around a Mirror
[Affiliate links are included where I receive a small commission at no additional cost to the consumer. Thanks for supporting Building Bluebird!]
DIY Mirror Project Materials
- Mirror with trim to paint (owned)
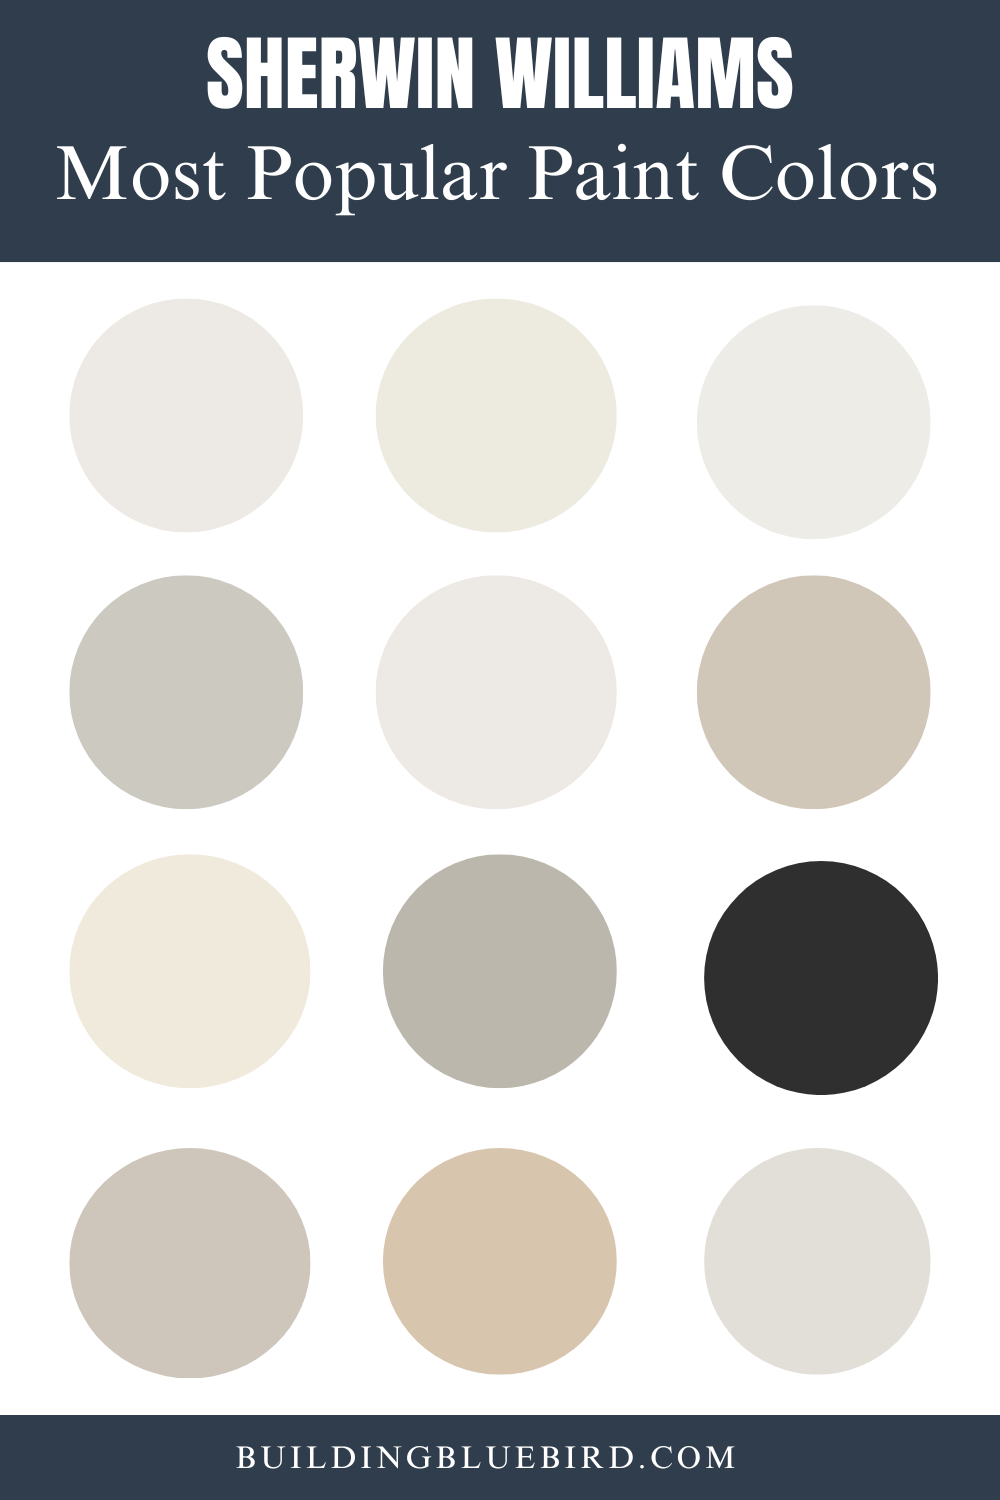
- Two paint colors: I owned paint samples of Sherwin William's Evergreen Fog and Shade Grown
- Polycrylic satin clear coat
- Paintbrush (owned)
- Craft brush (owned)
- Painters Tape (owned)

1 | Prep Your Workspace
Before any painting begins, lay down a dropcloth or paper to protect the flooring/surface below the mirror.
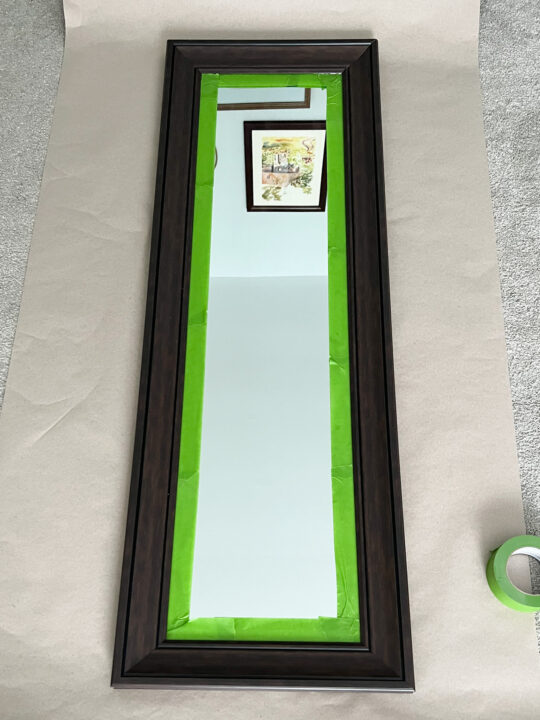
Wipe down the mirror to remove dust and dirt for the paint to properly adhere. Using painter's tape, protect the mirror by adhering the tape where the mirror meets the trim.
2 | Apply the Base Paint Color
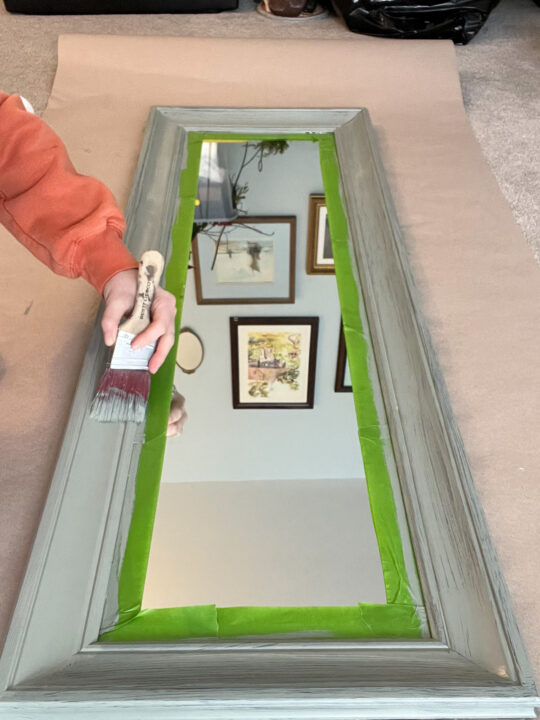
Using a paintbrush, I applied the light green, Evergreen Fog, to the mirror trim. It took three coats of paint for complete coverage.
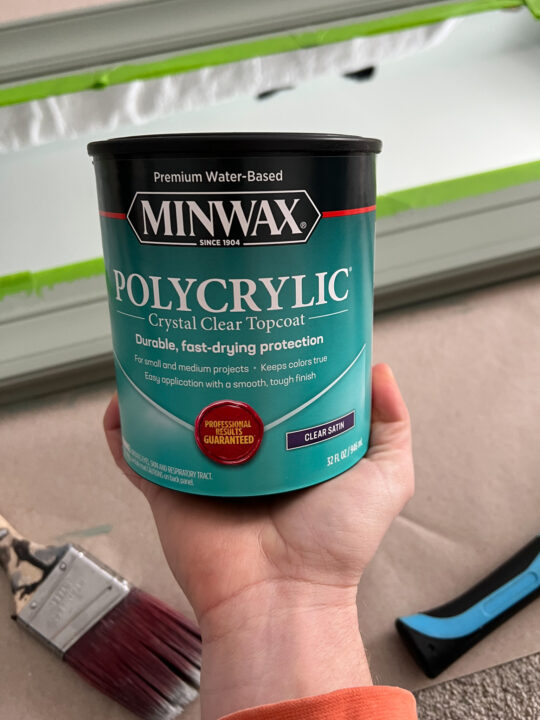
Let the paint dry and apply a single coat of the polycrylic clear coat to seal the base layer of paint.
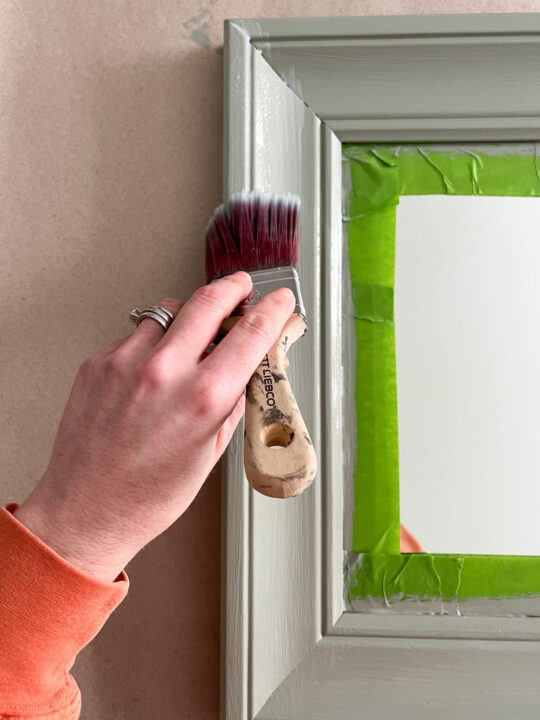
This protects the paint from pulling off when the checkerboard pattern is applied with the tape.
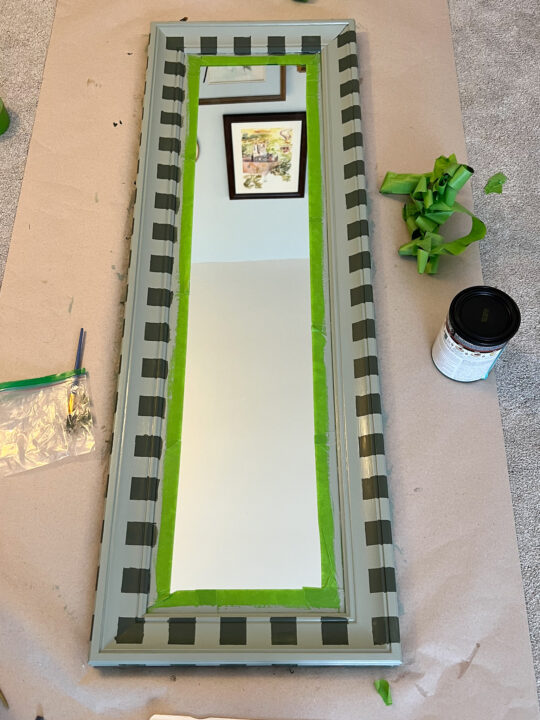
3 | Create a Checkerboard Pattern with Tape
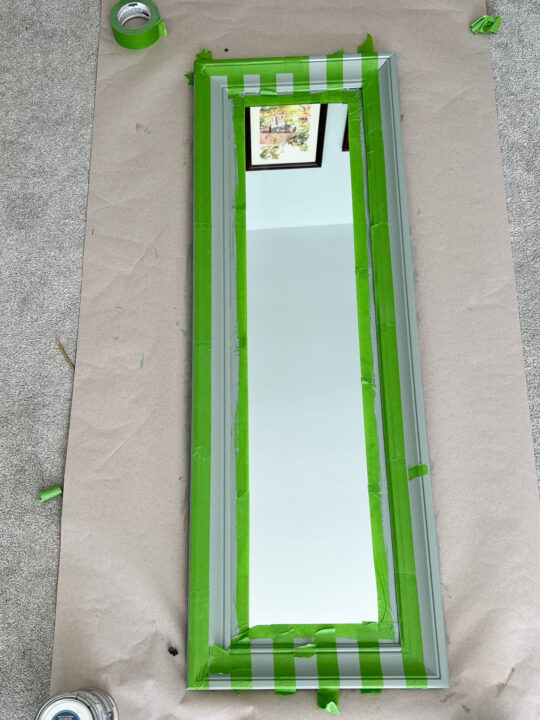
Once the clear coat has fully dried, begin to apply the DIY checkered pattern to the mirror trim. As the starting point, I chose the left edge of the mirror trim to apply the first vertical row of tape.

To create even spacing around the mirror, I used the width of the tape as the width of each checkered square.
Once the vertical rows were down, I applied the horizontal rows to create the checkered pattern around the mirror. Again, I used the top edge of the mirror trim to begin the first row of tape.
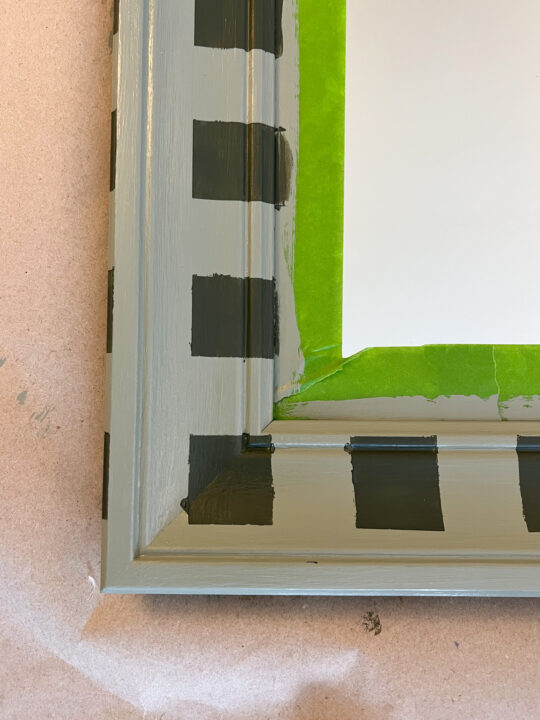
4 | Painted the Checkered Squares
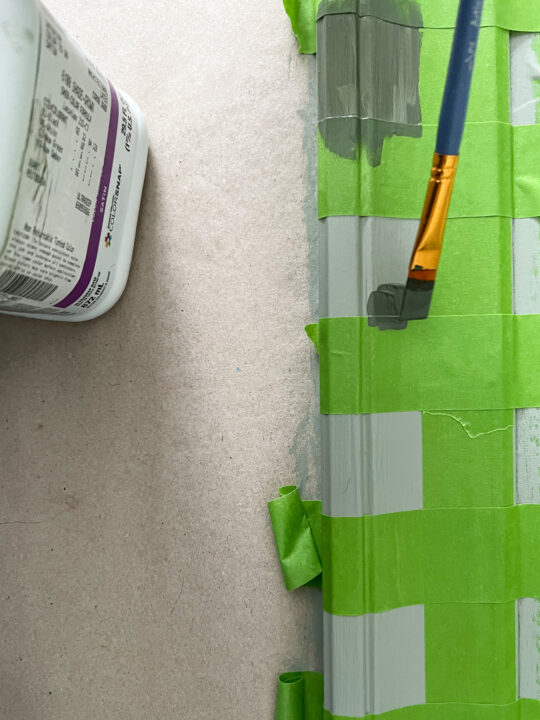
With the darker paint color, (I am using Sherwin William's Shade Grown), paint the visible squares. I used a small craft paintbrush that I already owned.
To decrease the probability of the darker paint bleeding through the tape, press the tape edges down firmly to the mirror trim before applying the paint.
*For crisp paint lines, paint the tape edges with the base paint color and then apply the darker paint color. I did not do this for my mirror project, but I probably should have!
It took another three coats of the darker paint color to achieve full coverage.
5 | Remove the Painter's Tape
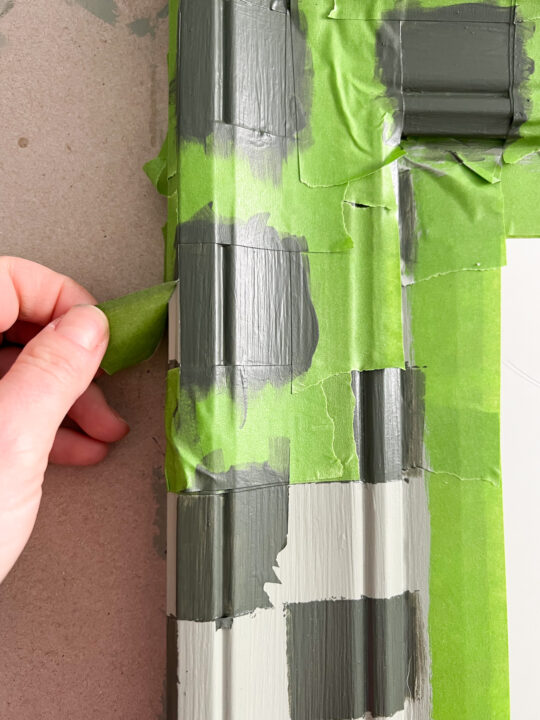
Once the squares are painted, immediately remove the tape. I have found that I get cleaner paint lines when the paint is a little wet when the tape is removed.
When pulling the tape off of the mirror trim, pull the tape away from the painted square instead of towards the painted square. This helps to prevent the paint from pulling off with the tape.
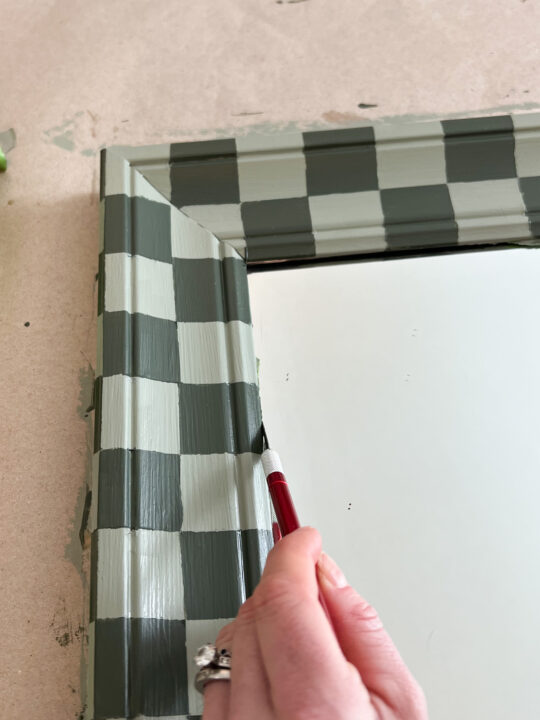
6 | Touch-up The Pattern with Paint
When I pulled up the painter's tape, there were multiple spots where the darker paint bled through. Using a small craft brush, I quickly touched up the noticeable areas.
Apply another quick coat of the polycrylic top coat to seal in all of the paint on the mirror trim.
7 | Create the Checkered Pattern in Reverse
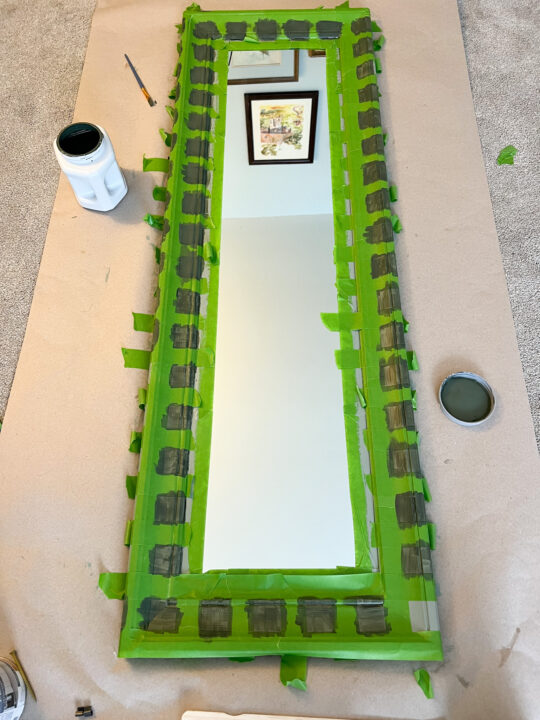
At this point, it is pretty obvious that the checkered pattern is not complete. Apply the painter's tape in reverse.
Instead of working with really long pieces of tape, I focused on connecting two corners of painted squares. By connecting two of the darker squares in the first row with painter's tape, it ensured that the squares would connect across the mirror.
8 | Complete the Checkered Pattern
Once the reverse checkered pattern is down, paint the open squares with dark paint.
Remove the painter's tape and apply any touch-ups necessary.
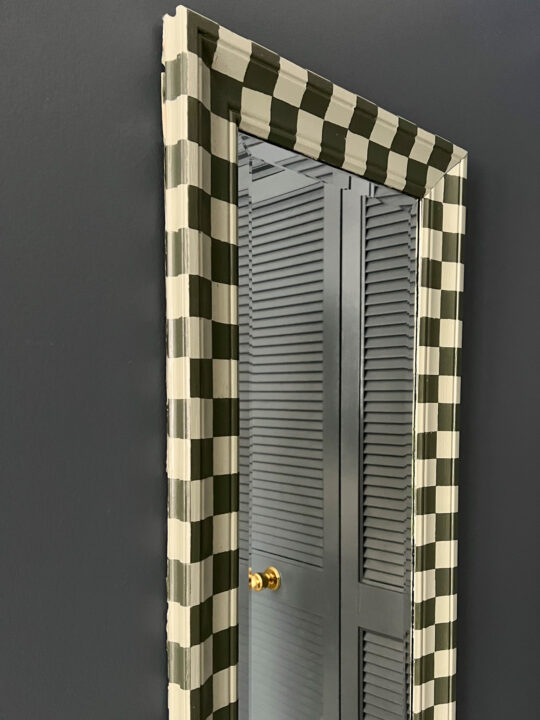
I did have to use an exacto knife to remove a few remaining pieces of tape on the mirror. Seal the checkered mirror with a final clear top coat and enjoy!
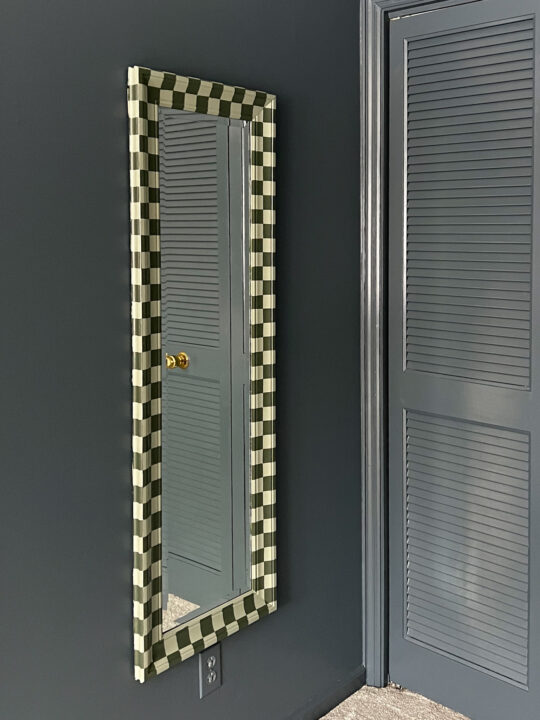
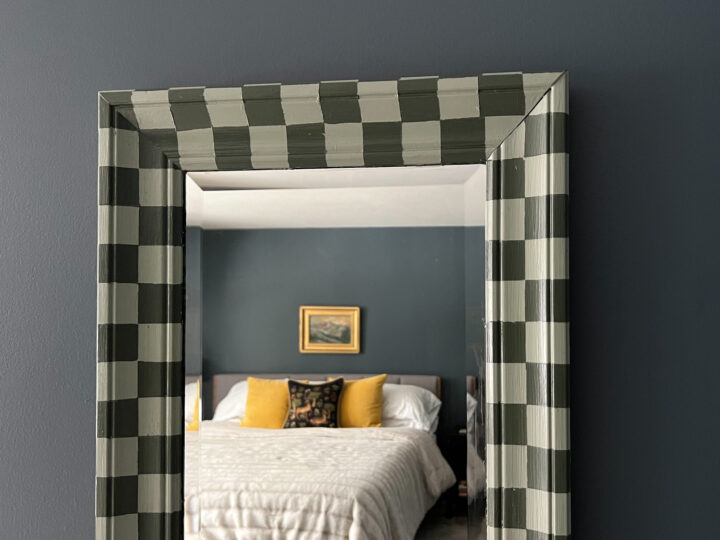
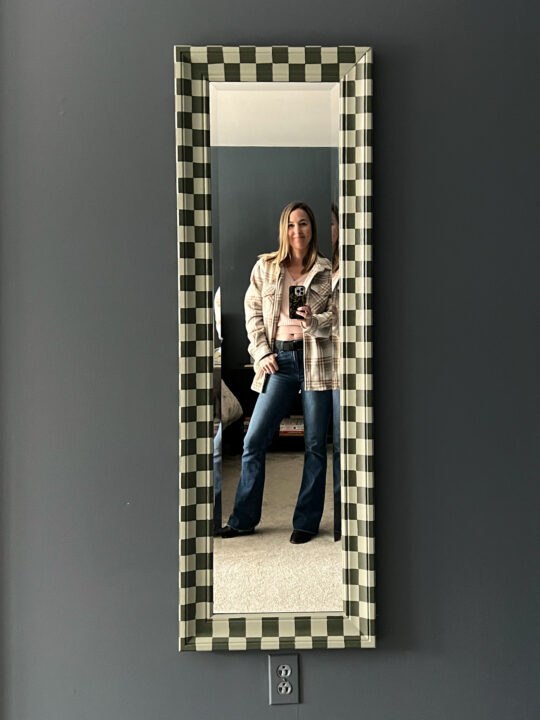
DIY Checkered Mirror Reveal
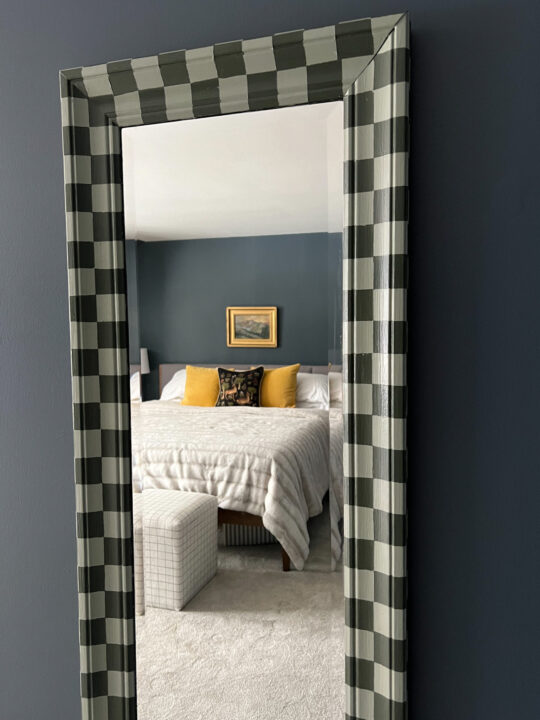
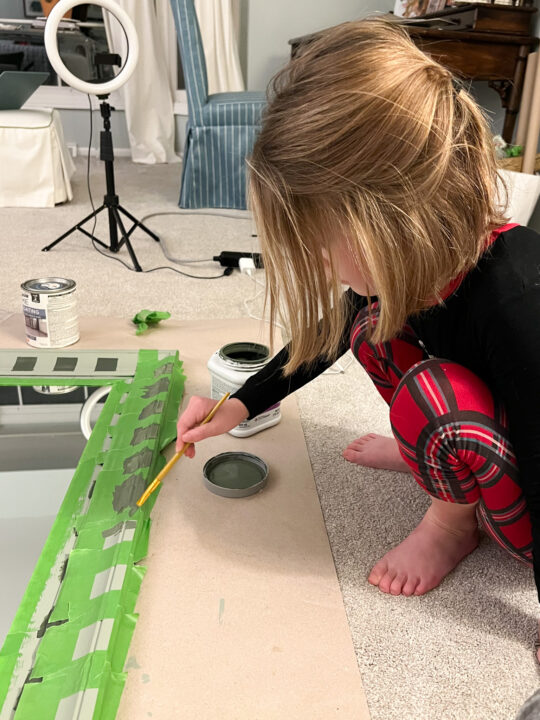
Don't the colors look perfect against the dark blue walls in our bedroom?! This was a really fun weekend project that the kiddos enjoyed helping with as well.
As I get older, it is more and more important to me to fill my home with items that I love and not just settle for a purchase because I'm tired of looking. Upcycling an item I already own is my favorite way to create a placeholder without spending money.
When I do find the perfect mirror for our bedroom, both of my kiddos have already told me that they want this fun mirror for their bedrooms.
To complete this DIY checkered mirror, I only had to purchase the polycrylic top coat. For less than $30, I am so happy with how this mirror looks!
Thanks for checking out this fun checkerboard mirror DIY!
More Content You Will Love
- How to Paint A Bed Frame | Easy DIY Tutorial
- 15 Beautiful Gray Green Paint Colors to Try
- How to Paint Over Tile or Linoleum Floors – The Easy Way!
- Painting Furniture DIY | Ultimate Beginner’s Guide
- Sherwin Williams Outerspace (SW 6251) Paint Color Review
- Build a Wood Mirror Frame with this Easy DIY
- How to Clean Paint Brushes – The Easy Way!