Last Updated on January 12, 2021 by lindseymahoney
Week 7 of the One Room Challenge and I am looking forward to wrapping up this project. There are definitely some challenges that come along with renovating a child’s bedroom for 8 weeks! Luckily we have a guest bedroom where I could send Thomas whenever his room became a complete construction zone. Last week I talked about the big design pivot for this bedroom makeover and it challenged me to come up with a slightly different plan for Thomas’s desk/work station. I really enjoy challenging myself with a design when I am on a limited budget. I decided to use what I had around the house to create this work station for Thomas to draw, do homework, and build his LEGOs. Today I am going to share how I designed this desk/work station by using what I owned.

If you are finding my blog for the first time through the One Room Challenge, welcome! My current focus is updating our 1967 home we have lovingly named the Cape Cottage. If you love affordable DIY’s, sustainable living tips, and beautiful before and after reveals, this is the place for you!
Check out my progress each week:
- Boys Bedroom Makeover (Design Plans) | Week 1
- How to Paint a Carpeted Room | Week 2
- Installing a Mountain Mural | Week 3
- IKEA Billy Bookcase Hack | Week 4
- Design Pivot & DIY Projects | Week 5/6
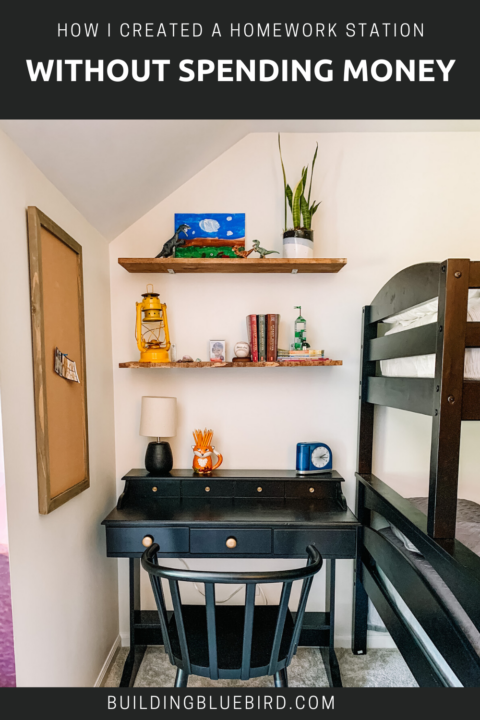
Shopping My House to Create a Work Station
Designing a space doesn’t have to cost a fortune, in fact, you can often breathe new life into a space by decorating it with items you already own. Here is how I created this fun activity area for my son, Thomas.
Repurpose an Old Desk
I bought this desk about 10 years ago when we lived in Denver and have been using it for myself in my makeshift office. As I was searching for a desk in Thomas’ room, I realized that I already owned one that was the exact size I needed. If I was going to spend money on a brand new desk, that should be purchased for me! 🙂 Along with the desk being a perfect size, it was also the color I wanted – black.
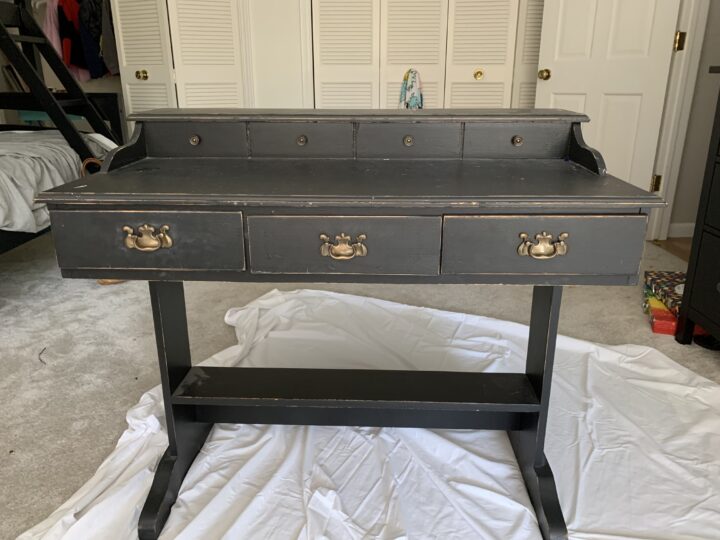

When I bought it years ago, the shabby chic style was all the rage and it had a distressed finish on it. I decided to paint it black to give it a more modern look.

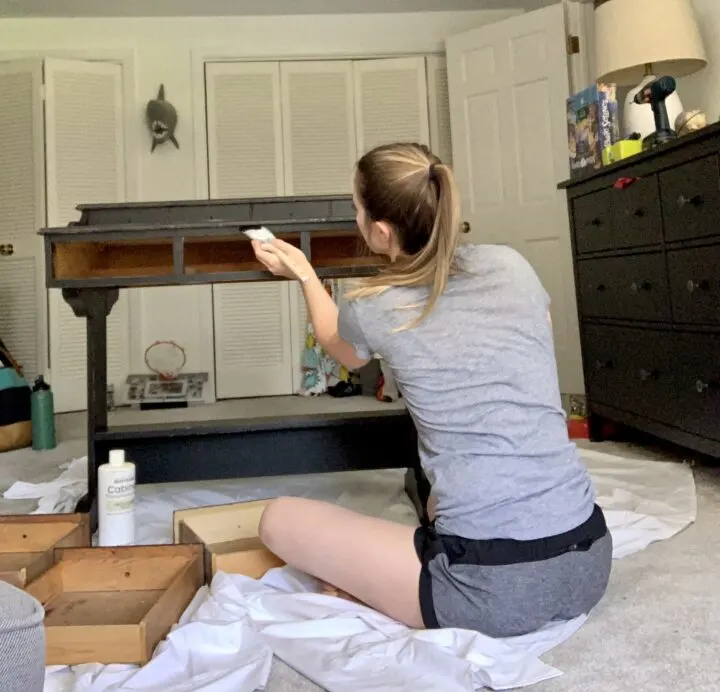
During the Fall One Room Challenge last year, I purchased the Rust-Oleum Furniture Kit to refinish my dining room bureau and had plenty left to use for this project. I used gold Rust-Oleum spray paint the decorative knobs on the top portion of the desk.
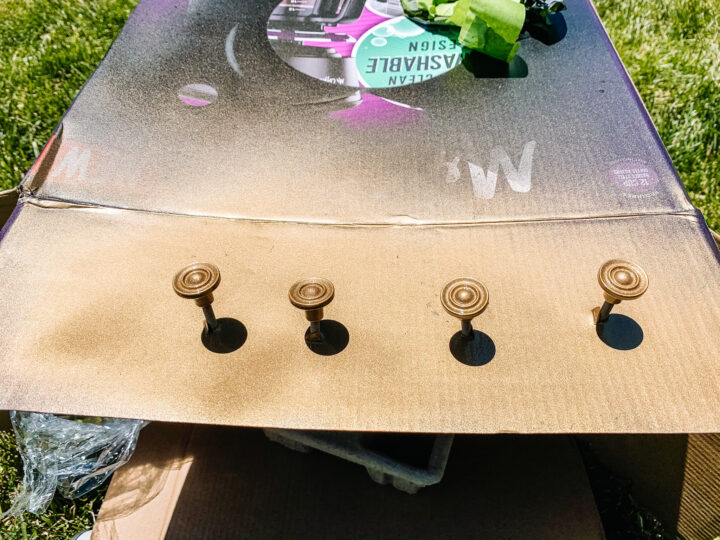
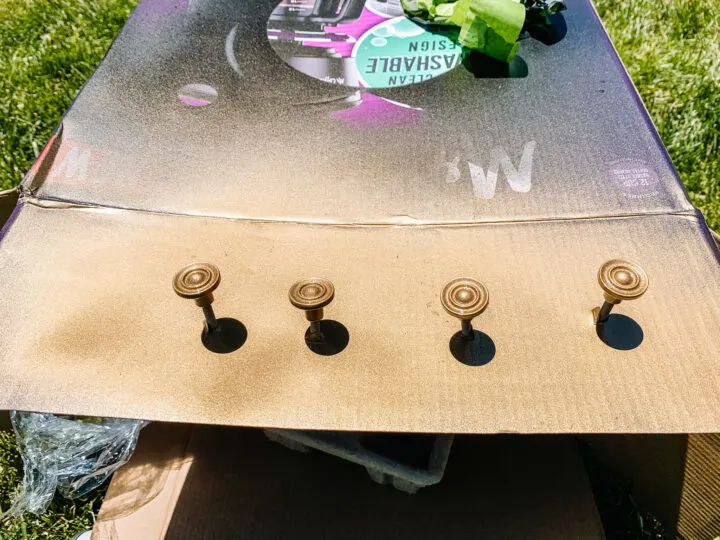
The handles on the drawers did not fit the look I was going for, so I found some old wooden knobs from another upcycled project and spray painted them gold (I still need to find one of the knobs that got lost in the bedroom!).

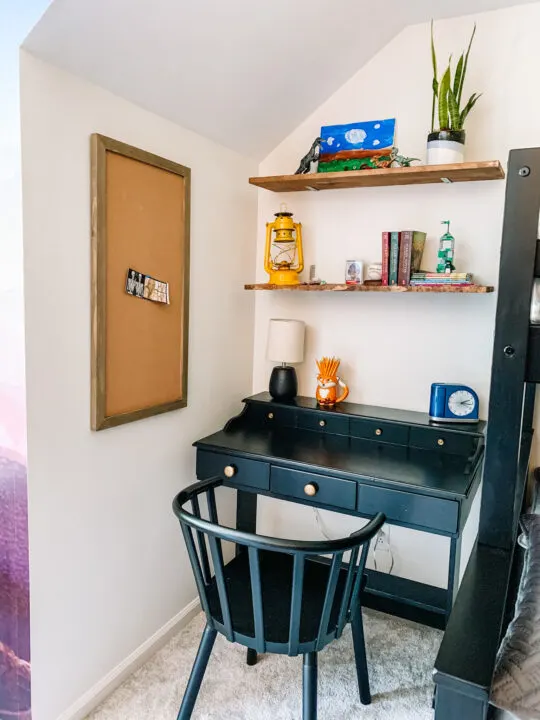
Floating Shelves
I love the look and functionality of floating shelves and have installed them in a half bathroom project and over the wet bar in our current home.
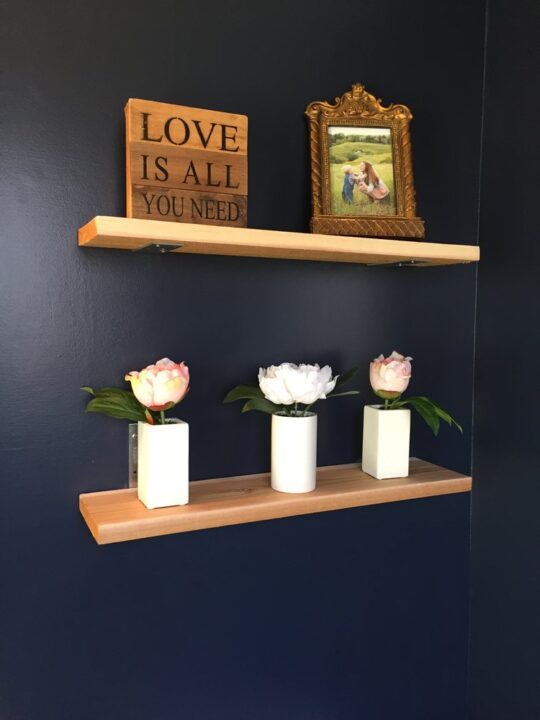
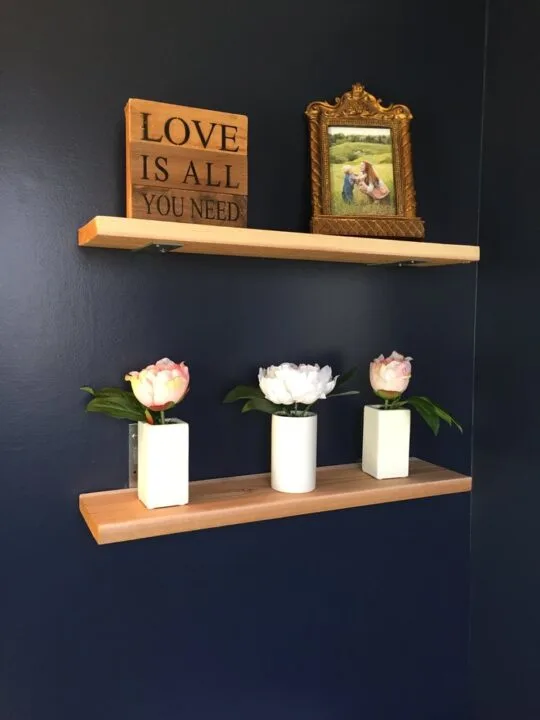
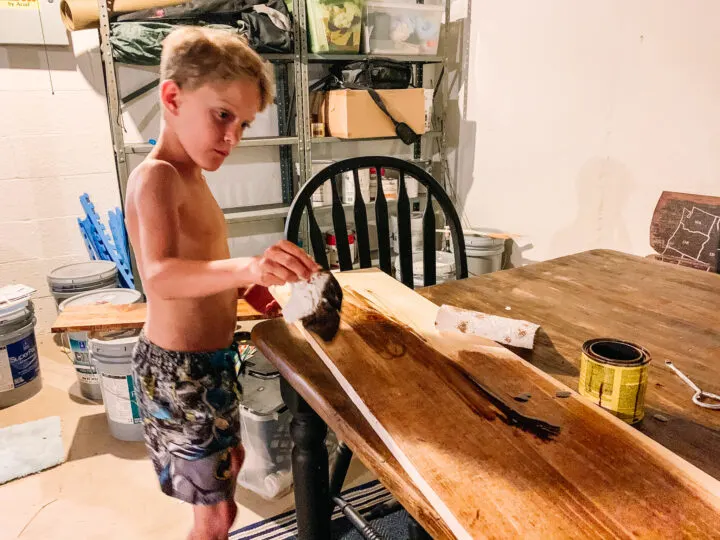
For both of these projects, I used wood from the hardware store and it is always super affordable. I rummaged through our garage and found scrap wood that I could use for the shelves over Thomas’s desk. Thomas helped apply the wood stain that I had leftover from the DIY picture shelf to give the shelves some warmth and it looks fantastic!

I found corner brackets in our garage as well and decided to use them to hang the shelving.


Desk Chair
Again, I started out by looking for a desk chair online and then decided to use what we own. I pulled one of the chairs from our dining room and it looks perfect in Thomas’s bedroom. One of our dining room chairs had broken and I decided to use the remaining chairs for a gaming table in our living room. I will need to buy new dining room chairs at some point but that’s a whole other discussion!
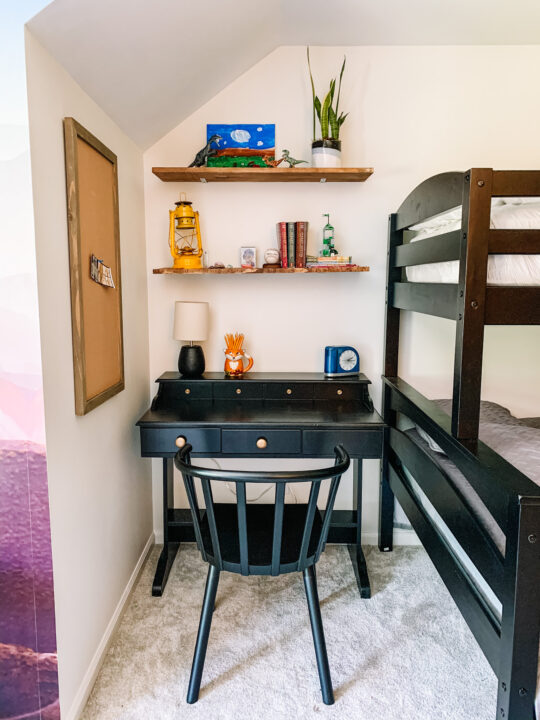

Design Details
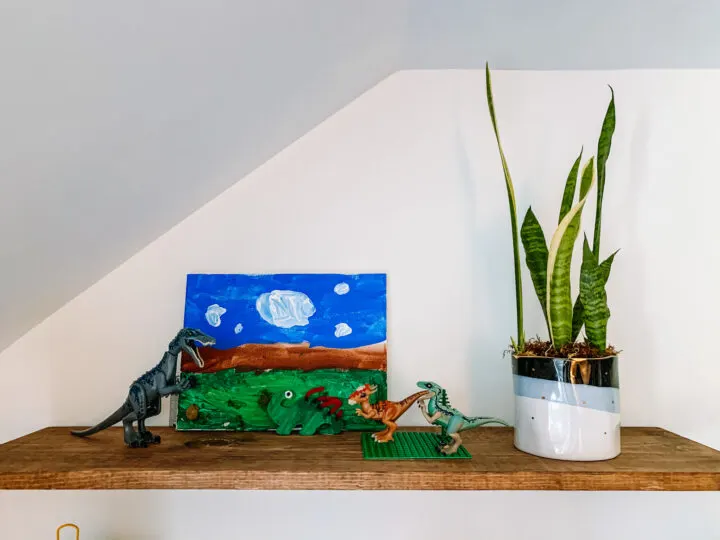
The one item I did purchase for this space was the corkboard. I wanted Thomas to have a large board to display his artwork and hang photos that he loves. All of the other design details in this area were already in our home.

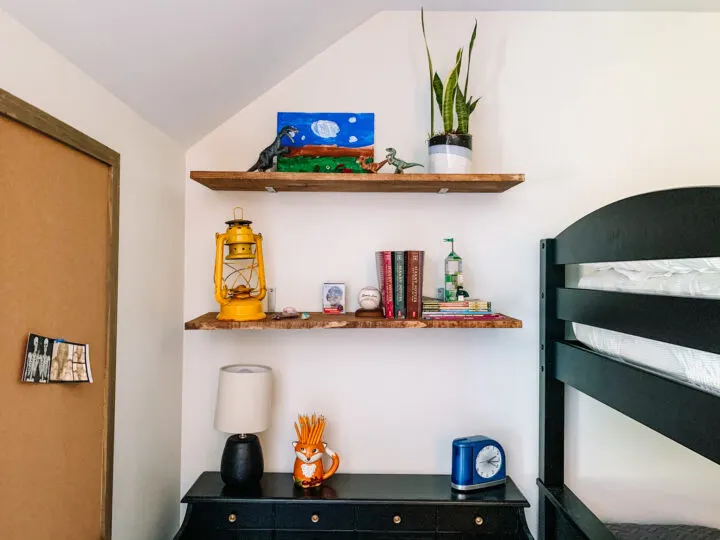
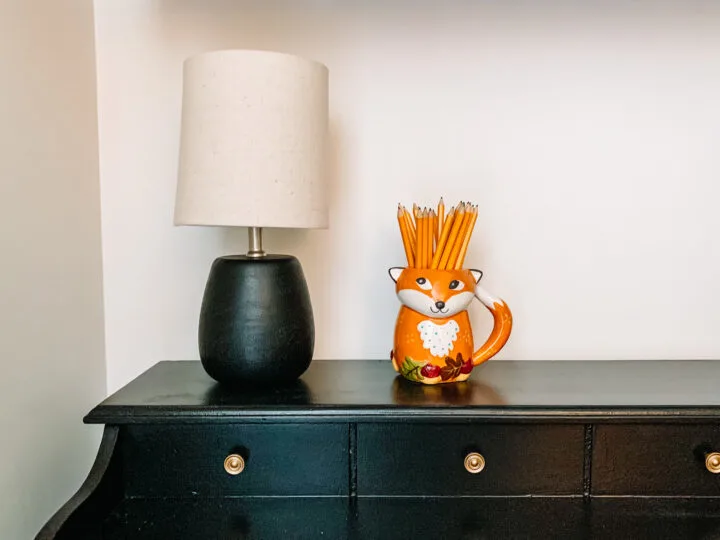
The lamp was snagged from our wet bar where it was rarely used and the knick-knacks were all found in his bedroom.

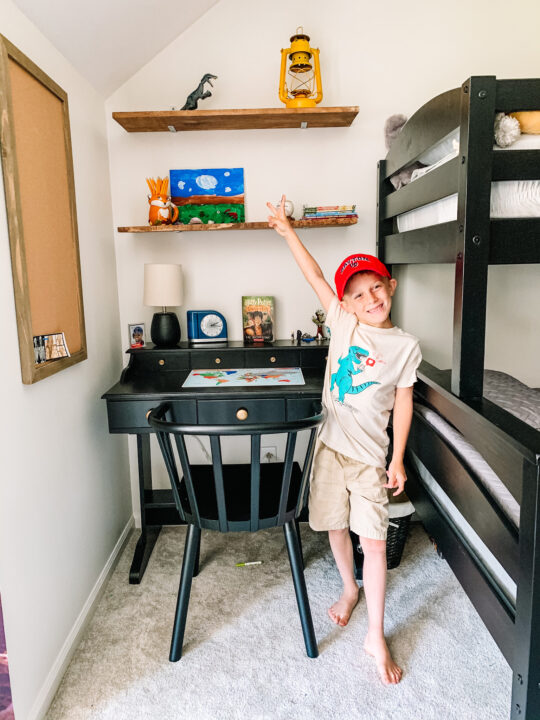
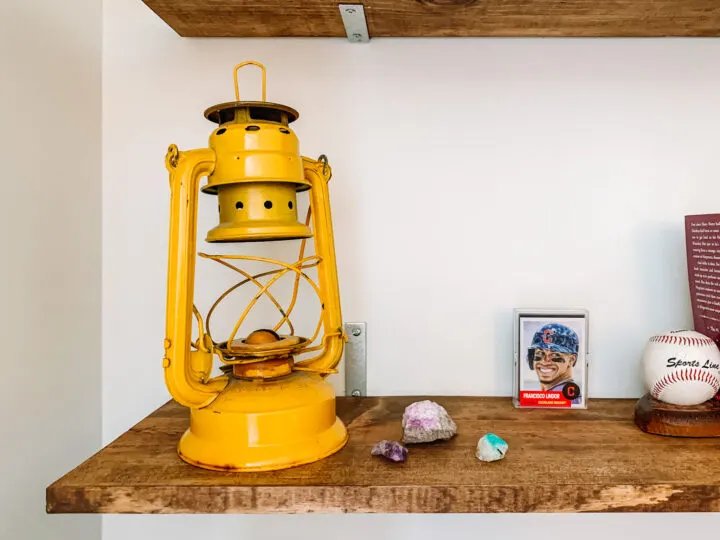
These shelves were a great place to display his rock collection too.

And his love for Harry Potter books!
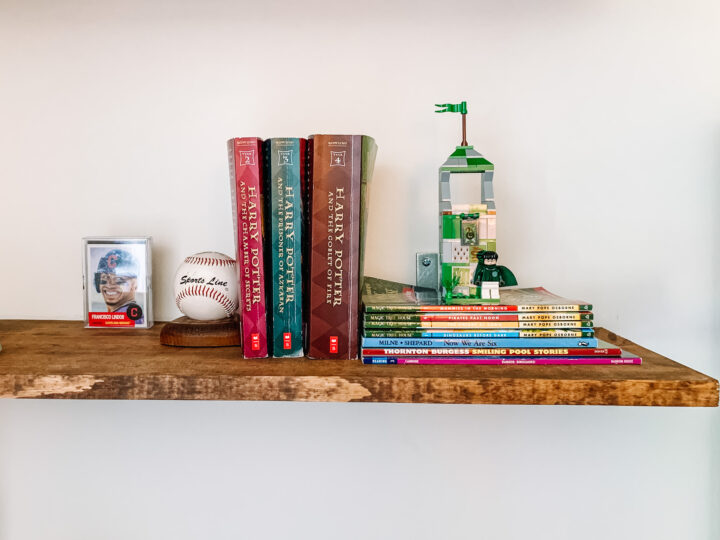

And of course a space for Thomas to highlight his LEGOs.

Thanks for following along on all of the twists and turns of this bedroom makeover. I love sharing it with all of you! Tune in next week to see how the desk nook turns out! Don’t forget to check out the progress from all of the other OCR participants on the One Room Challenge blog!


Want to save this tutorial to reference once you start your next project? I’ve got you covered! Use the pin below to easily find your way back to this tutorial.