
Last Updated on June 1, 2023 by lindseymahoney
Welcome back to week 5 of the One Room Challenge where I am tackling a super easy and fun DIY! This week I am going to show you how to recover a chair cushion using a stapler.
Reupholstering a seat cushion is SO easy and I love that it doesn’t require a sewing machine! With a little bit of creativity and some simple DIY techniques, you can easily recover your chair cushions and give them a brand new lease on life.
Whether you want to revamp your dining room chairs or bring new life to your outdoor patio furniture, we’ve got you covered. Not only will recovering your chair cushions save you money, but it will also allow you to customize them to match your personal style and home decor.
Get ready to transform your old, worn-out chair cushions into beautiful, comfortable seating that will impress your guests and make you fall in love with your chairs all over again.
Catch up on earlier posts for the Fall One Room Challenge…
Week 1 | Week 2 | Week 3 | Week 4 | Week 5 | Week 6 | Week 7 | Week 8
For those of you who are stopping by for the first time, welcome! Two years ago we moved into our 1960’s fixer-upper in Toledo, Ohio, and have been documenting our renovations on the blog. This will be my fifth time participating in the One Room Challenge and it has been a fantastic way to complete projects in our home! Thanks for following along as I work to transform our daughter’s bedroom in 8 weeks.
Dining Room Reveal | Boys Bedroom Reveal | Master Bedroom Reveal | Living Room Reveal
Why recover your chair cushion?
Recovering your chair cushions is a cost-effective way to refresh the look of your chairs and extend their lifespan. Reusing furniture you already own or updating a chair found at a second-hand store is also a great way to save money!
When you fill your home with unique items found at estate sales, thrift stores, and inherited furniture, your home feels unique and one-of-a-kind. It is always secretly my goal to have guests ask where I found an item in my home!
Step-by-step Guide to Recovering your Chair Cushion
Affiliate links are included in this blog post, thanks for supporting Building Bluebird!
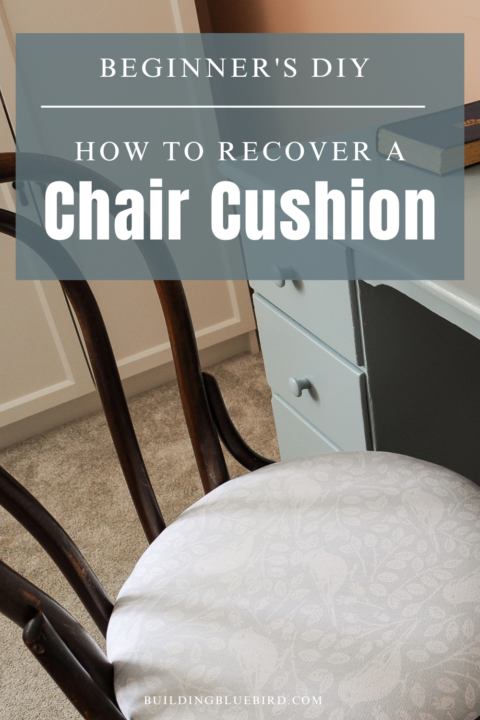
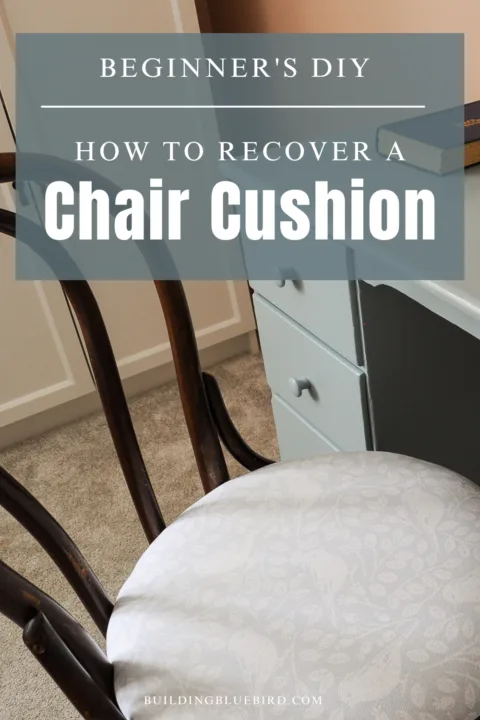
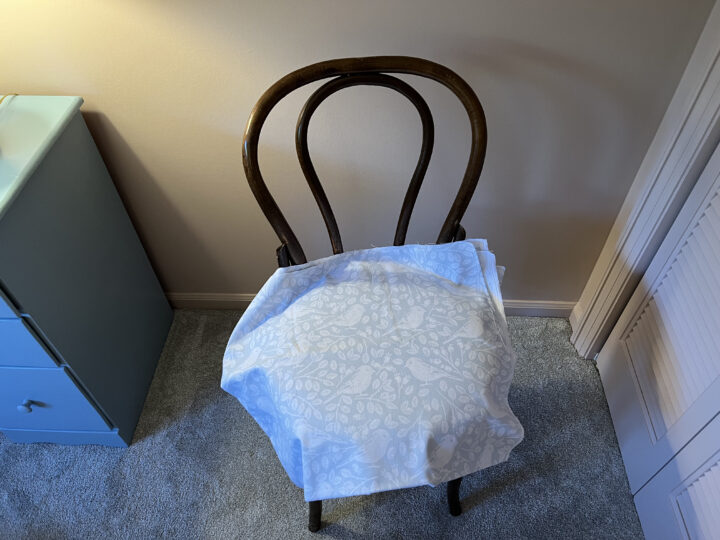
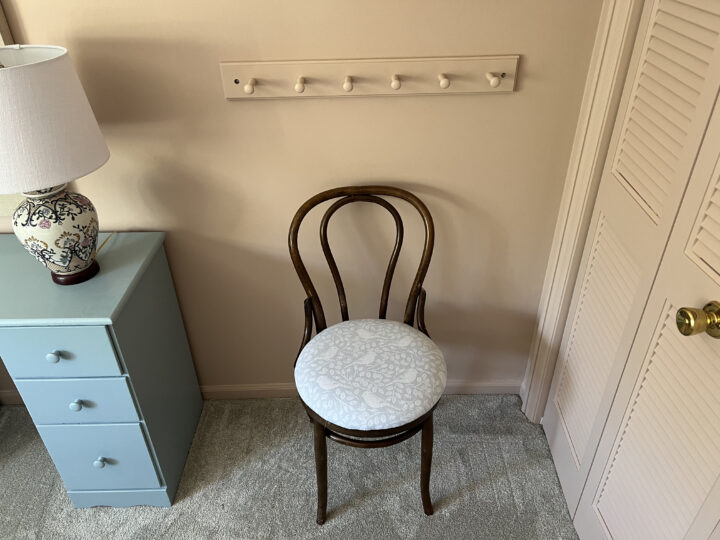
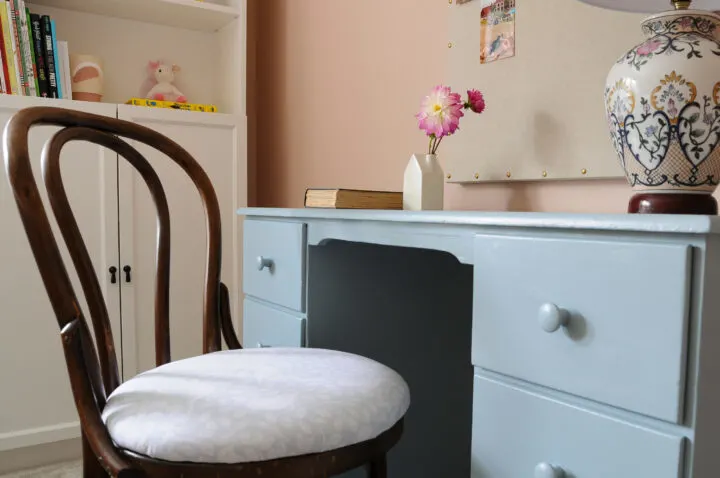
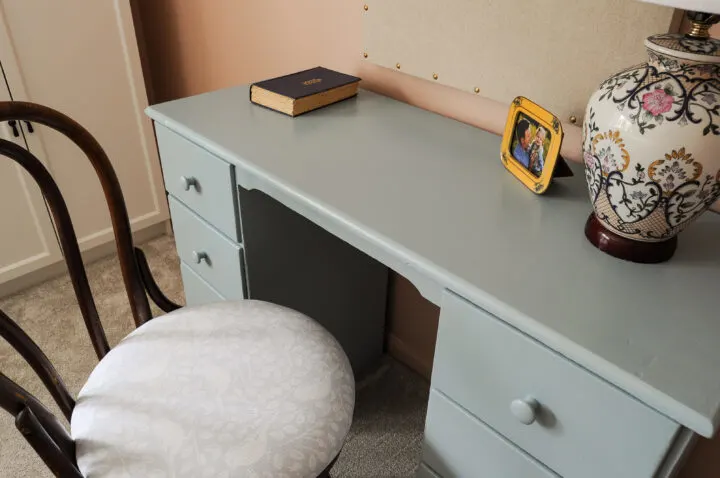
The original chair was a bit bland and I wanted to warm it up with a vintage bentwood chair. The fabric on the seat cushion did not fit the style of the bedroom so I decided to attach a new fabric that looks perfect with the blue desk and pink walls.
Bentwood Chair and Seat Cushion Before

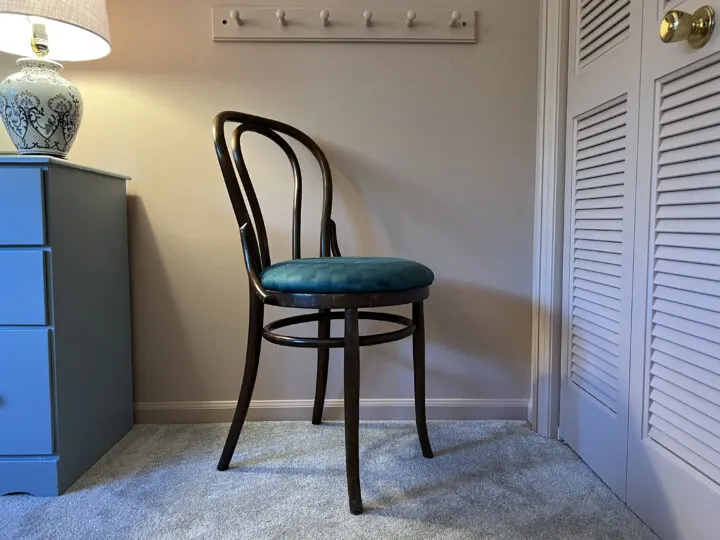
The curves of this vintage chair and the warm wood material add a softness to the room. I bought this bentwood chair at an estate sale (using estatesales.net) for $30 and knew it was perfect in Evelyn’s bedroom.
Tools and Materials Needed for This Project
Before you begin recovering your chair cushions, you’ll need to gather a few tools and materials. Here’s a list of what you’ll need:

- Chair with a seat cushion: Ideally already owned or purchased second-hand.
- Fabric: Make sure to choose a durable fabric that can withstand regular use and is easy to clean.
- Stapler
- 5/16th staples: This is a shorter staple that will secure the fabric but won’t poke through the cushion.
- Screwdriver: Flathead or Philips, depending on how the seat cushion is attached.
- Scissors: A sharp pair of fabric scissors will make cutting the fabric a breeze.
- Scotchguard: (optional) Spray the seat fabric to protect it from stains.
- Iron: This will help you smooth out wrinkles and create neat, crisp seams.
- Foam or padding (optional): If your cushions have lost their shape or support, adding foam or padding can make them more comfortable.
Once you have all the necessary tools and materials, you’re ready to begin the recovery process.
1 | Remove the Old Fabric and Choose the New Seat Cushion Fabric
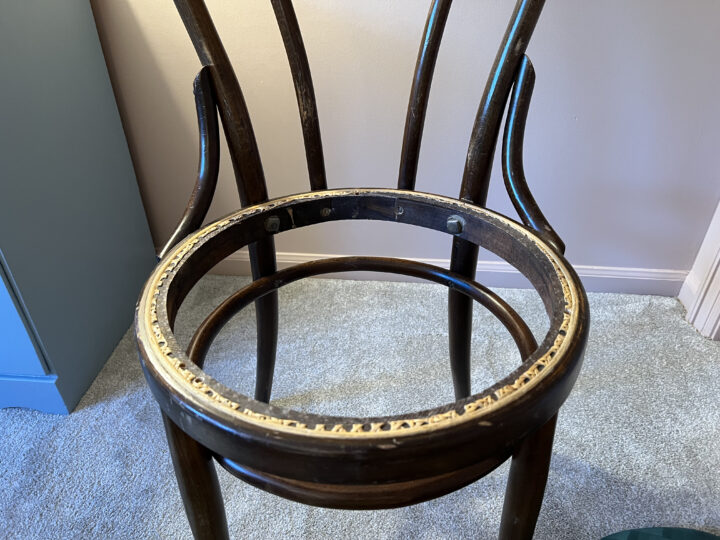

I easily removed the seat cushion using a screwdriver. For this chair, I opted to cover the old seat cushion fabric with the new fabric, but you can also remove the old fabric first.
The padding on the seat cushion was in good shape so I did not add any additional foam or padding. If you need a little extra cushion, you will attach the padding before securing the new fabric.
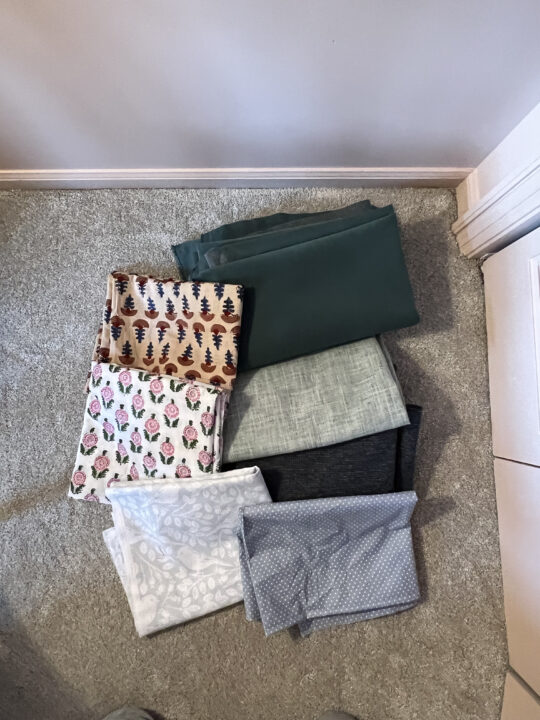
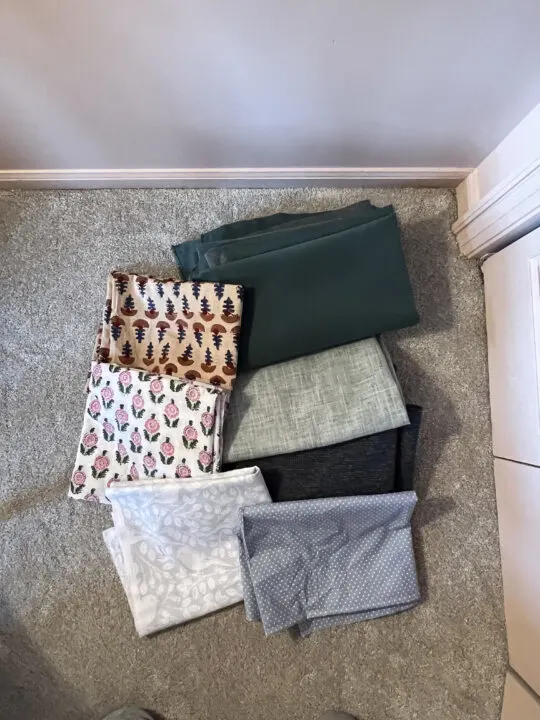
Choosing the new fabric to recover the seat cushion took some time. I purchased a few options from Etsy, but I didn’t love how they looked on the bentwood chair once they arrived. The fabric was a bit flimsy and the colors were not what I was hoping for.

My mother-in-law offered me a few scrap pieces of fabric that were better for upholstery and I went with the bluebird option!
The winning fabric is a thicker material than straight cotton and has a beautiful light blue bird pattern. This chair cushion is going to get makeup, markers, and crayon marks on it, so it’s important that the fabric is durable.
Tips for choosing the right fabric for your chair cushion
When choosing fabric for your chair cushion, there are a few factors to consider.
First, make sure the fabric is durable and can withstand regular use. Upholstery or outdoor fabric is a good choice as it is designed to withstand wear and tear.
Additionally, consider the color and pattern of the fabric. Lastly, consider the ease of cleaning. Look for fabric that is stain-resistant and can be easily wiped clean or machine washed.
2 | Measure and Cut New Fabric

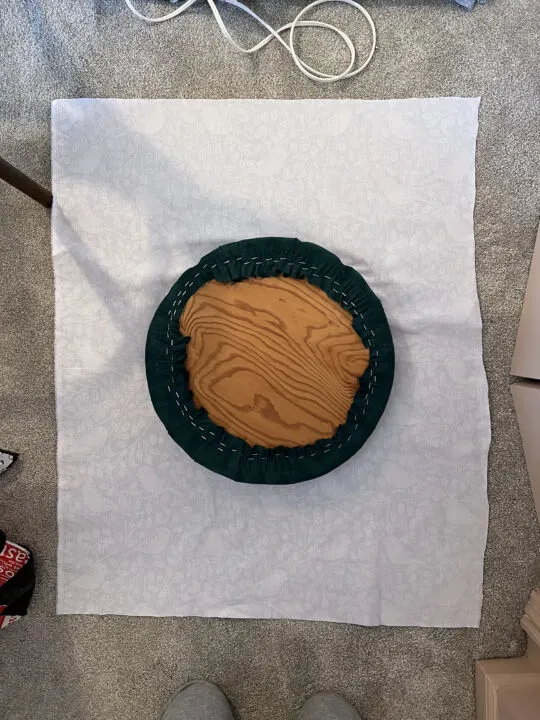
Lay your cushion on top of the new fabric and determine where you want the pattern to be visible on the seat cushion. Be careful to avoid attaching patterned fabric crooked or upside down!
Once the pattern is where you want it, use fabric scissors to cut out a section large enough to wrap around the seat cushion.
Iron the fabric before moving to the next step and attaching it to the chair cushion.
3 | Staple the Fabric to the Cushion


Using a staple gun and 5/16 staples, I attached the fabric to the seat.

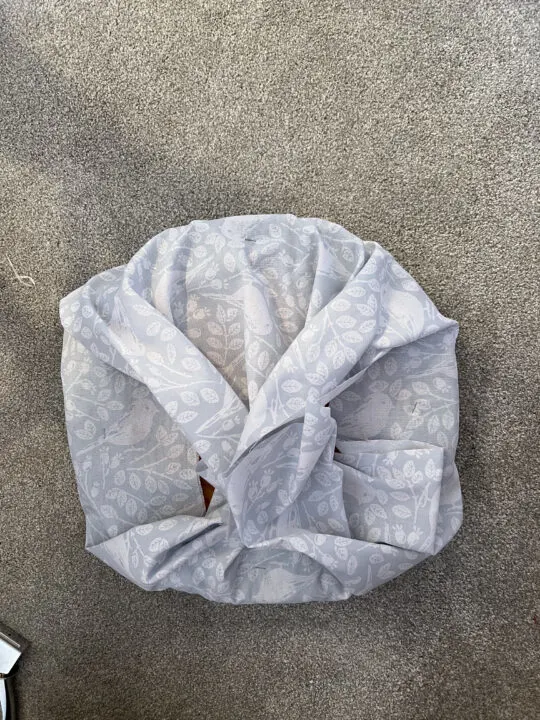
To keep the fabric taut, I placed the first four staples at the top, bottom, left, and right of the cushion.
It is important to avoid pulling the fabric too tight and distorting the pattern. The first four staples created four sections that I worked through one at a time.
With each section, I did my best to keep the fabric smooth as I wrapped it tightly around the bottom of the cushion.
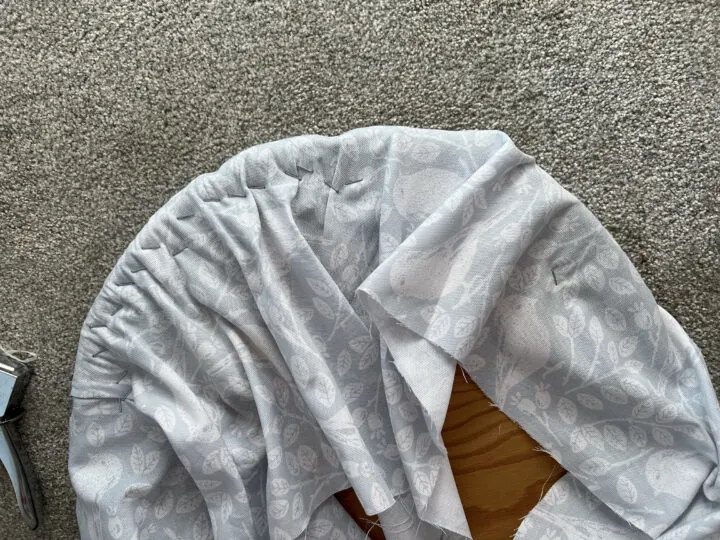
My strategy for this was to pull the fabric in the center of the nearest two staples and attach it to the bottom of the seat. This worked well and prevented any ruching or folds of fabric on the seat.
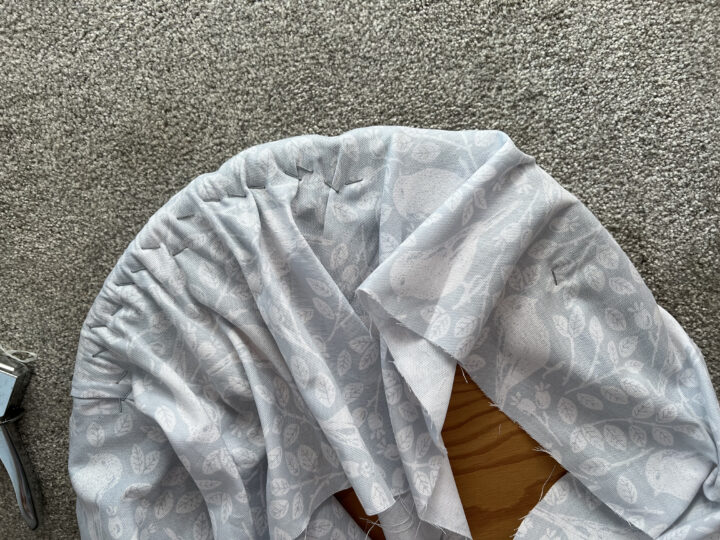
4 | Cut Excess Fabric Off the Bottom of the Seat
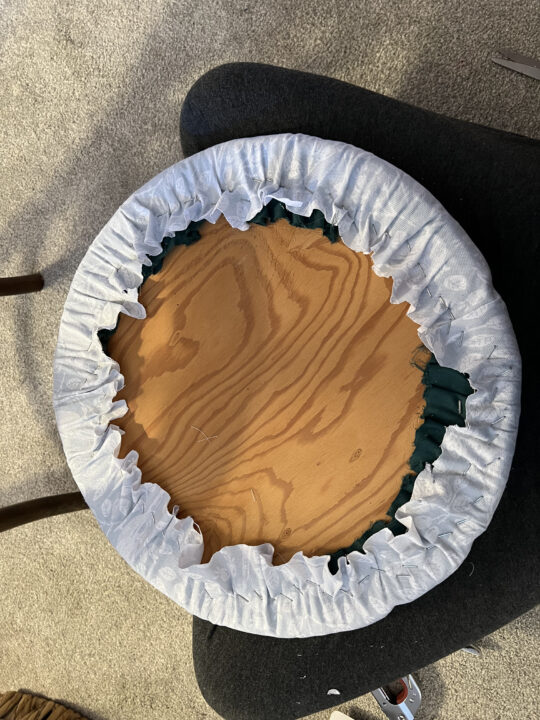

Cut the excess fabric from the bottom of the cushion and reattached it to the bentwood chair frame.
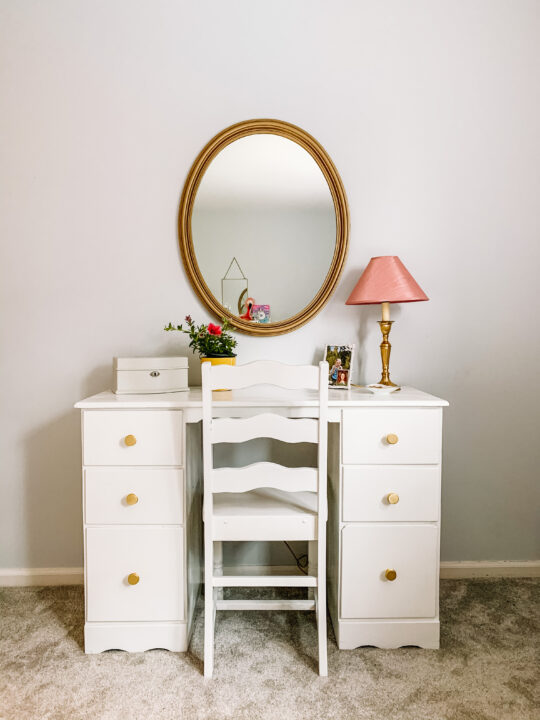
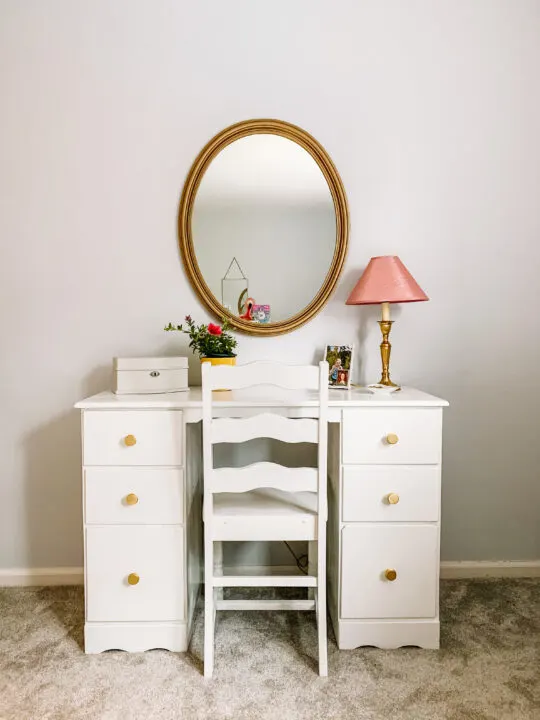
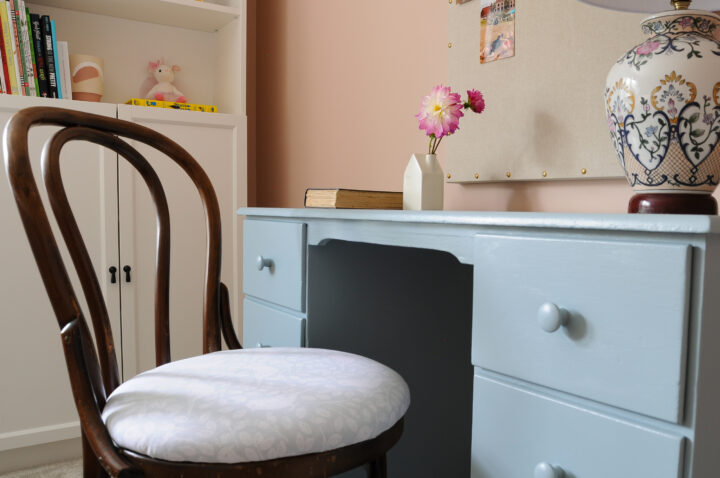
Reupholstered Bentwood Chair Reveal

I love this fresh new fabric on the chair! The fabric is smooth around the circular seat and it has a professional and clean look.
Reupholstering a seat cushion is a great DIY project for beginners and can be finished in just a few hours.

Recovering your chair cushions is a rewarding and cost-effective way to breathe new life into your furniture. By following our step-by-step guide and incorporating your personal style, you can transform your old, worn-out chair cushions into beautiful, comfortable seating that will impress your guests and make you fall in love with your chairs all over again.
Enjoy the process and enjoy your refreshed chair cushion!
Similar Content You Will Love
- DIY Upholstered Headboard with Tufted Buttons
- How to Paint an Old Cabinet the Perfect Green | DIY
- Make a Patterned Photo Mat with Wallpaper
- Attach Scalloped Trim to Furniture | Easy DIY
- Easy IKEA Hemnes Dresser Hack to Try at Home
- DIY Scalloped Edge Shelf | Easy IKEA Hack
- Popular Ikea Billy Bookcase Hack | DIY
Frequently Asked Questions
Where to find professional chair cushion recovery services
If you prefer to leave the chair cushion recovery to the professionals, there are many upholstery and furniture restoration businesses that offer this service. Look for local businesses in your area or search online directories to find reputable professionals who can help you recover your chair cushions to perfection.
How should I clean and protect the reupholstered chair cushions?
For my chair, I sprayed Scotchguard on the seat cover to protect the fabric against stains and dirt.
Here are a few more maintenance tips for your new upholstered cushions:
- Choosing a fabric with a pattern can also help to camouflage wear and tear on the chair cushion.
- Avoid placing your chair cushions in direct sunlight, as this can cause the fabric to fade.
- Vacuum or brush off any loose dirt or debris regularly.
- Spot clean any spills or stains immediately using a mild detergent and a clean cloth.
- Folex works great on dirt and stains too!
By following these tips, you can ensure that your chair cushions stay in excellent condition for years to come.
How much fabric do I need to recover my chair cushions?
The amount of fabric you need will depend on the size and shape of your cushions. Measure the dimensions and add an extra inch on all sides for seam allowance. Consult a fabric store or online calculator for an accurate estimate.
Additional ORC Projects Tackled this Week
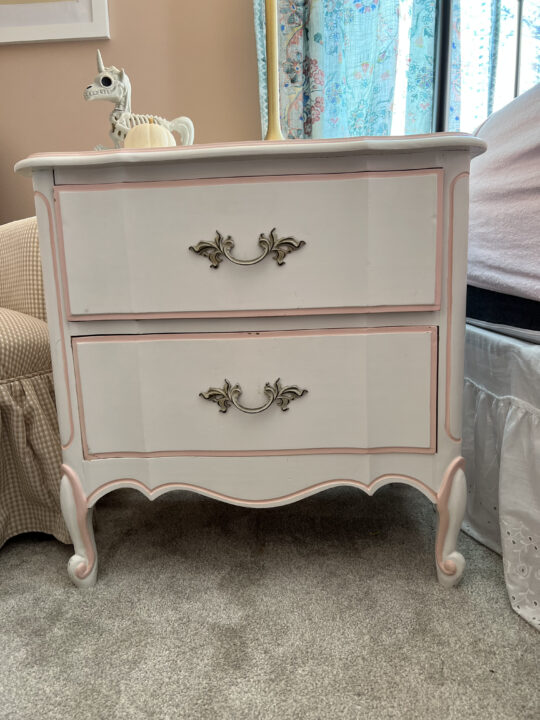
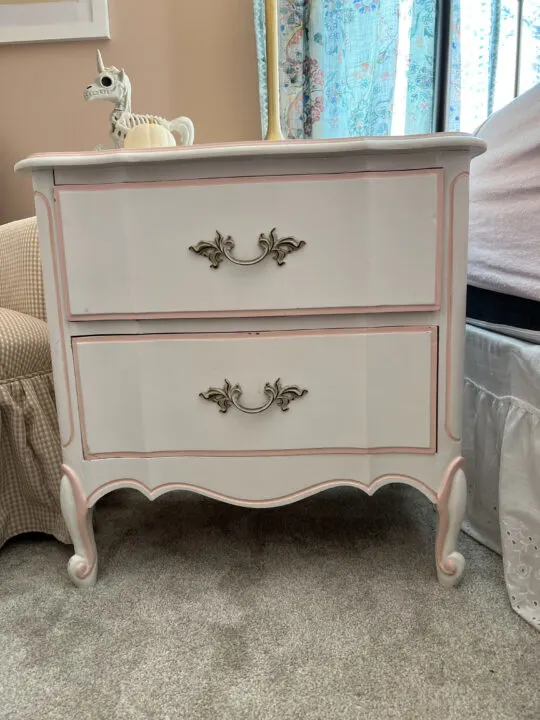
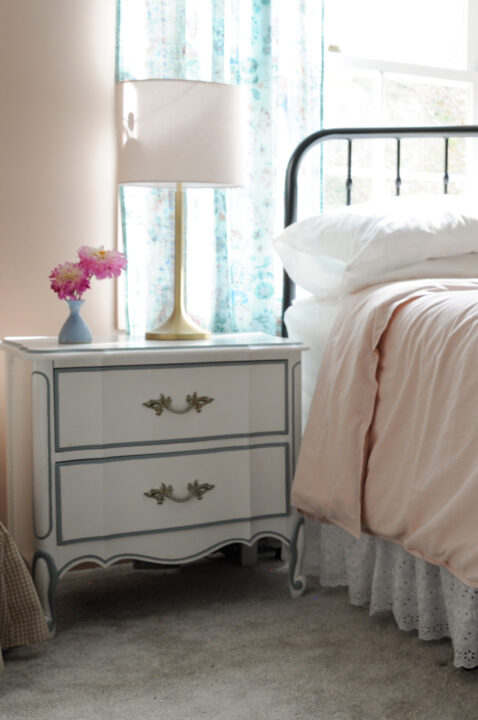
The other side of the bedroom was filled with light-colored objects and I needed to add some darker colors for balance. Replacing the pink trim on the nightstand with blue trim helped balance this side of the room.
One of my first furniture DIY projects when living in Colorado was painting this vintage nightstand. I had given it a fresh coat of white paint and added light pink trim around the edges.
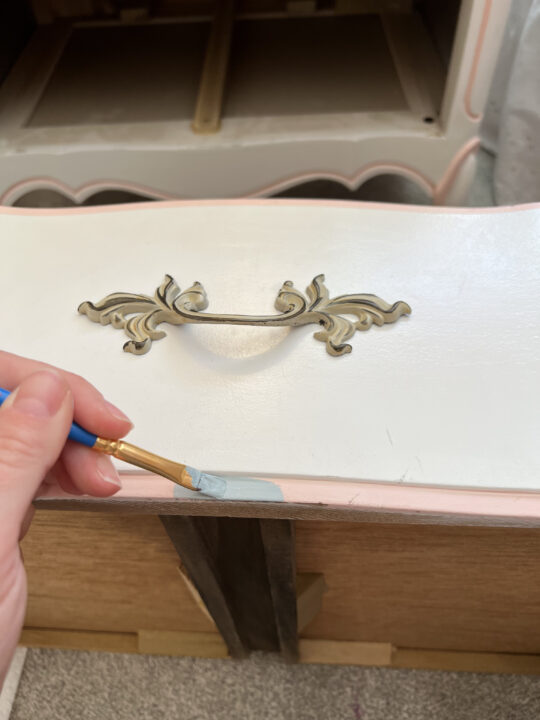

I decided to use the same blue from the vanity and cover the pink trim. This is another quick and easy project that can be finished in an hour or two.
This project was enjoyable and relaxing using a craft paintbrush to paint the small trim.

Thanks for stopping by to see my progress at the halfway point of the One Room Challenge! Come back next week to see how the bedding and artwork come together.

Don’t forget to check out all of the other participants and their projects on the One Room Challenge blog.