
Last Updated on September 16, 2024 by lindseymahoney
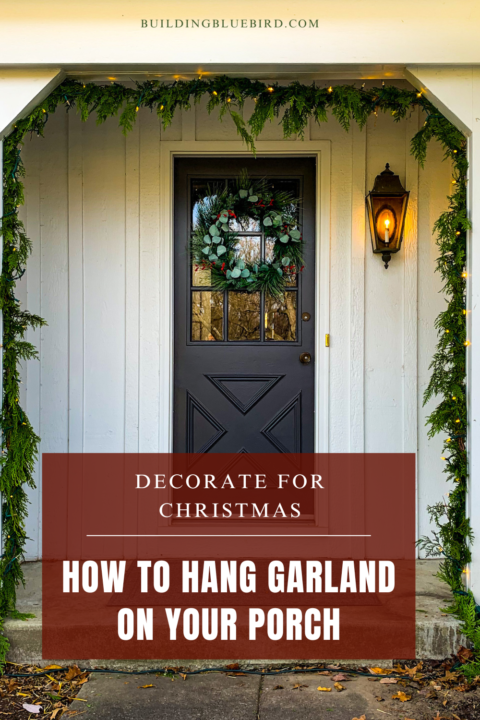
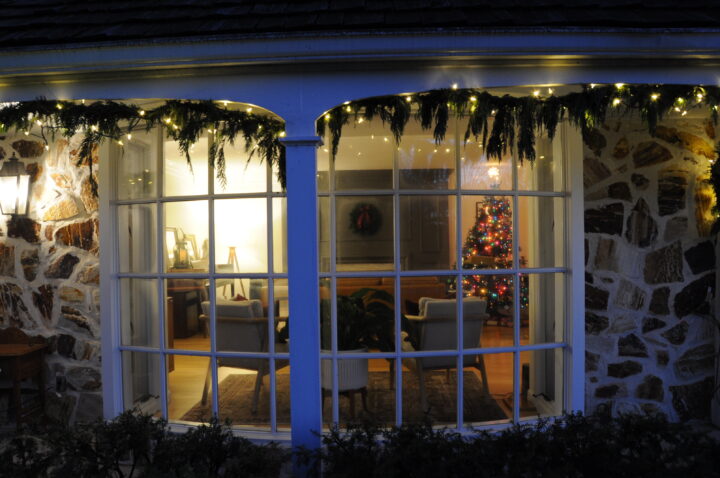
If you’re wondering how to hang garland outdoors, it’s quite simple and adds a charming touch to your decorations. I love getting into the holiday spirit by hanging festive garland outdoors around our front porch to perfectly frame the view of our Christmas tree from the bay window.

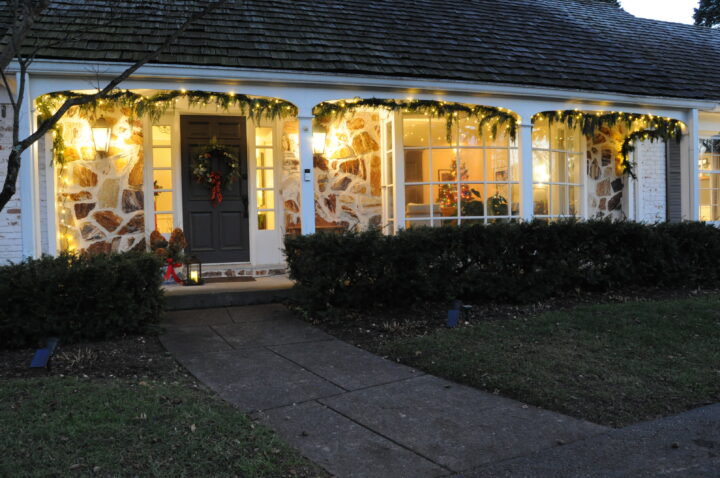
Seeing our front porch draped with cedar garland lit up with white Christmas lights makes my heart happy.

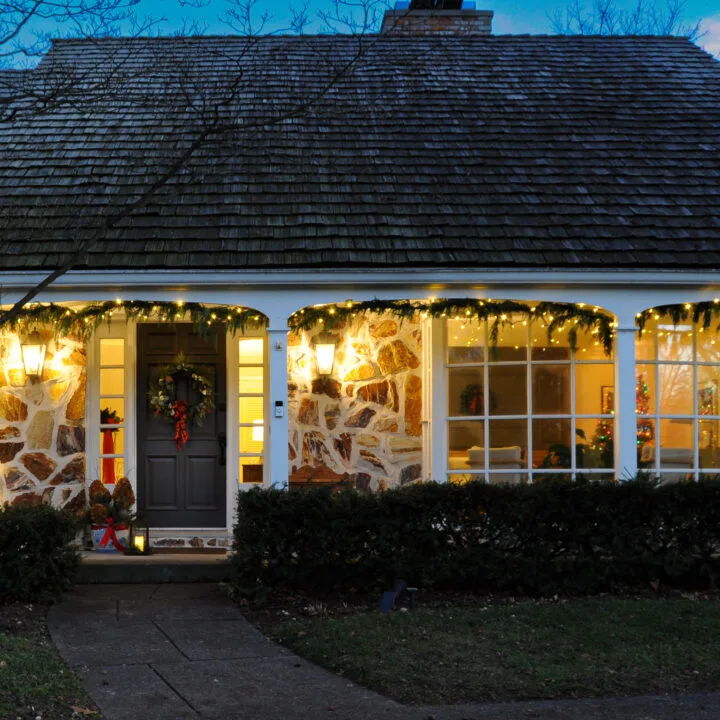
The green trimmings with white, twinkling lights are a timeless look that can easily be recreated at your home! Timeless white lights on our front porch perfectly frame our Christmas tree wrapped with nostalgic, colorful Christmas lights.
I am breaking down this holiday decor treatment in a full tutorial below, let’s get started!
How to Hang Holiday Garland Outdoors on the Porch
[Affiliate links are included in this blog post and I receive a small commission (at no extra cost to you) if you purchase through these links. Thanks for supporting Building Bluebird!]
1 | Gather Materials and Measure the Porch

Before you begin hanging the garland, gather all of the materials needed for this project. This project takes a few hours so be sure to block out 2-4 hours.
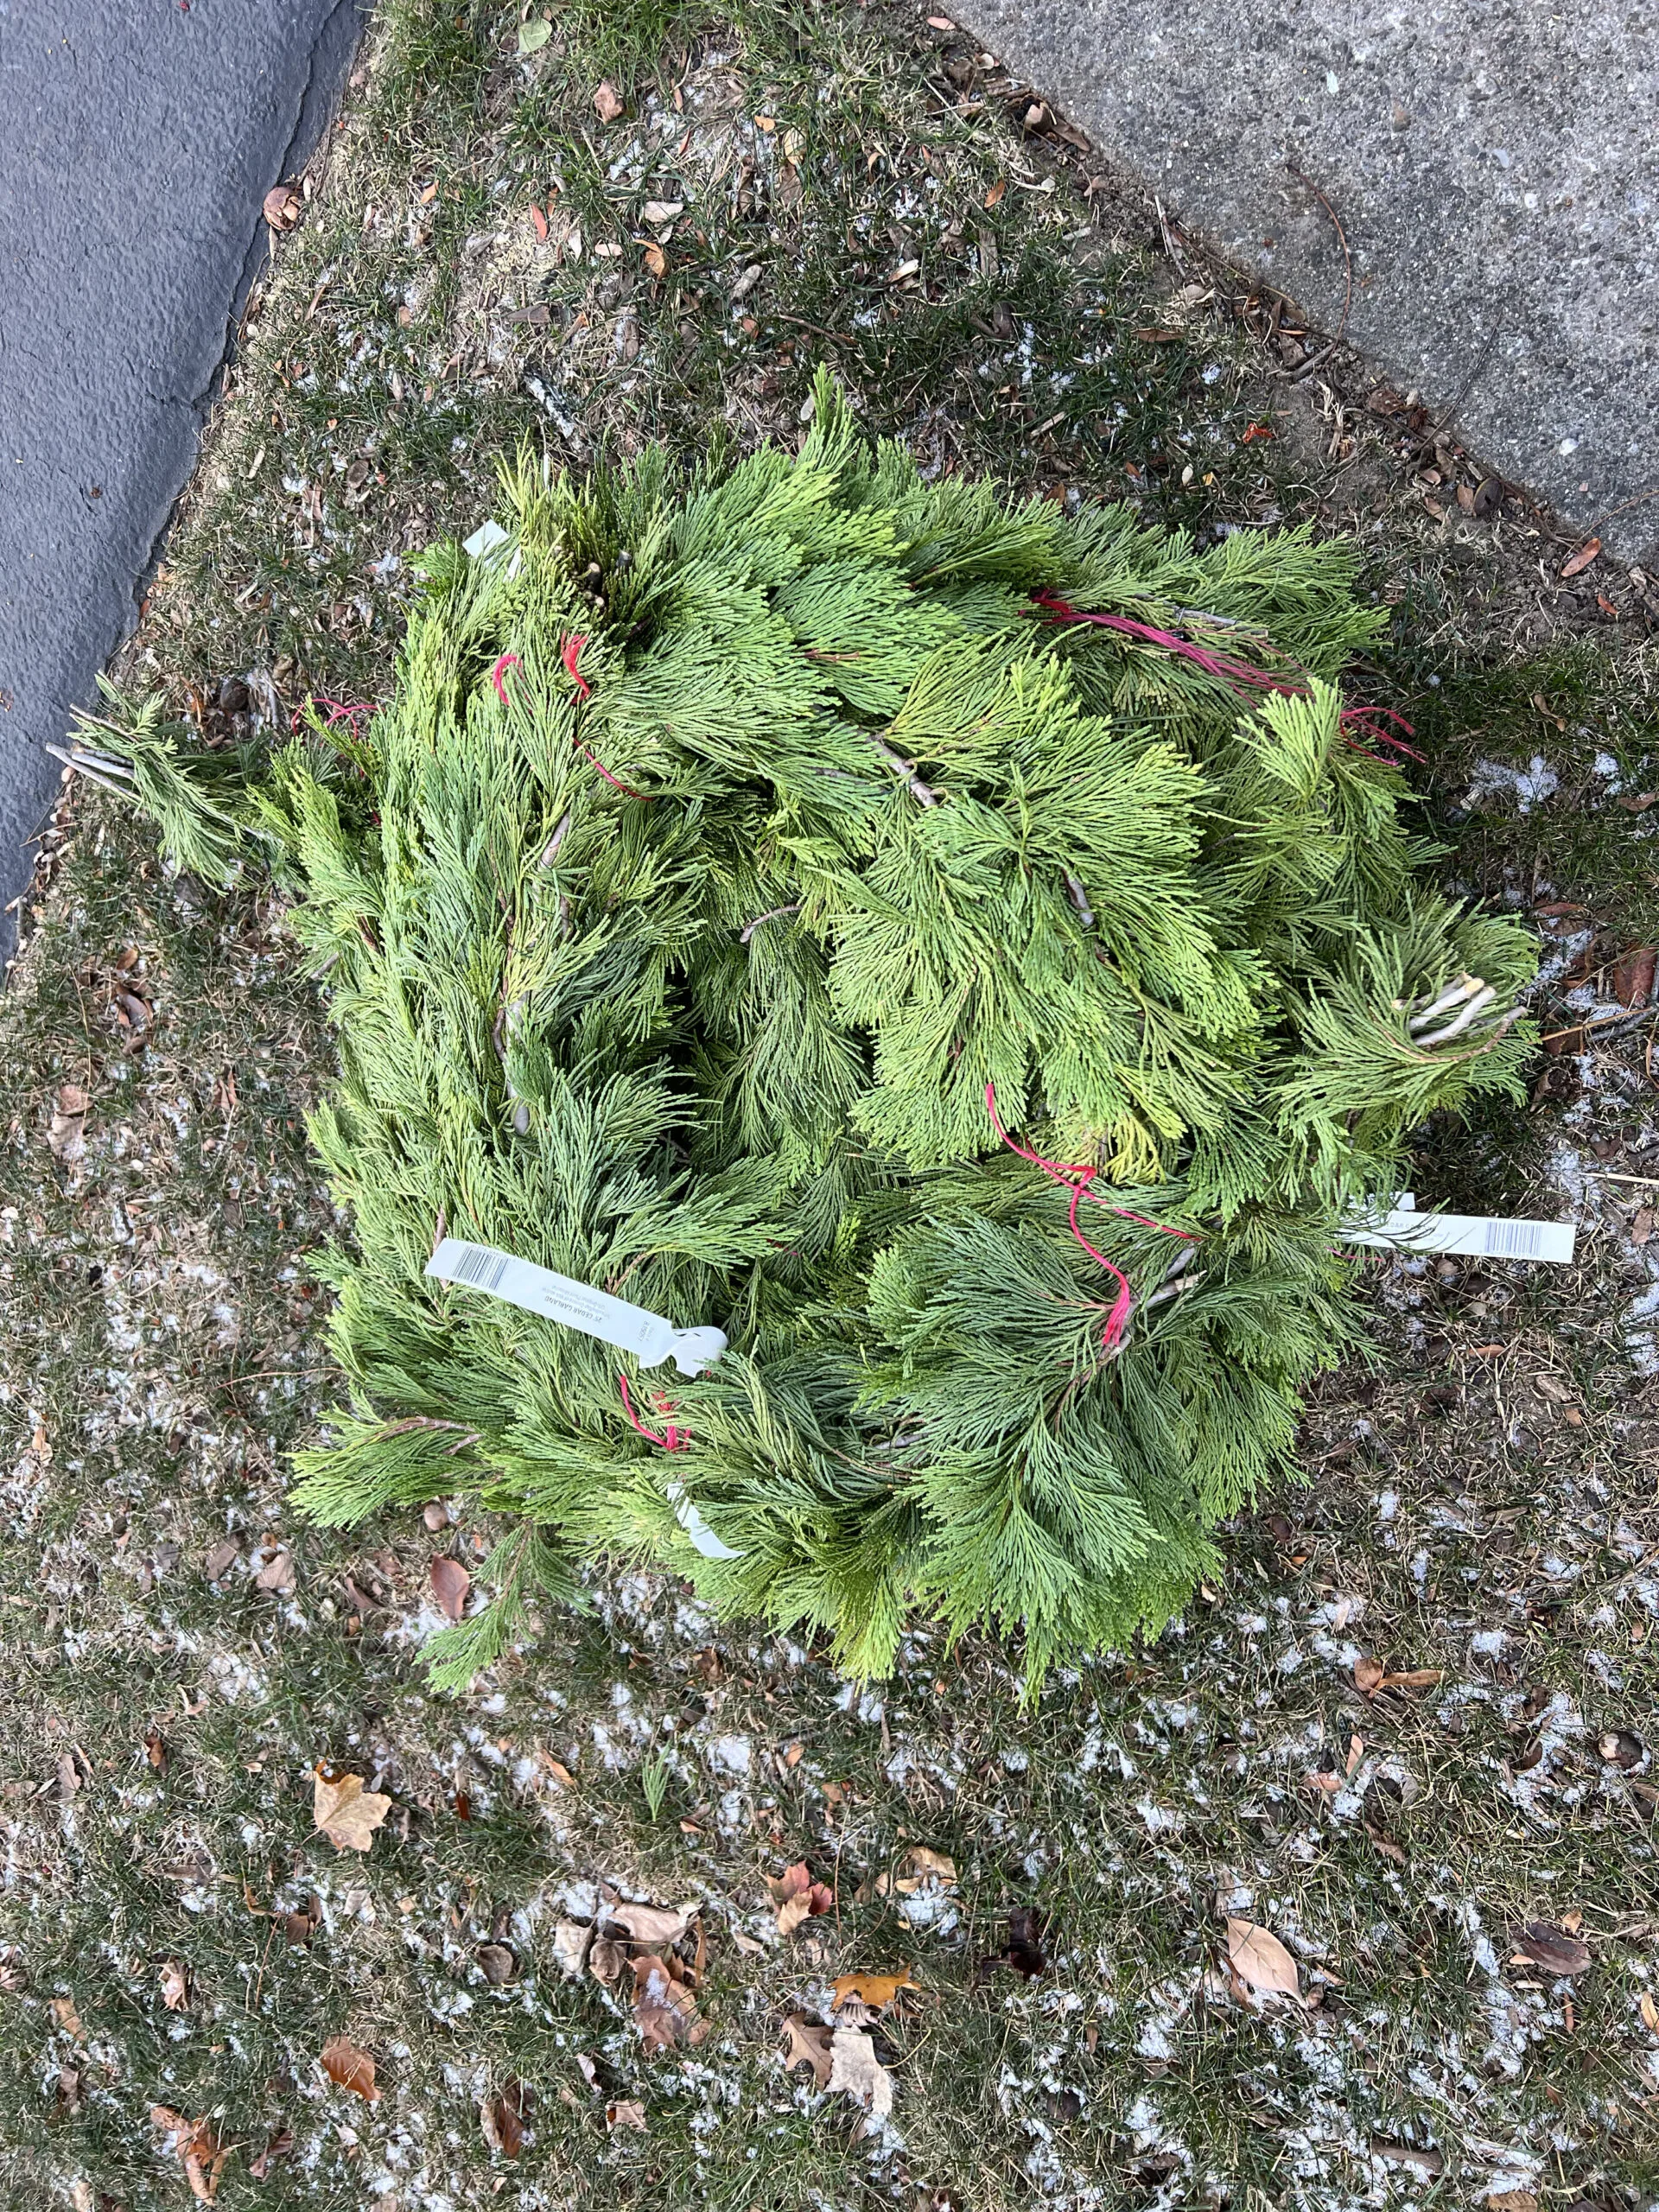
For this project, I am hanging the twinkling cedar garland across the top of our front porch. Use a tape measurer to determine the approximate length of the garland needed.
The cedar garland I purchased from Costco is 25 feet each and I purchased four. Three will hang on our porch and one will frame our carriage door entrance. I also had four strands of Christmas lights, one for each garland roll.
Christmas Project Source List
- Garland (30′ option)- I used 100′ for the porch and our carriage door and had a little leftover
- Brad nails
- Hammer
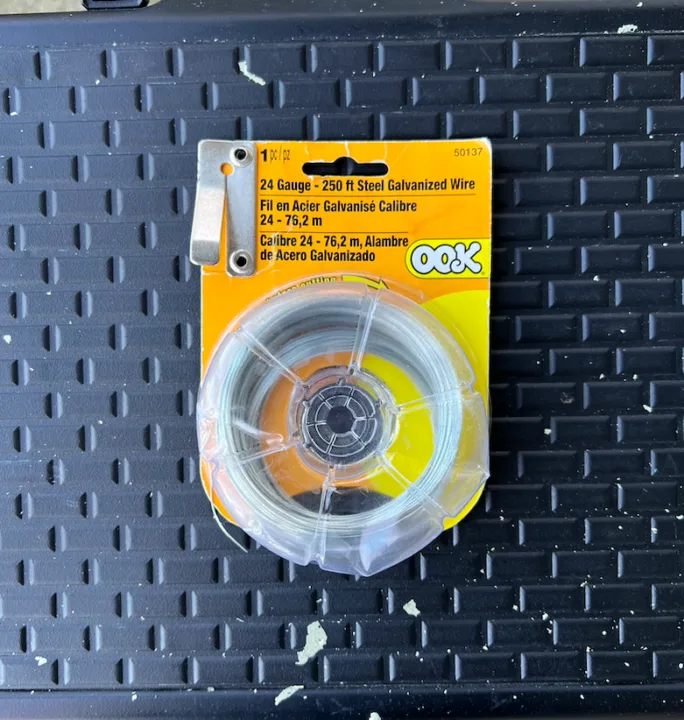
- Galvanized Wire or Floral Wire
- Christmas lights – I used 4 strands (one for the carriage door and three for the porch)
- Extension cord (if needed)
- Scissors
- Footstool
- Tape Measure

2 | Add Nails to the Porch Trim to Hang the Garland
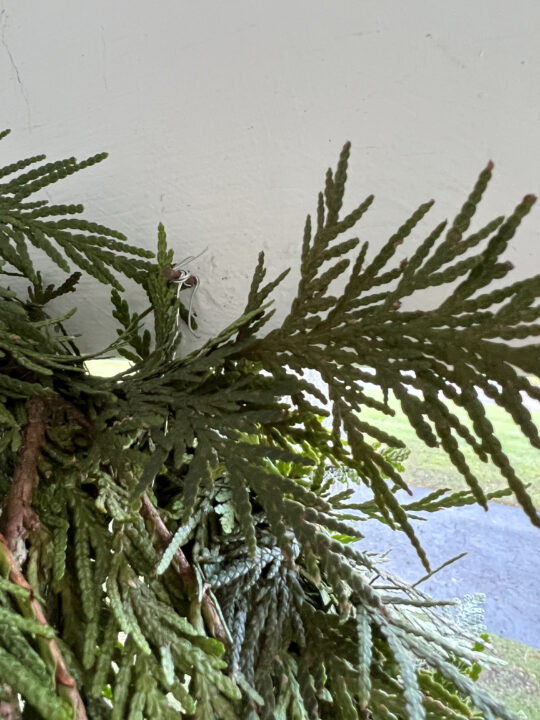
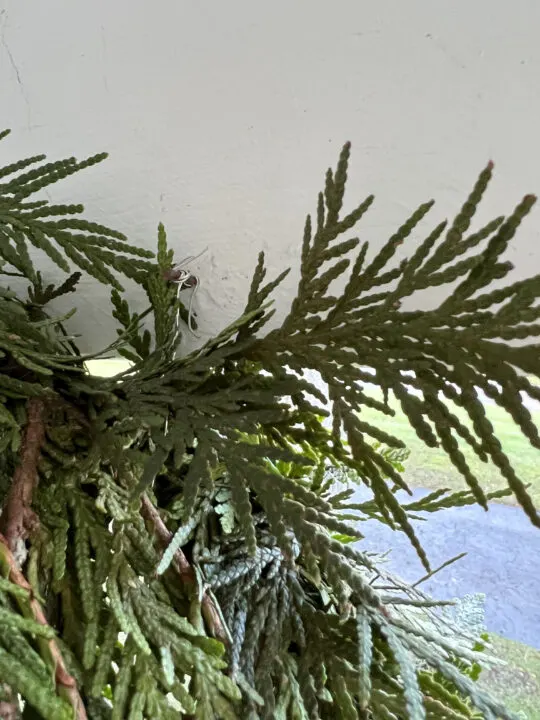
Before hanging the garland, I hammered a few brad nails sporadically around the back of the porch trim where I wanted them to hang. When you are hanging heavy garland outside in the cold, command hooks are not going to cut it, in my opinion. Adhesive hooks are not as durable with outdoor use, especially in cold climates.
For the best possible hold, I recommend you secure the garland with flower wire and attach it to the nail. Depending on the design of your porch, zip ties are another easy way to secure the garland strands.
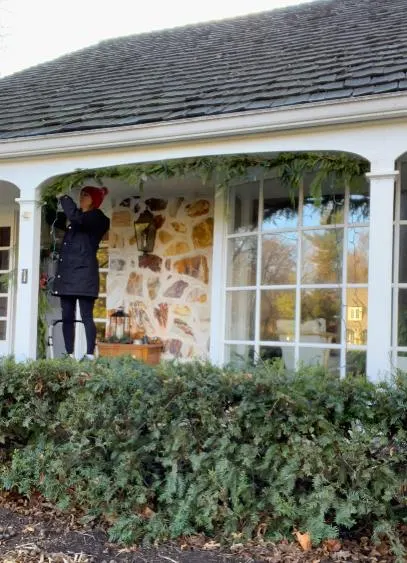
The first place that I attach a brad nail is in the center of the porch so that the garland looks balanced on each side. This is also where I begin hanging the garland and work my way toward each end of the porch.
Because our porch has larger trim pieces on the ceiling, I like for the greenery to peek out from below. To create this look, I secured the garland to the back of the porch trim with wire. While I prefer this look, you can also swag the greenery across the porch, which may determine where you want to attach the nails.
3 | Wrap the First Roll of Garland With a String of Lights
First, I unrolled the first strand of cedar garland and found the center point.
Next, I found the center point of the strand of Christmas lights and wrapped it around the garland a few times.
4 | Attach Garland to the Center of the Porch


Over the years, I have tried a few ways of hanging the garland, but beginning in the center makes the most sense to me.

I attached the center of the garland to the center of the porch using galvanized wire.
Once the center was securely attached, I attached one side of the garland, wrapping the lights as I went, and then followed the same process on the other side.
Each side of the porch gets half of the first garland and another 25 feet of cedar garland to complete the entire porch. This process minimizes the amount of garland waste by using 1.5 rolls on each side.

When I came to the end of the first garland, I attached the next garland roll to the same brad nail and followed the same process. Connect the Christmas light strands and wrap the garland as you attach it to the top of the porch.
Once all of the garland was up, I removed any remaining garland that was too long and used it to fill in bare spots. Any leftover garland can be used for holiday decorations inside your home.
5 | Plug in the Lights and Enjoy!

Depending on where your plug is located, you will need an extension cord to plug in your Christmas lights. I did my best to conceal the extension cord and prevent a tripping hazard by tucking the cord against the house and under the welcome mat.

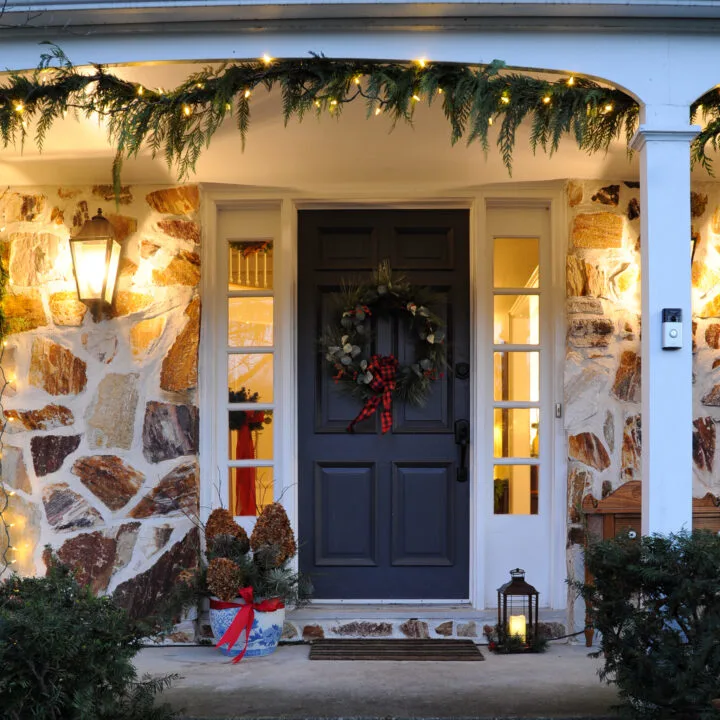
If you have an outlet right where your garland begins or ends, consider yourself lucky. To complete the look, hang a Christmas wreath on your front door.
If you have a wooden door like me, a wreath hook or nail is the best way to hang your wreath. For metal doors or glass inserts, suction hooks, and adhesive hooks may work best.


Take a step back and admire the holiday cheer you created on your front porch! I hope you found this tutorial on how to hang garland outdoors with twinkling lights helpful.
For those of you who don’t have a front porch but want to hang garland around your door, this same process can be used. Brad nails can be discretely added to the side of the door frame where the strands can be attached.
Good luck and happy holidays!
More Christmas/Holiday Content You Will Love
- How to Make Cheap Garland Look Expensive
- How to Hang Asymmetrical Garland on Your Fireplace Mantel | DIY
- Thrifted Christmas Decorations to Find Throughout the Year
- How to Flock a Christmas Tree | Trendy Holiday DIY
- Classic Red and Gold Christmas Tree Ideas
- How to Make the Perfect Gift Bow with Ribbon
- Stunning Blue and White Christmas Decor Ideas
- BEAUTIFUL Christmas Garland Staircase DIY 2023
- How to Wrap a Present So It Looks Beautiful Every Time