
Last Updated on January 11, 2021 by lindseymahoney
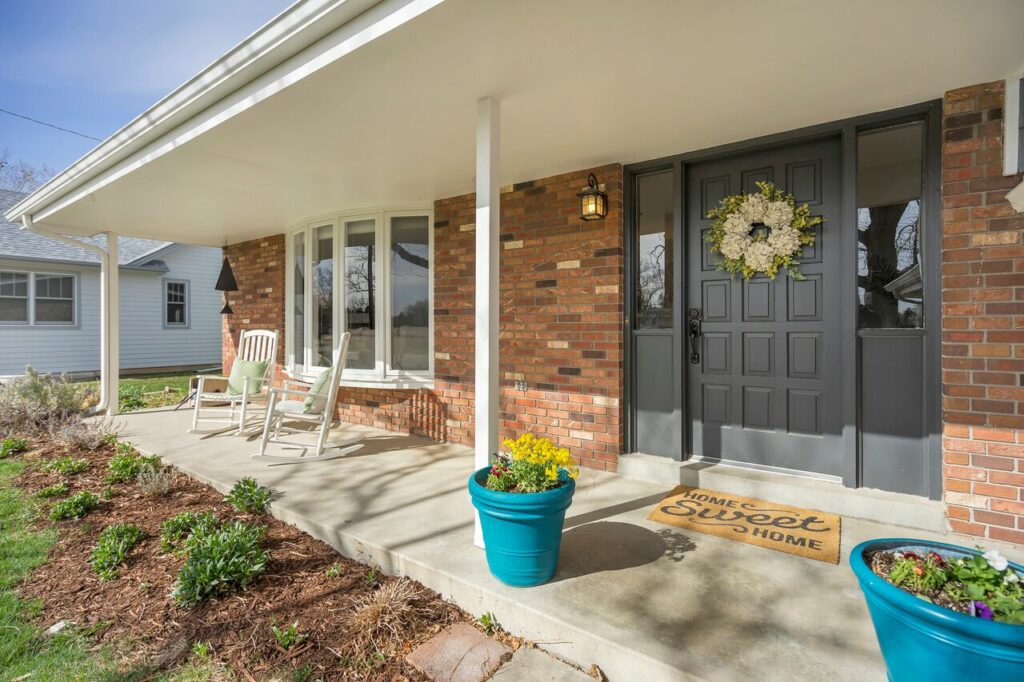
I am so excited to take you through my favorite project of our third house, the master bathroom renovation! Our previous house had an amazing master closet and master bathroom, so when we moved into our new house, the outdated and small master bathroom and closet were NOT ideal.

Master Bathroom Renovation | Before
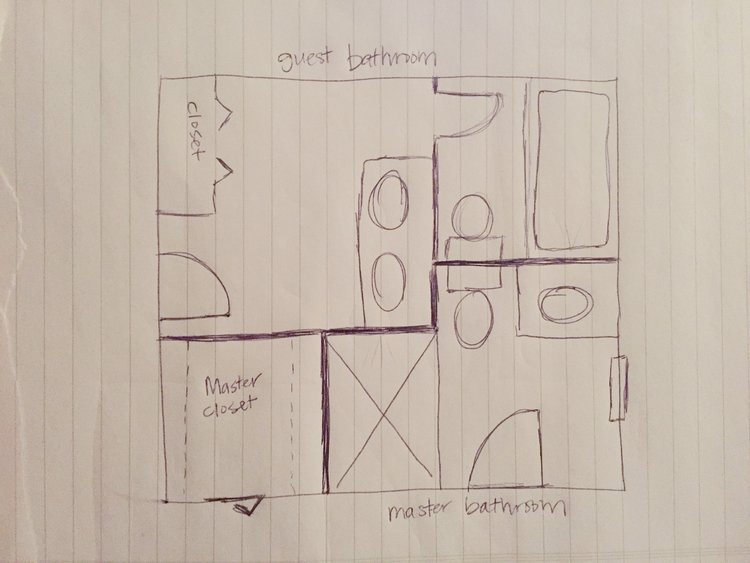
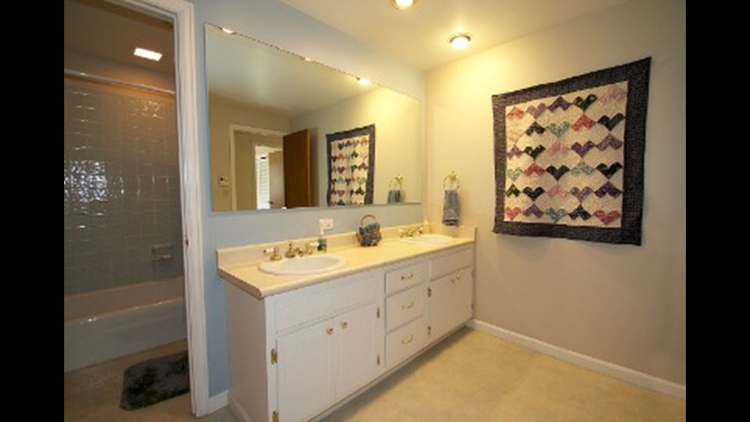
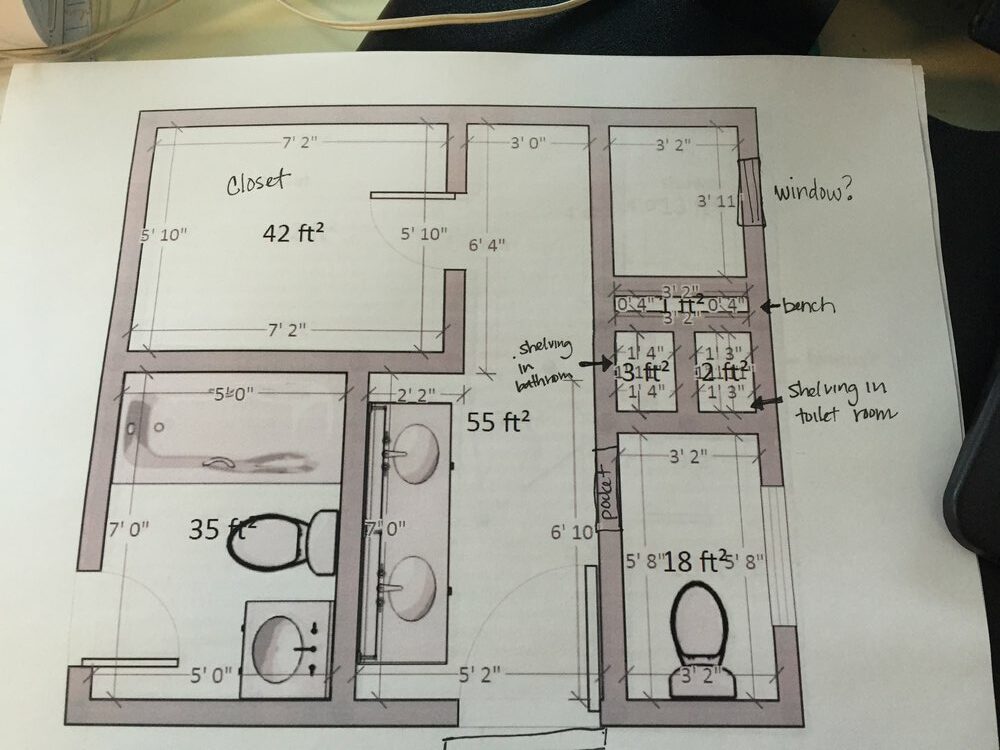
I am so mad at myself for not taking before photos of the bathrooms before demolition! To give you a better idea of the layout, I did a quick drawing to show the two bathrooms (not drawn to actual square footage):
The closet in our third home was large enough to hold most of my clothes, but Chris had to use the closet in the nursery. The master bathroom had a single sink and a small shower with a very low showerhead.
The guest bathroom had so much wasted space and there was something wrong with the hot water in the bathtub. Our poor son had to take lukewarm baths for the first few months of living in our home.
Since the bathrooms and closet were butted up to each other, we wanted to completely reconfigure the space to make each room more functional. This project would take our two full bathrooms out of commission so our first major project was adding a full bathroom to our basement.
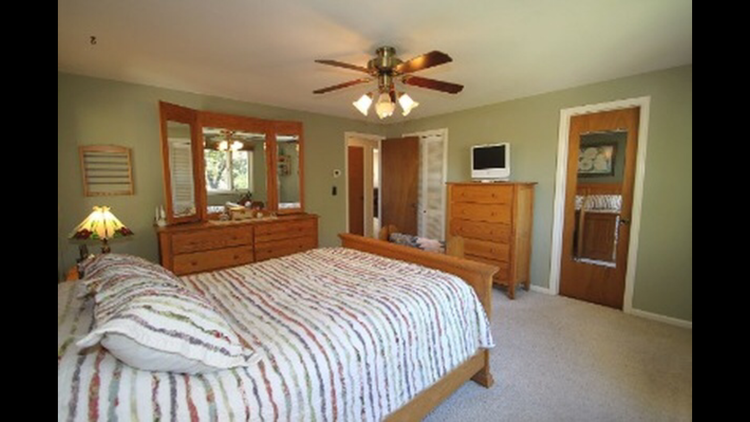
Once we had a working shower, we got to work on our upstairs bathrooms! I was already 6 months pregnant, so the goal was to complete this project in 4-6 weeks. Unfortunately, I do not have better photos of the master closet and bathroom, but you can see the entrances from the master bedroom in this image. The closet is behind the bifold door and the bathroom is behind the mirrored door.
Master Bathroom Layout Design Plans
The biggest challenge of this project was re-configuring the layout.
“MUST HAVE” List:
- Closet large enough for both of our clothes
- Larger shower
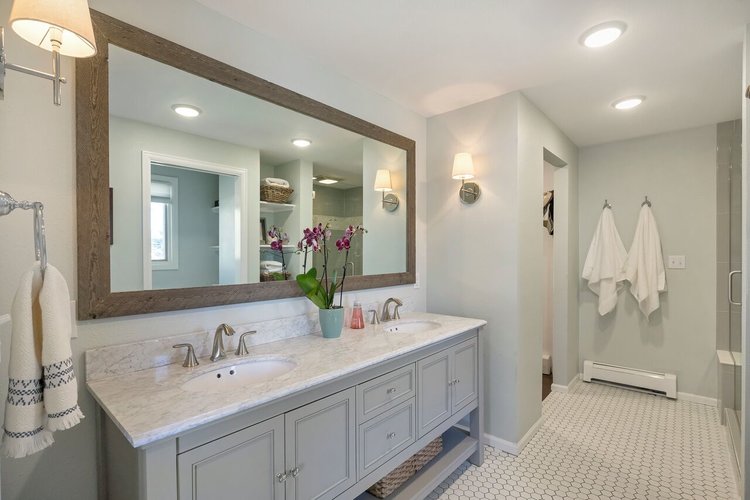
- Double vanity
- Private toilet room
The floor plan below is very close to the plan we went with (and includes everything on my wish list), but we flipped the guest bathroom layout so the door is on the other side of the room. Essentially we combined both bathrooms to become the master bathroom and closet. The original master bedroom closet became a small guest bathroom.
Bathroom Construction & Design Decisions
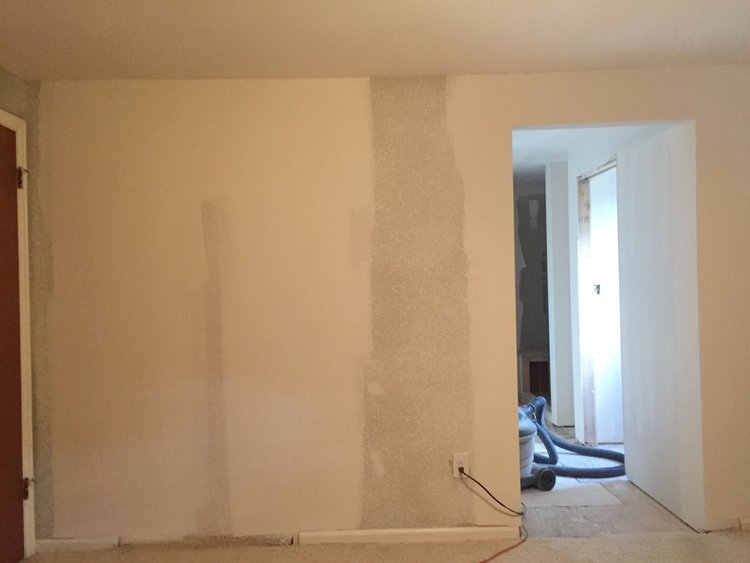
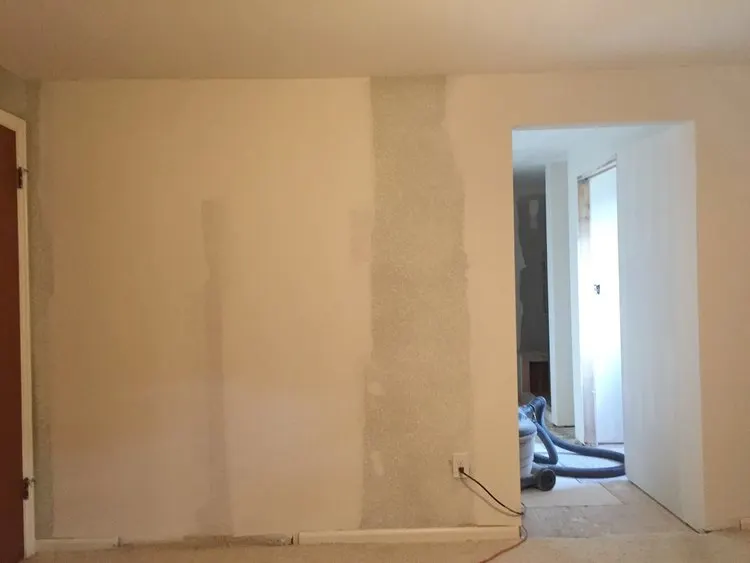
Once we finalized the floor plan, we wanted to get to work right away. Demolition was pretty easy and these three spaces were torn out in just 24 hours. We were so grateful for drywall since our last home had plaster walls and was not as easy to remove!
We quickly hired out the plumbing and electrical updates and installed the drywall ASAP. At this point, I am 6 months pregnant and need to put these bathrooms back together before our baby arrives!
Here is a snapshot of the master bath from our bedroom. You can see the closet entry has been closed up and the entrance into our new master bathroom.
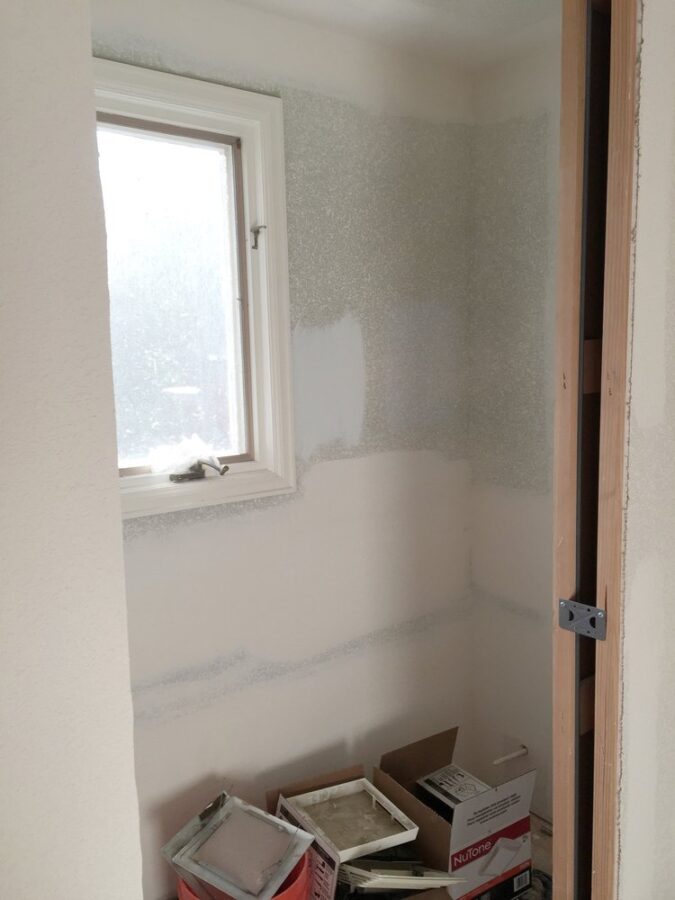
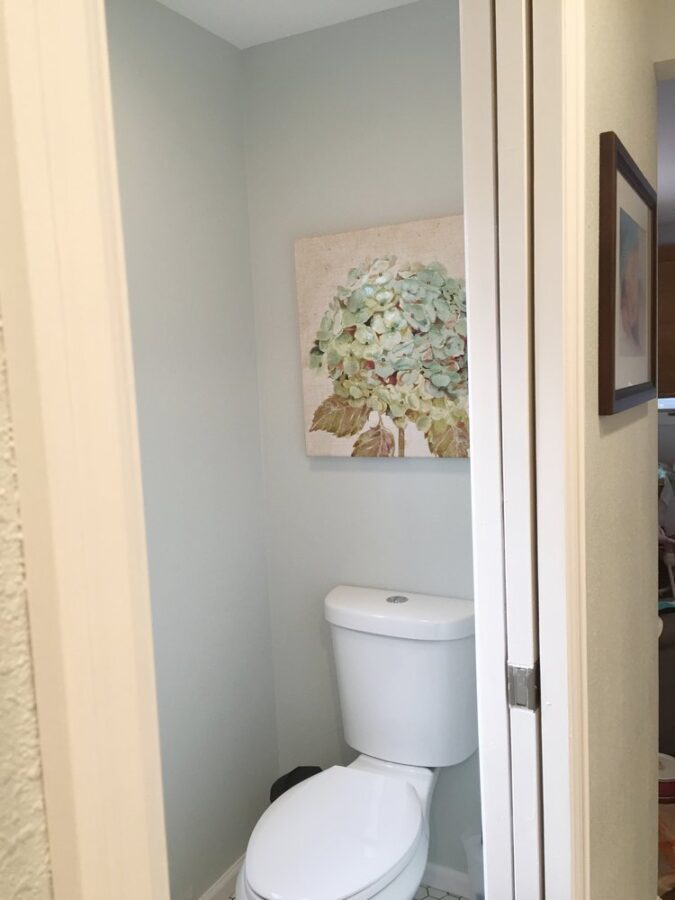
The private toilet room is underway! The window gives the room great light and also allowed us to not have to install another fan in the bathroom. We decided to install a pocket door to maximize space in the bathroom.

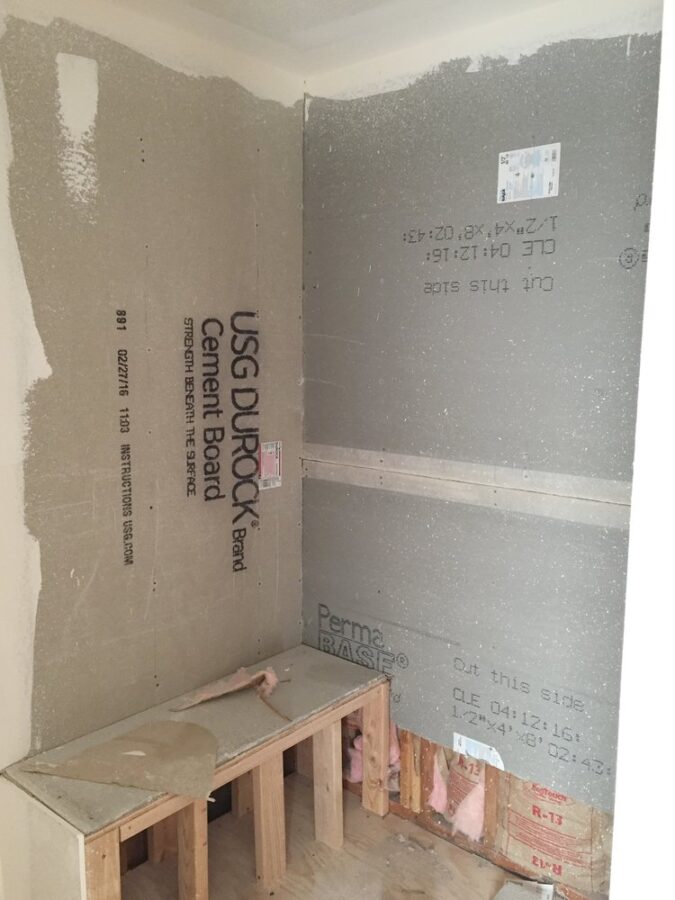
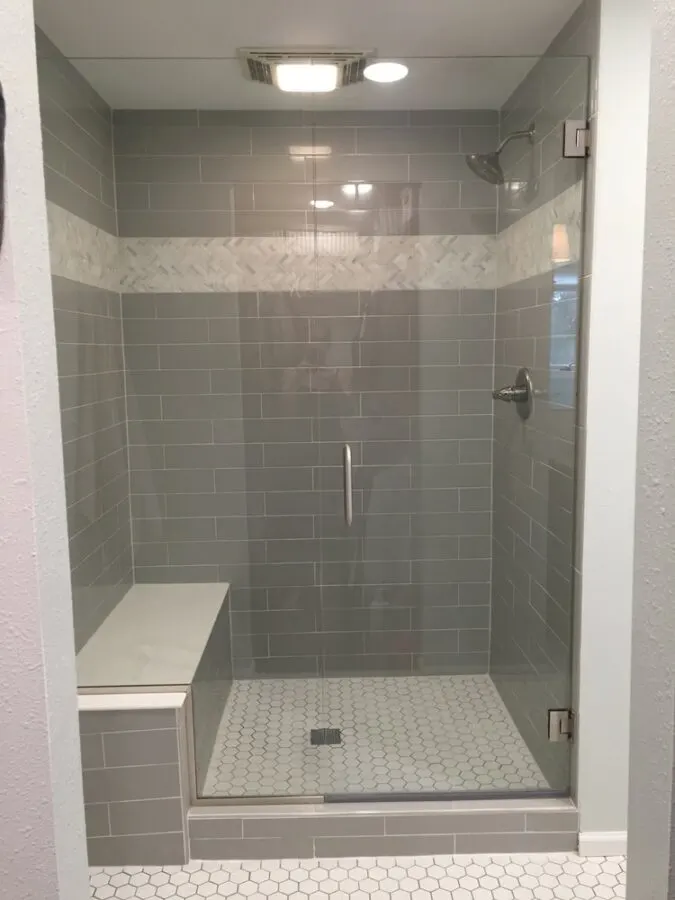
This shower is going to be so luxurious!

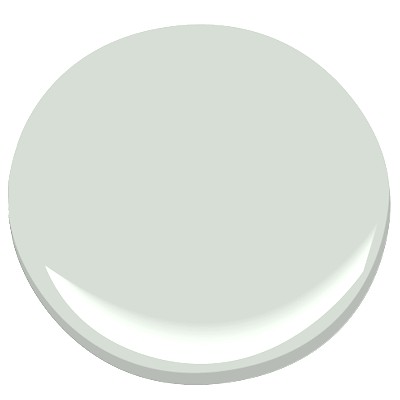
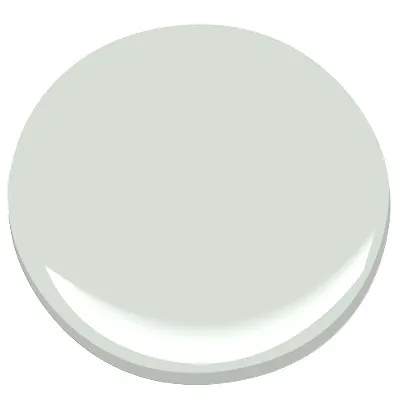
Next on the to-do list was to pick out paint & tile. I wanted the color to be relaxing so we went a calming blue gray color, Silver Crest by Benjamin Moore.
For the tiles, I went with a classic look with subway tiles and herringbone for the shower. For the floor, I chose a hexagon tile and dark grout.
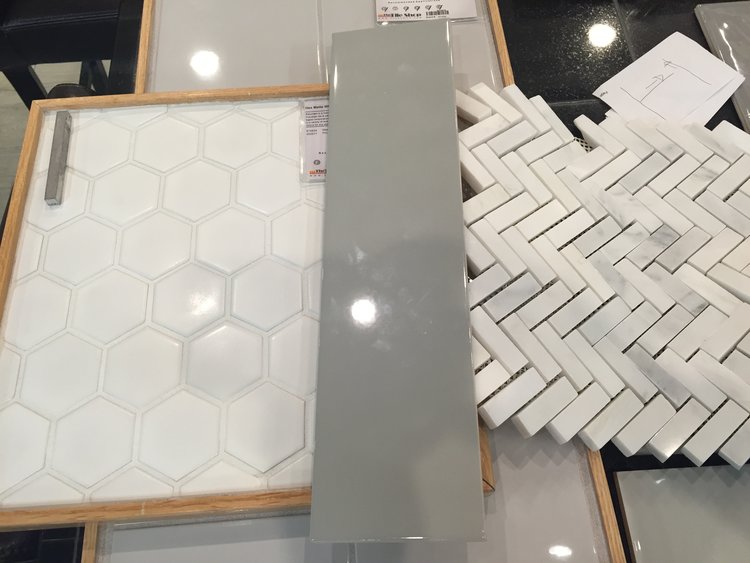

TIP: Price out the tiles you want at Home Depot or Lowe’s and ask a tile store to price match. The tiles tend to be better quality at a tile-specific store and it never hurts to ask! I priced out the tiles that I wanted at Home Depot and then went to the Tile Shop where they price matched and I saved close to $1,000!
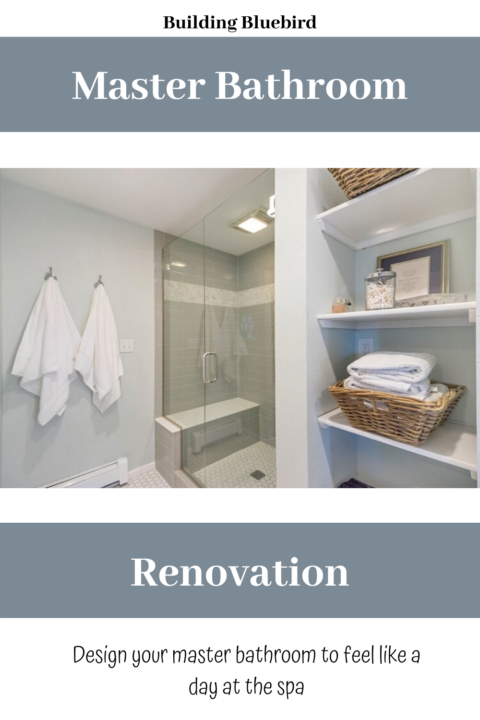
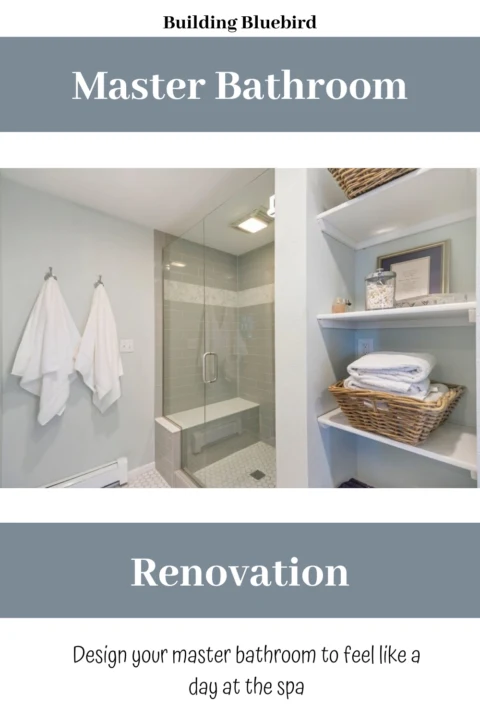
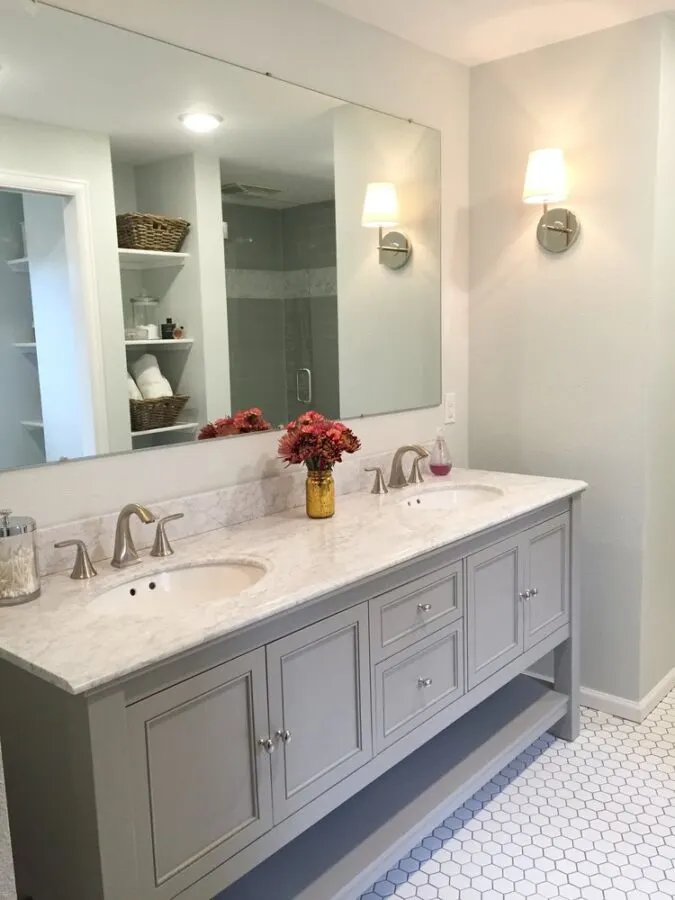
Master Bathroom Renovation: After
We still have a few tasks to complete in this bathroom, but like most of our other projects, we are 95% there. 🙂 We reused the mirror that was in the old guest bathroom and will build a custom frame around it. I am thinking we will distress wood and add a dark stain. This will make the bathroom a little less formal and add a rustic touch.

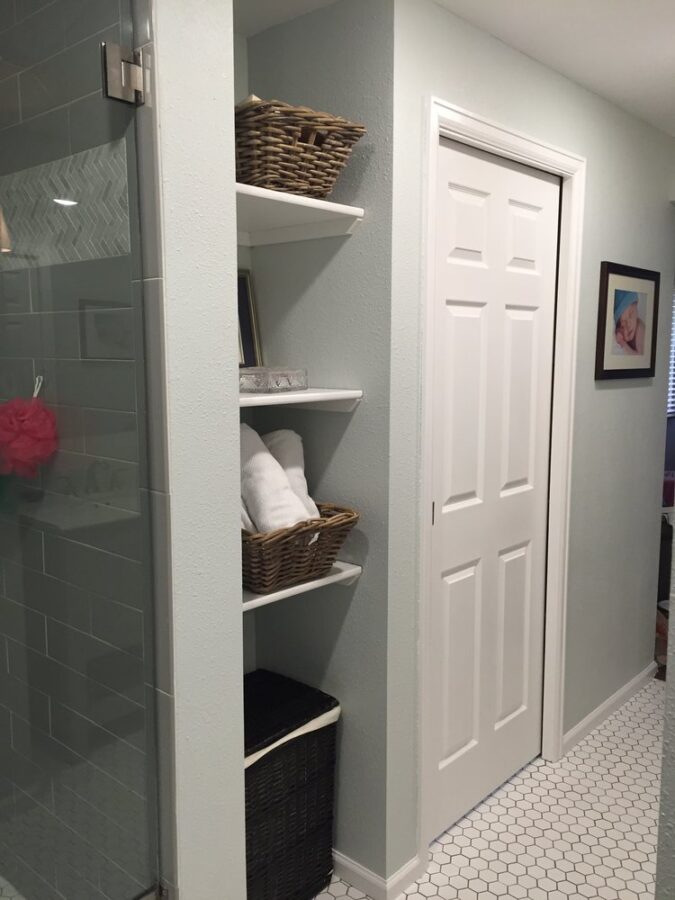
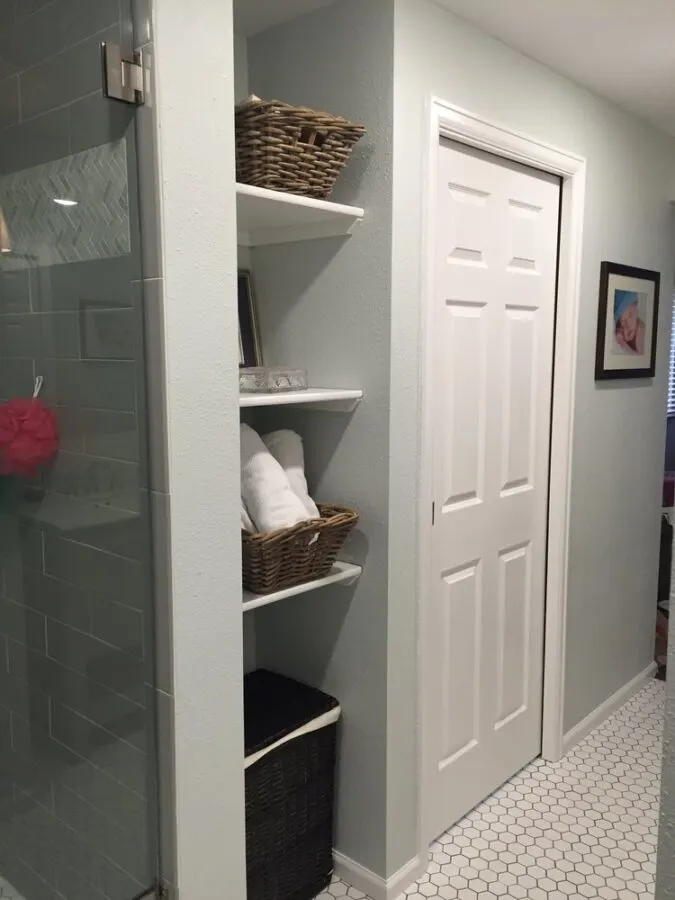
The shower could not be more perfect! I am so happy that we created these built-in shelving units to maximize the bathroom organization, too.
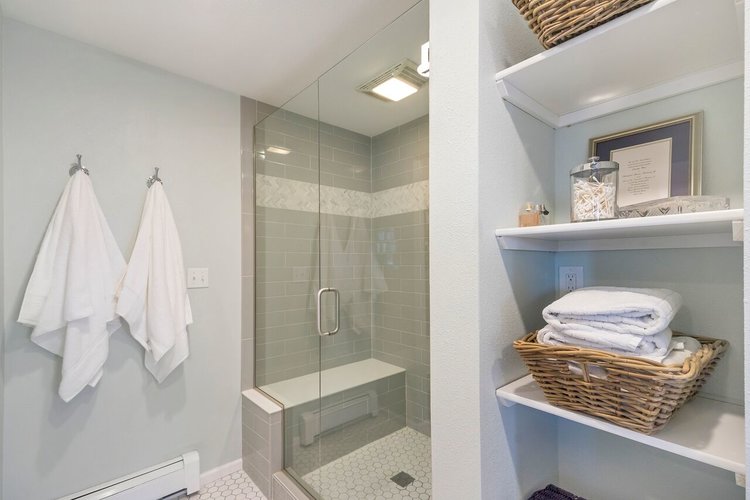
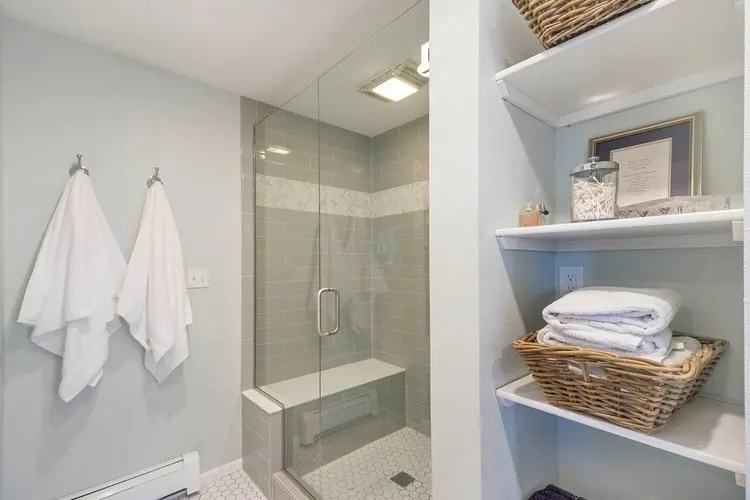

This bathroom has so much storage and my favorite little touch is that a laundry basket can fit perfectly in the nook.
The private toilet room is such a luxury!

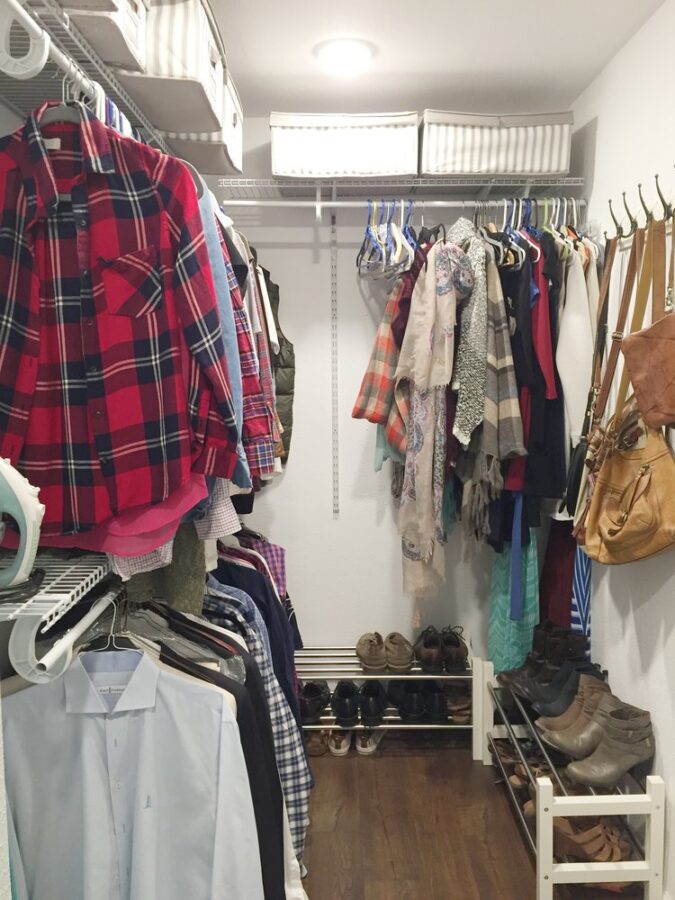
The new walk-in closet is the perfect amount of space for a couple! With its dual hanging rods on one side and row of hooks on the other, we had plenty of space for our clothes.

Here is the finished product once we finished the last 5% of our projects!

I am still in awe of how much we accomplished in the first 6 months of owning this home. This master bathroom renovation was a huge undertaking and I am so proud of the finished product.