Last Updated on January 12, 2024 by lindseymahoney
The second-floor bathroom at our Toledo flip house was in dire need of a makeover! It needed to be completely gutted on a tight budget, but with some creative solutions and a pop of green on the walls, this bathroom makeover looks like a million bucks!
Because the bathroom ceiling is slanted, the shower/tub, toilet, and vanity were all squished onto one wall. It felt small and cramped and I was excited to improve the layout of this space.

Along with layout issues, the bathroom was filthy and the tub was leaking into the first-floor bedroom.
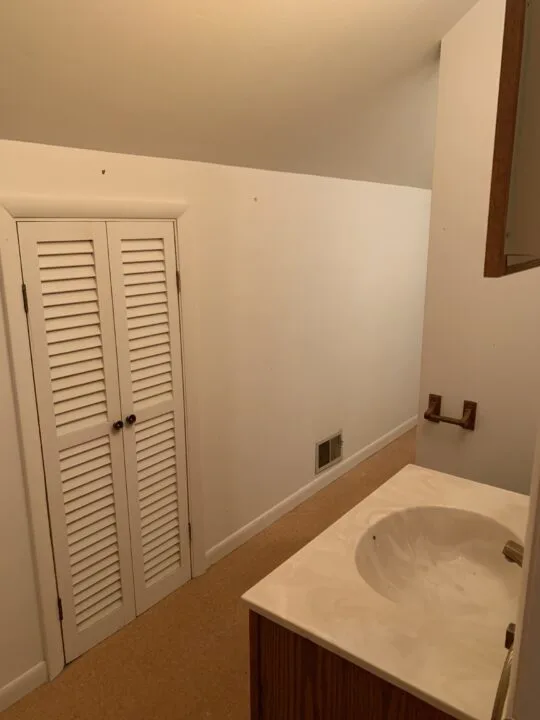
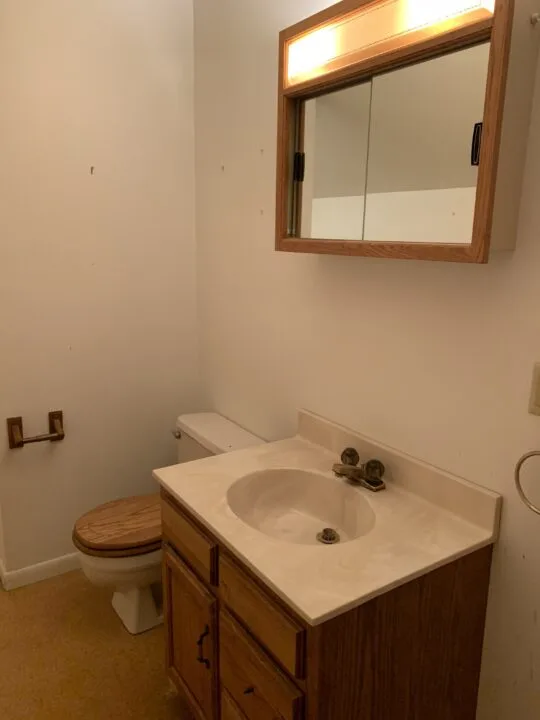
Here is the punch list for this bathroom:
- Remove the bathtub and create a walk-in shower at the back of the room
- Plumbing: Move the guts of the shower and drain, push the toilet closer to the shower, and move the plumbing for a larger vanity
- Electrical: Install an exhaust fan and sconces around the vanity mirror
- Drywall repairs
- Tile the shower and floors
- Paint the walls
- Install the vanity
- Install bathroom accessories
- Installation for custom glass shower door
I am excited to share one of my favorite bathroom transformations with you today – let’s get started!
Beautiful Green Bathroom Makeover
This post contains affiliate links, thanks for supporting Building Bluebird!
For a complete list of bathroom sources, scroll to the bottom of the post.
Bathroom Demolition
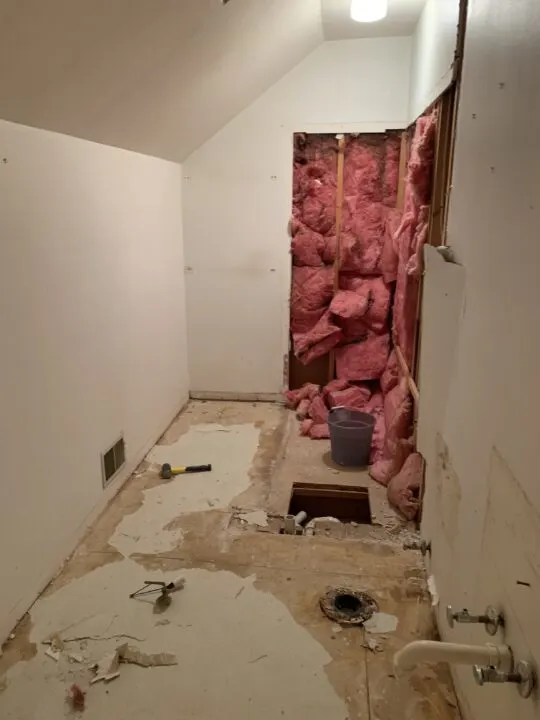
First, we needed to tear out the old bathroom. Chris and my dad ripped out the bathroom quickly, however, I forgot to order the dumpster!
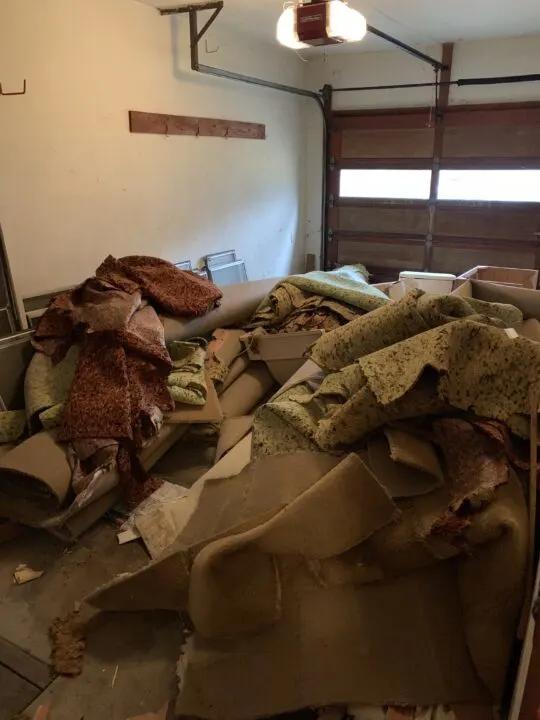
When it finally arrived, I had to drag all of the debris from the garage into the dumpster on a cold, fall day.
Plumbing and Electrical
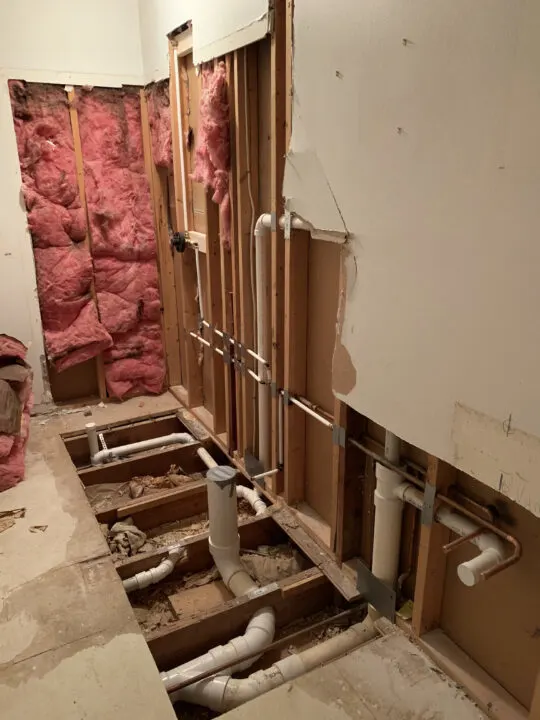
With the bathroom now empty, we hired a local plumbing company to move the plumbing fixtures for the new shower location, vanity, and toilet.
For the shower design, I felt comfortable eliminating the bathtub because the first-floor bathroom still had a tub that could be utilized. I also added a bench to the shower for shower products and to prop a leg when shaving.
Next, an electrician installed an exhaust fan in the ceiling and wired two sconces to frame the mirror above the new vanity.
Once the plumbing and electrical were finished, we hired a handyman to install drywall and lay the flooring.
Bathroom Tile
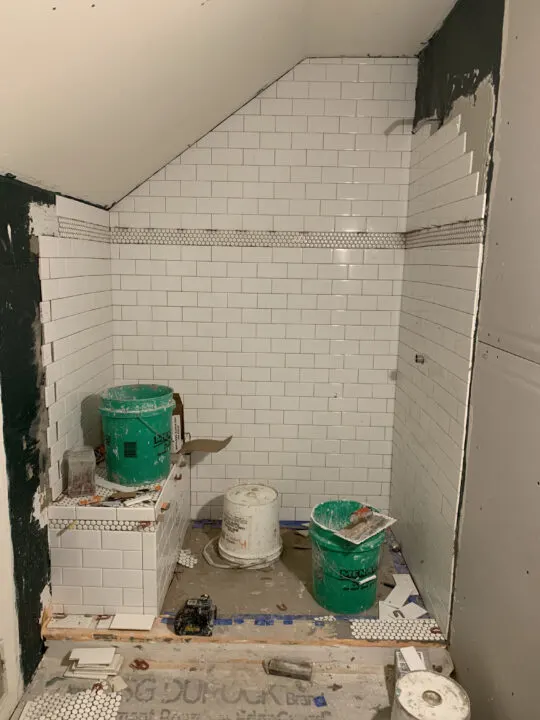
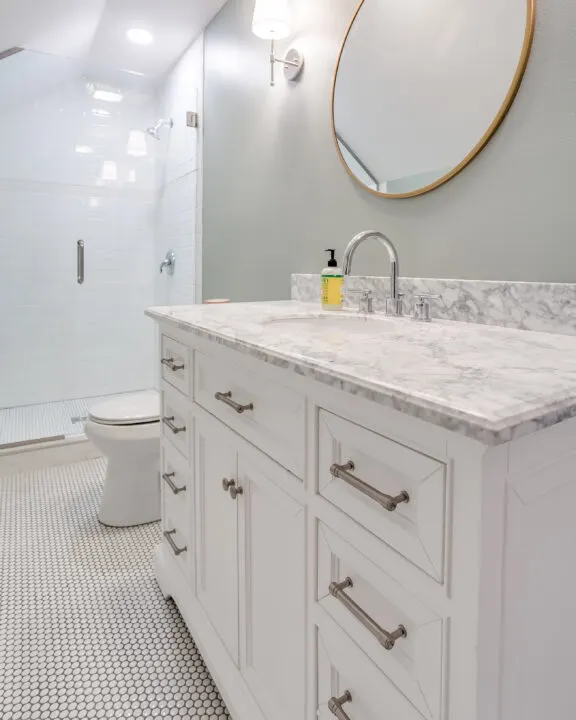
The house was built in the 1950s so I wanted to stay true to the era of the home when choosing the tiles. Subway tile, penny tile, and hexagon tiles are all timeless and era-appropriate for a 1950s home. Luckily, these three tile designs are pretty affordable, too.
For the shower walls, I chose a white grout and for the floor tiles, I chose a dark gray grout.
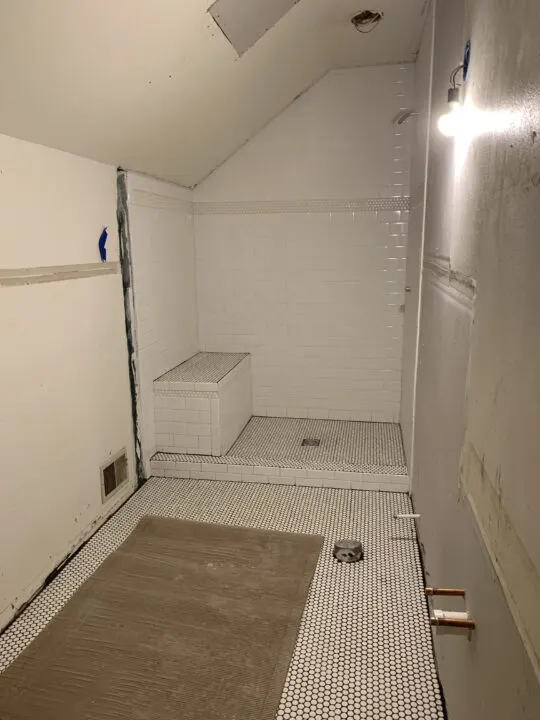
Because we were renovating this home with the intention of selling it, our budget was constantly on my mind. I called a few local tilers and they were way out of my price range.
Luckily one of the contractors gave me the number of a newer tile contractor who was less expensive.
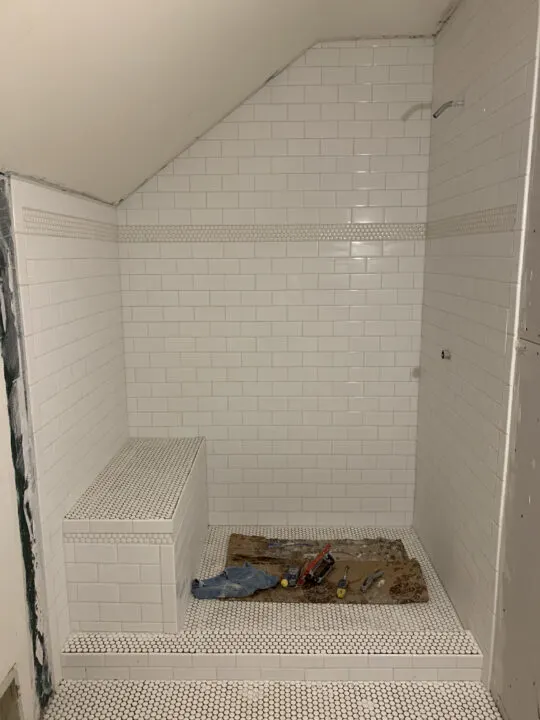
I was able to shave down the cost further by purchasing all of the materials for the tile contractor and dropping them at the house. Contractors charge for their time to pick up materials for the job and usually add an upcharge to the products.
Overall he did a good job in the bathroom, but I had to babysit a little bit with getting them to the job site and redo a few areas that didn’t look great.
Shower Door
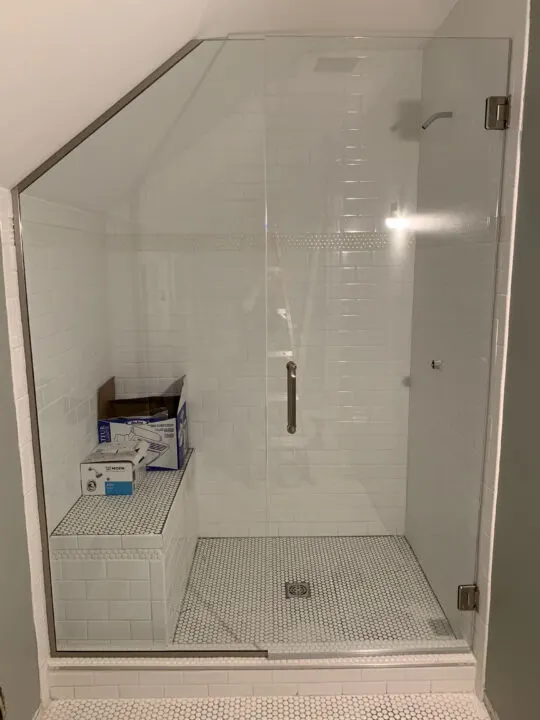
We have installed glass shower doors in previous homes and so I used that estimate when pricing out the bathroom renovation. What I didn’t consider was that this shower door had to be custom-made because of the slanted ceiling.
This added about $500 to the bathroom budget which we were not expecting!
Green Bathroom Walls

With white tile and white vanity, I definitely wanted to warm up the bathroom with a little color on the walls.
I settled on Oyster Bay by Sherwin Williams (SW 6202) and it was the perfect gray-green for the bathroom!
New Vanity & Accessories

The original vanity was very tiny with little counter space.
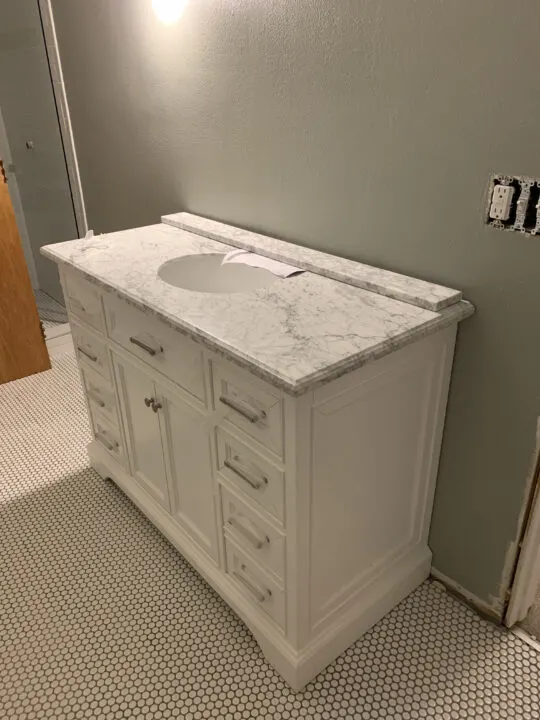
With the shower stall pushed to the back of the room and the toilet shifted slightly, we had more room to install a larger vanity.
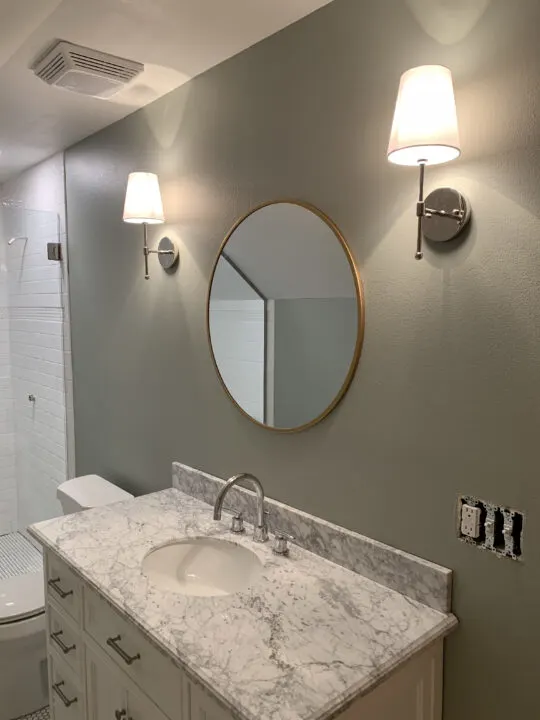
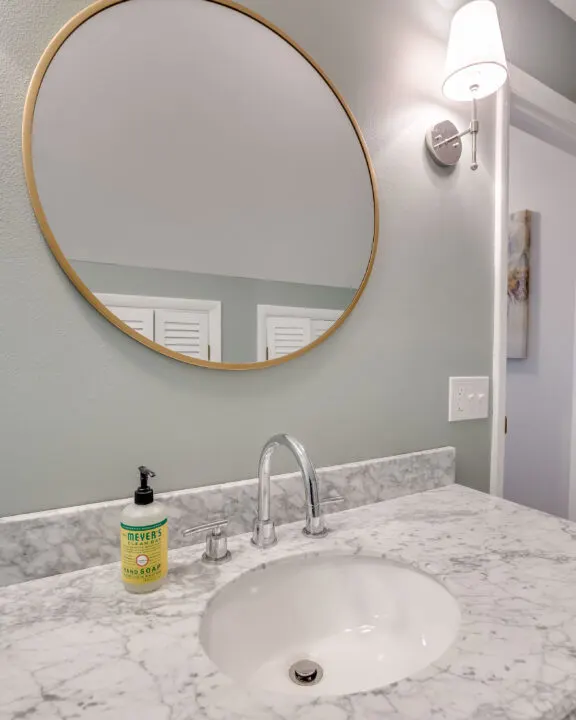
When it was finally time to hang the mirror and attach the sconces I could barely contain myself! It felt so good to hang the last remaining items on the wall for potential buyers to sell.
Green Bathroom Makeover Reveal
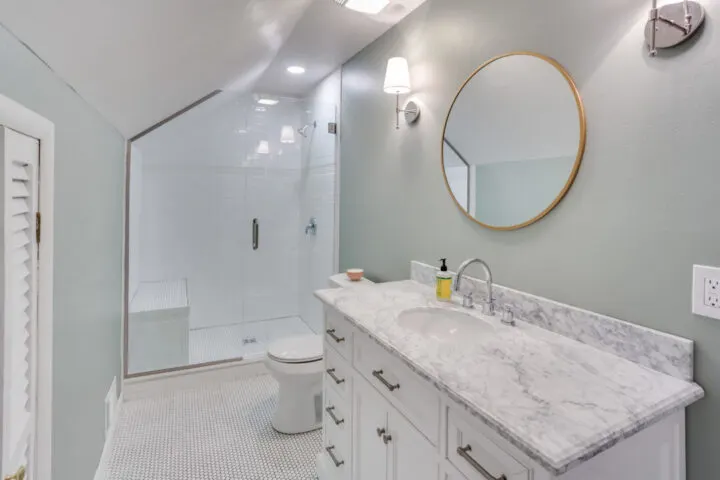
Adding function to a space is one of the most rewarding parts of home renovation. I am so proud of this green bathroom makeover.
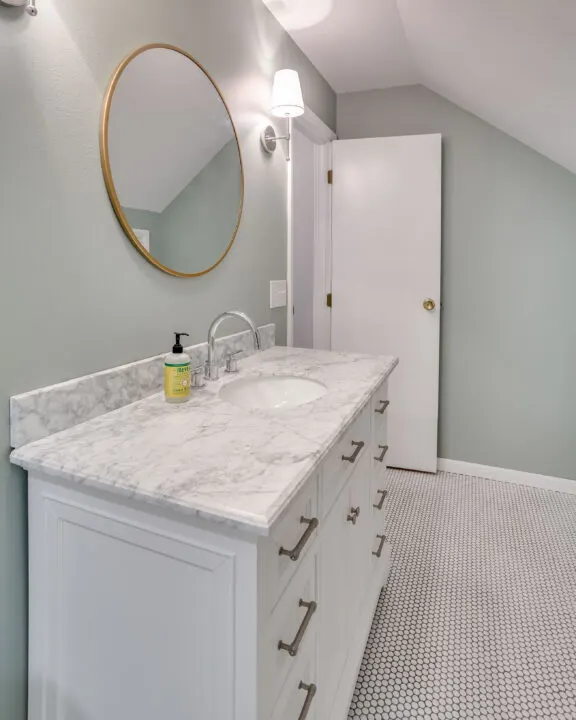
The sage green walls and gold-framed mirror add just the right amount of warmth to the new bathroom.
Bathroom Source List
- Wall Color: Sherwin Williams Oyster Bay (SW 6202)
- 3×6 Subway Tile
- Penny Tile
- Hexagon Tile
- White Vanity
- Gold Mirror
- Toilet (similar)
- Shower Door (similar)
- Sconces (similar)
- Exhaust Fan
The overall cost of labor for this bathroom was about $3,500. The materials totaled about $2,200. I am thrilled with the $6,000 complete bathroom makeover that included layout changes that rerouted plumbing.
More Content You Will Love
- 8 Ways to Update Your Vintage Tile Bathroom
- Rich Moody Paint Colors To Try at Home
- Subway Tile Backsplash DIY | Beginners Guide
- Eider White Sherwin Williams Paint Color Review
- The Easy Way to Paint Kitchen Cabinets (no sanding!)
- Evergreen Fog by Sherwin Williams | Color Review
- Master Bathroom Renovation | Wheat Ridge Home
