
Last Updated on January 6, 2024 by lindseymahoney
This DIY, budget kitchen makeover is one of my favorite projects yet!
My brother and sister-in-law, Jon and Shannon, live in a beautiful 1930s home with their three adorable boys. With their busy full-time schedules, their dated kitchen was not functioning with this current season of life and did not represent their style either.
Because a full renovation is not in the cards right now, we came up with a very affordable plan to give this small kitchen a glow-up!
*Check out Jon and Shannon’s previous home, a 1920s American Colonial, that they lovingly restored.
Small Kitchen Budget Makeover | Before
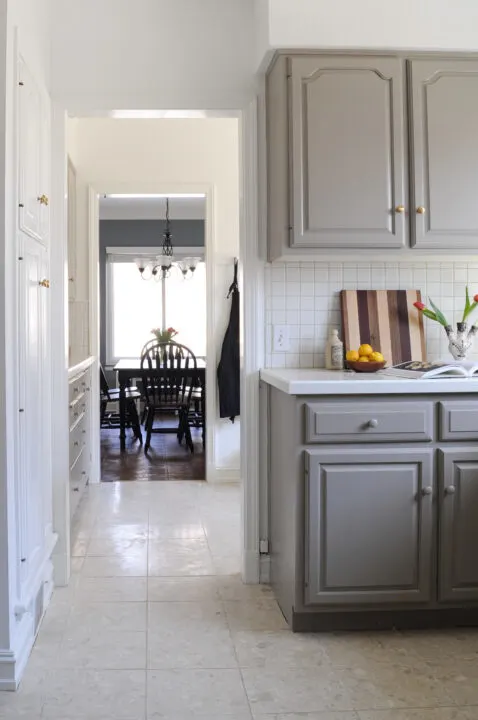
Their kitchen is split into two spaces, the main kitchen area and the butler’s pantry. One wall of the main kitchen area includes the fridge, stove/oven, microwave, and pantry that originally stored their garbage cans.


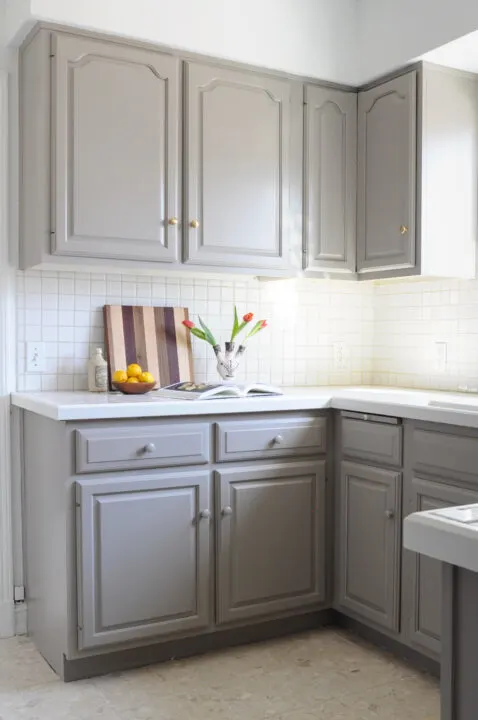
Across from the oven are the sink, dishwasher, and cabinets for storage. The biggest challenge in this small kitchen is storage or lack thereof.

This lack of storage causes the countertops to become cluttered easily. I have some great DIY projects to address this small kitchen storage issue.

The room next to this main kitchen area is the butler’s pantry with the original cabinets on one wall.


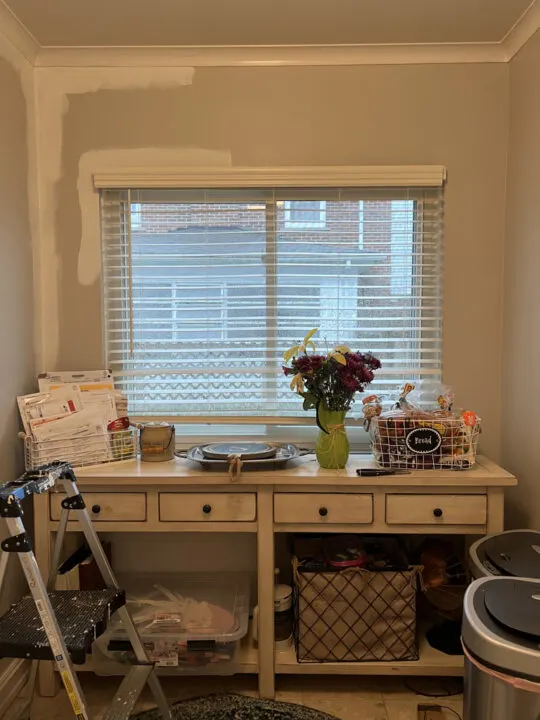
The area across from the cabinet wall in the butler’s pantry is an open space with a large window and console table.

DIY Kitchen Makeover Punch List:
- Repair/fill any holes
- Paint the walls, trim, and ceiling a crisp white
- Paint the cabinets greige
- Replace the knobs
- Paint the countertop trim white
- Install shelves in the pantry closet to store food
- Purge and declutter kitchen items
- Reorganize kitchen items into cabinets that fit their current daily habits
- Clean grout on the countertops and floors
- Accessorize!
Top Tips for Tackling a Budget Friendly Kitchen Makeover
[This blog post contains affiliate links, thank you for supporting Building Bluebird! Scroll to the bottom of this post for the project source list.]
I couldn’t wait to get started on this kitchen. With a little love (and lots of paint), I knew we could make all of this kitchen’s best features really shine!
1 | Paint the Kitchen Walls
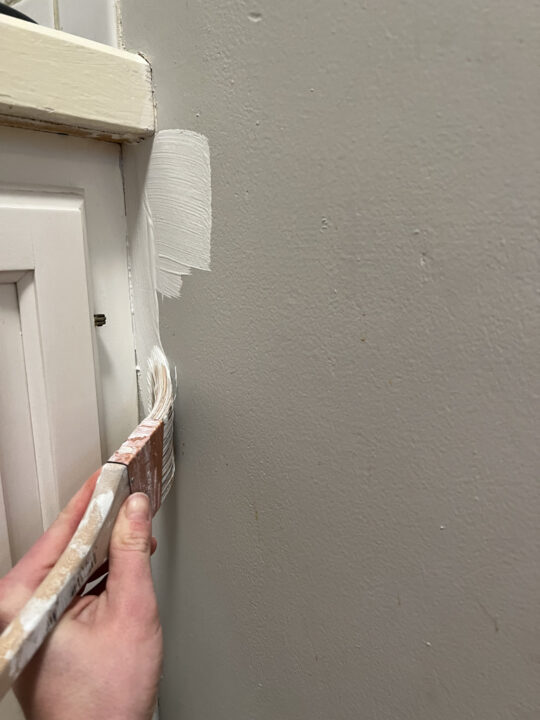
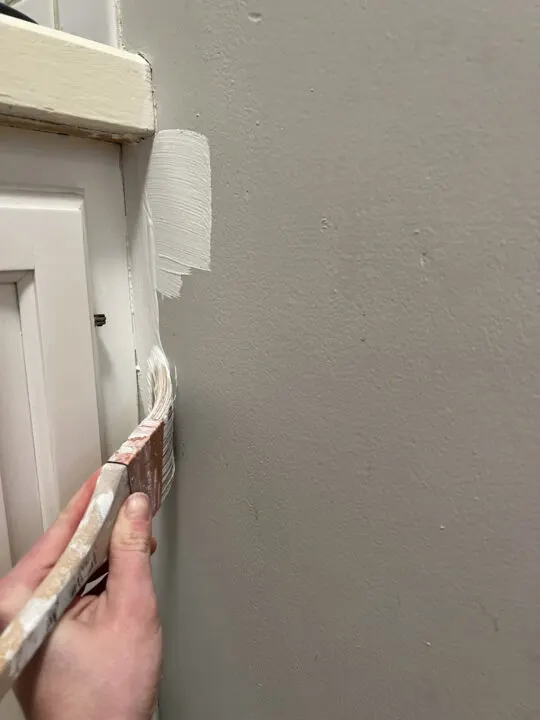
My favorite way to update a space with a tight budget is with paint! We painted every inch of this kitchen and it did wonders to freshen up the entire space.
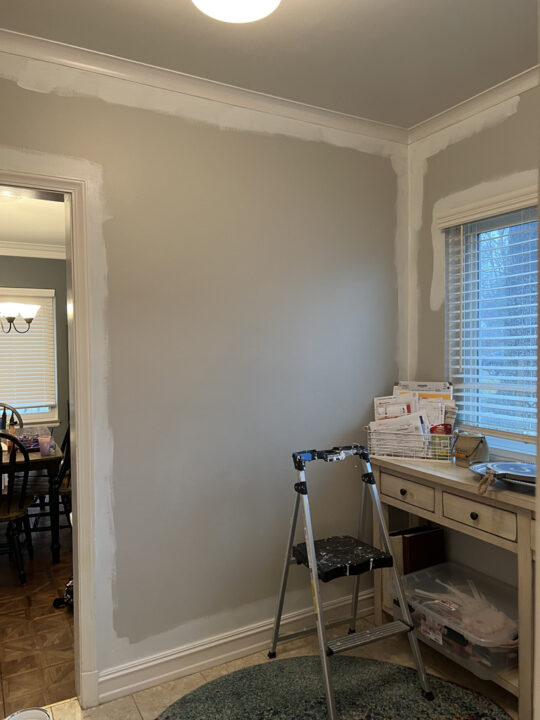

For the walls, I chose Pure White by Sherwin Williams, to create a nice clean slate in this smaller kitchen.
Next, I painted the trim in semigloss, untinted white, and the ceiling white in a flat sheen.
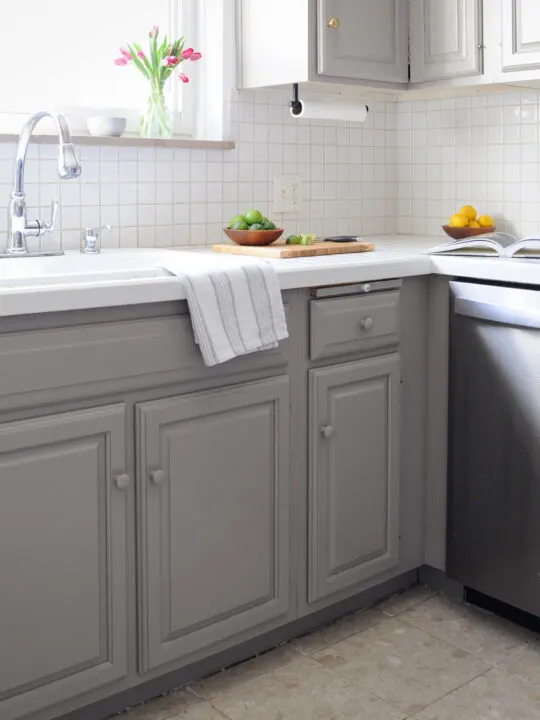
2 | Kitchen Cabinet Refresh with Paint
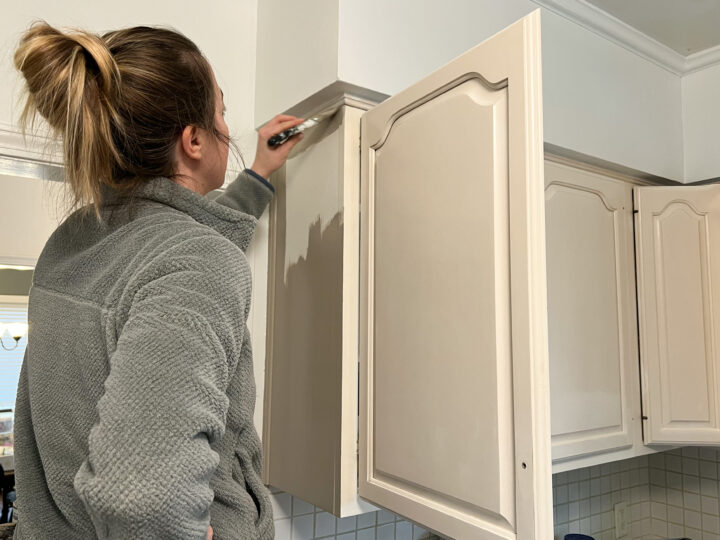
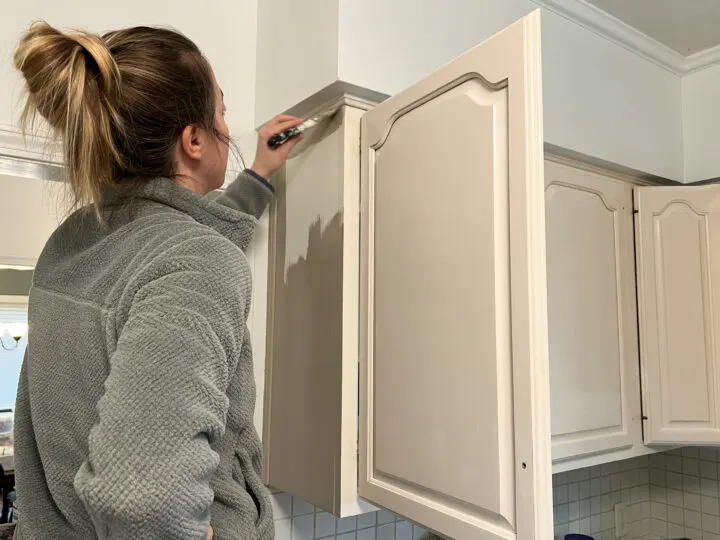
Next, I painted the kitchen cabinets a warm mushroom color from a Rustoleum Cabinet Painting kit called Greige.
I love using these kits because it includes everything you need and there is no sanding required. We had just enough to paint two coats on all of the cabinets.

On the lower cabinets, I replaced the knobs with simple wooden knobs and painted them the same color as the cabinet. Brass knobs were added to the upper cabinets for a higher-end look.
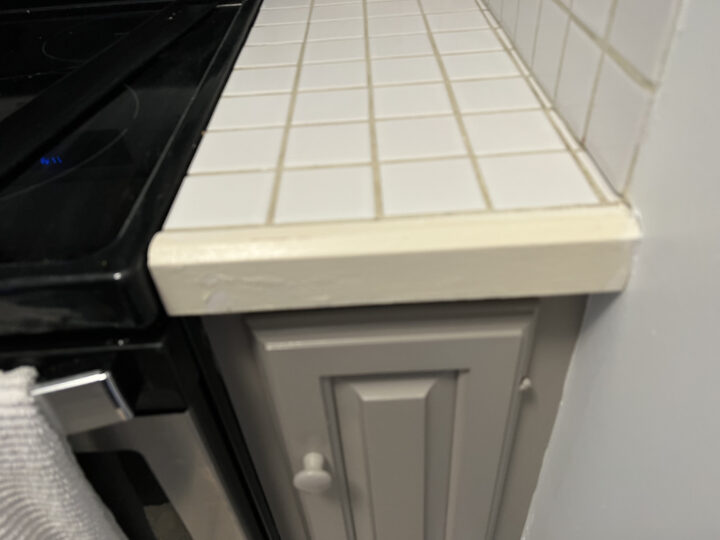
3 | Scrub the Existing Countertops
The tiled countertops are not ideal, but we made the best of what this little kitchen has to offer! Using a homemade grout cleaner, the countertops shined up pretty well!
I applied two coats of white trim paint around the edge of the counter which cleaned them up nicely.
*Check out how I updated our laundry room countertops using contact paper!
4 | Clean the Tile Floors and Grout

Although Jon and Shannon don’t love the kitchen floors, the good news is that they are durable and a neutral color.
My SIL, Shannon, spent hours cleaning the grout on the floor using our DIY solution and it made such a big difference! Cleaning grout is one of the most satisfying tasks!
5 | Maximize Storage with Clever Cabinet Organization

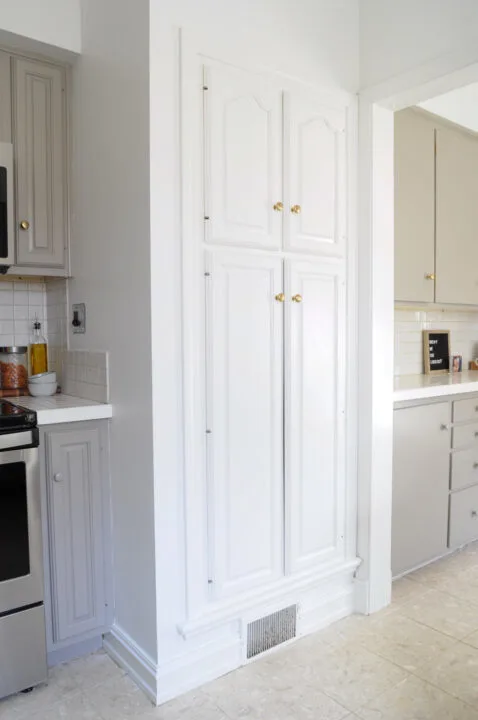
Because the kitchen pantry is set into the wall, I kept pantry doors and trim the same color as the wall.
It would look odd if the pantry cut-out was the same color as the cabinets. Painting them white creates a seamless look.
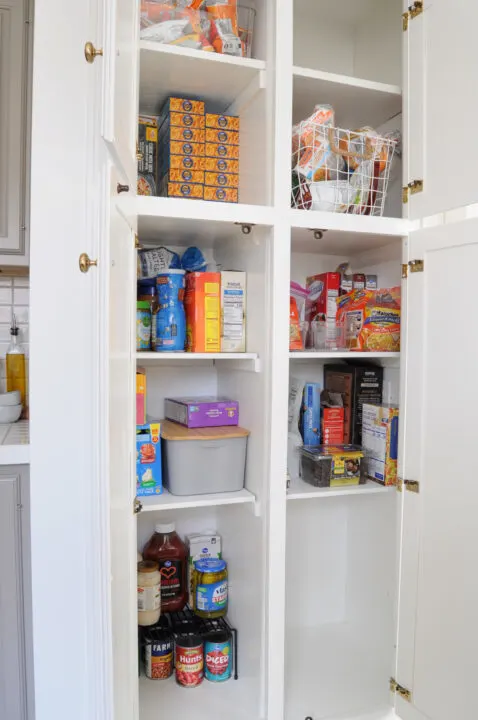
Jona and Shannon previously kept their trash cans inside these cabinets. While it is nice to have trash and recycling out of sight, a pantry is better used to store food, especially in small kitchens!
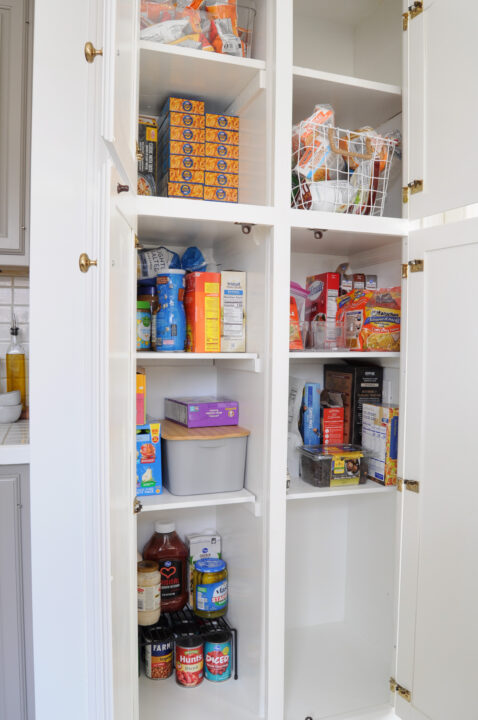
My dad and brother spent a weekend painting the inside of the cabinet and installing shelves to store food. This was a great DIY project within our budget that really decluttered the kitchen counters.
If your trash and recycling bins can’t be hidden, stainless steel bins with closed tops look great. We placed the two bins in the butler’s pantry where they are still somewhat hidden, but easily accessible.
6 | Organize Similar Kitchen Items for Easy Use

Once the food was moved into the pantry, there was so much space in the other cabinets! We corralled all of the items used for similar tasks into one area of the kitchen.
For example, all of the coffee supplies are kept in one cabinet with all of the utensils within arm’s length.
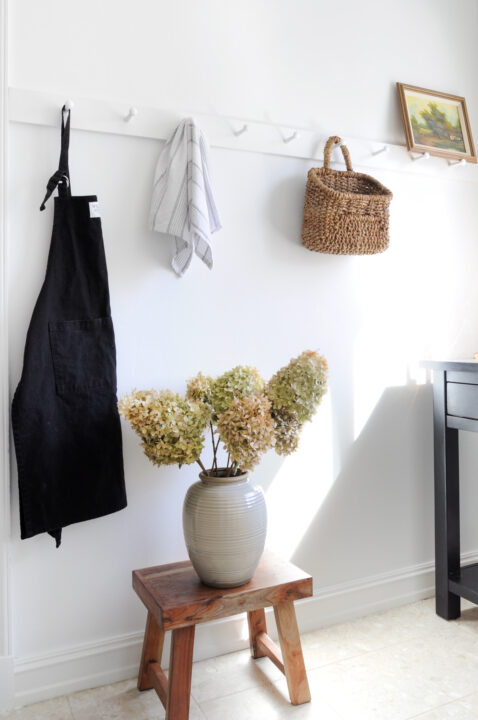
7 | Add Wall Storage with a DIY Shaker Peg Rail

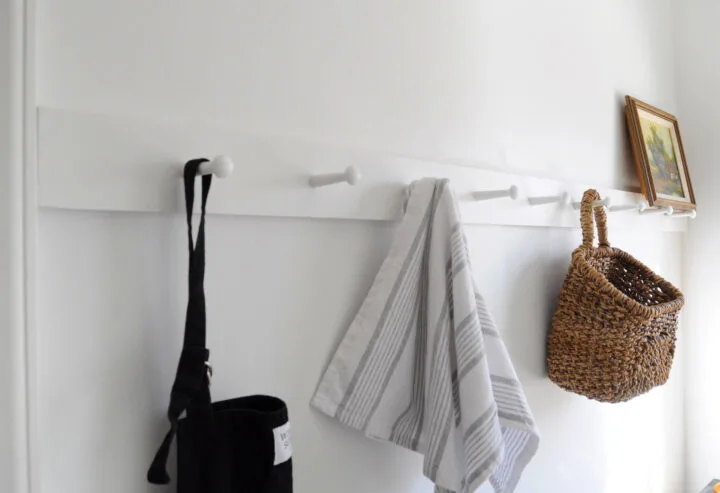
This DIY peg rail is one of my favorite additions to the budget kitchen makeover. Peg rails are easy to make and offer so much function!
For $20, we installed a large peg rail that can hold lunch boxes, bibs, aprons, bags, you name it! I painted it the same color as the wall for a simple and clean look.
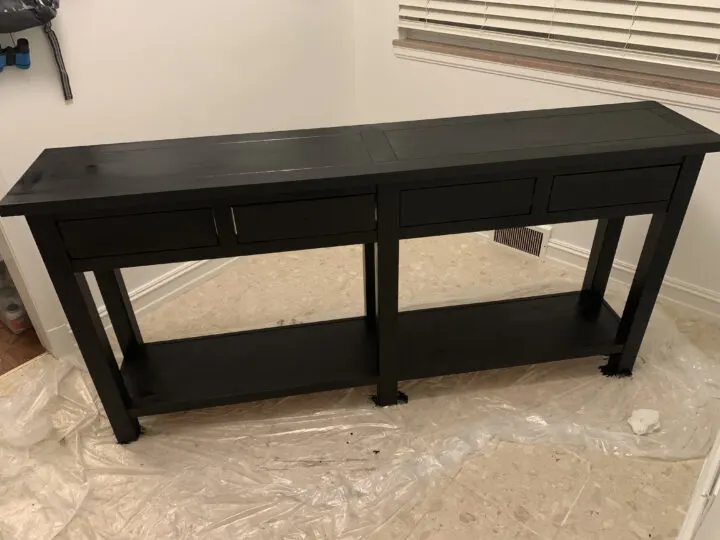
8 | Paint the Old Side Table Black
With the fresh coat of paint on the walls, the off-white console felt bland.
Every room can benefit from a pop of black to anchor the space so we painted the table black!
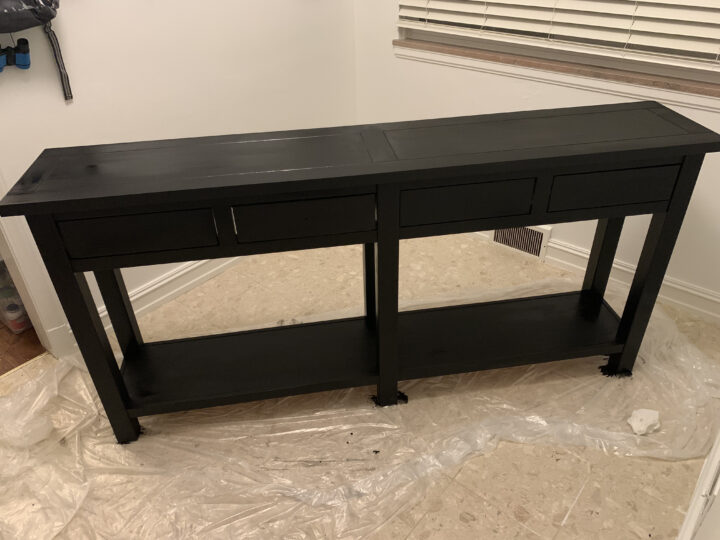
The best part is that I had black paint left over from another furniture project so it didn’t cost us a thing!
DIY, Budget Kitchen Makeover Reveal
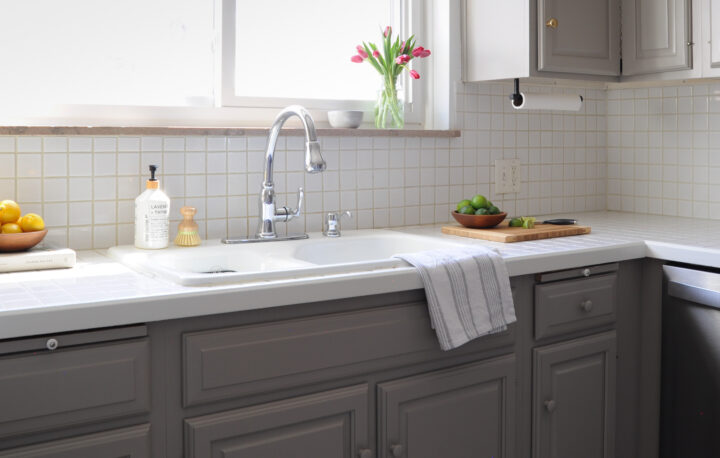
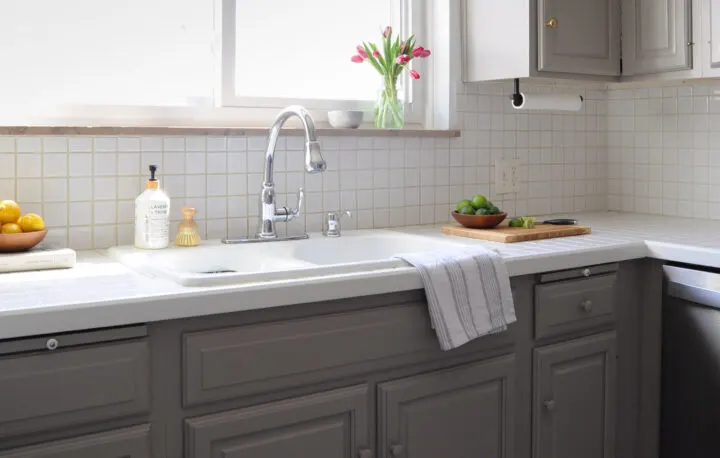
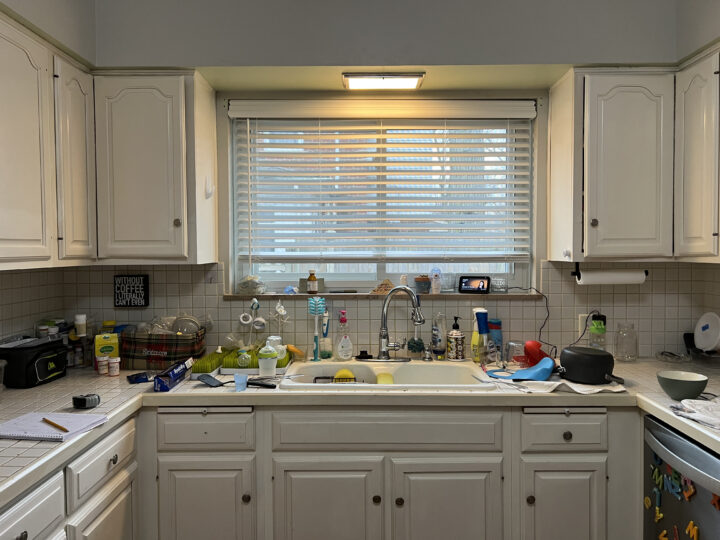
Kitchen Sink
Here is a reminder of how the kitchen sink area looked before.
And that same view after.
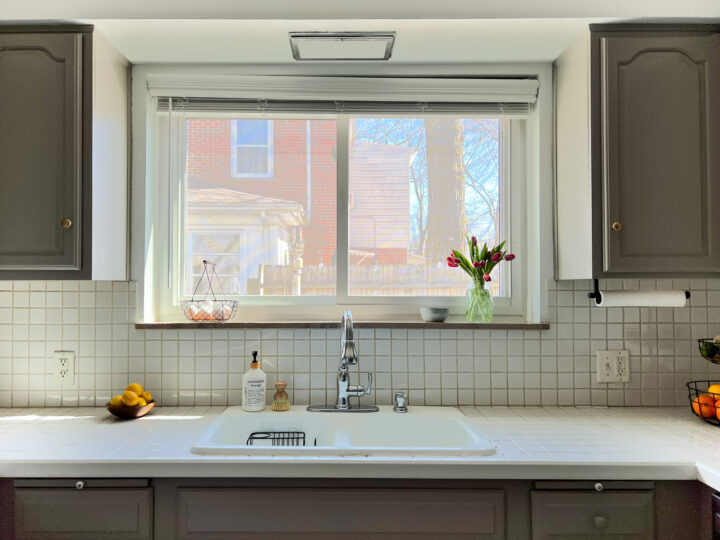

One way that I decluttered this sink area was to utilize the soap pump built into the sink itself! This feature is often overlooked by homeowners either assuming it is broken or they don’t know how to fill it.

I unscrewed the plastic bottle below the sink and it clearly had never been used by the previous homeowners either. This eliminated one bottle from the sink area – wahoo! I also recommend storing specialized soaps under the sink and pulling them out when needed.
Kitchen Countertops
Originally, I considered painting all of the countertops and backsplash, but a good grout cleaning did wonders! The photo is a bit blurry, but you can see the countertops and yellowed trim before the kitchen makeover.
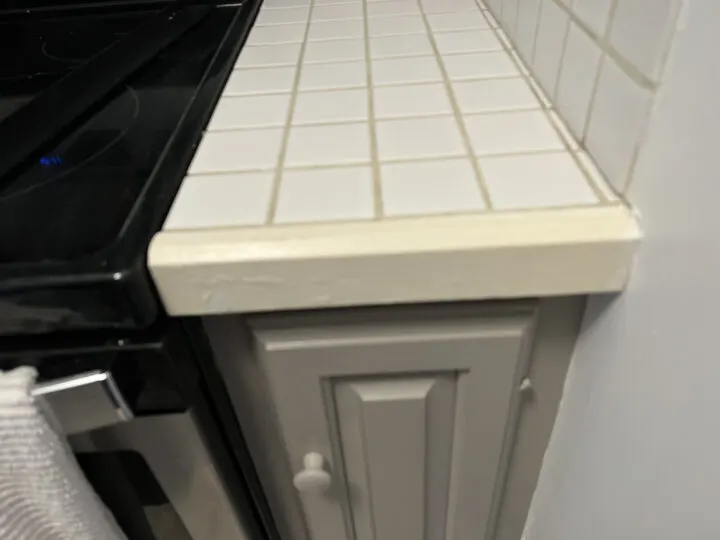
With the grout clean, I painted the countertop trim a clean white for an updated look.
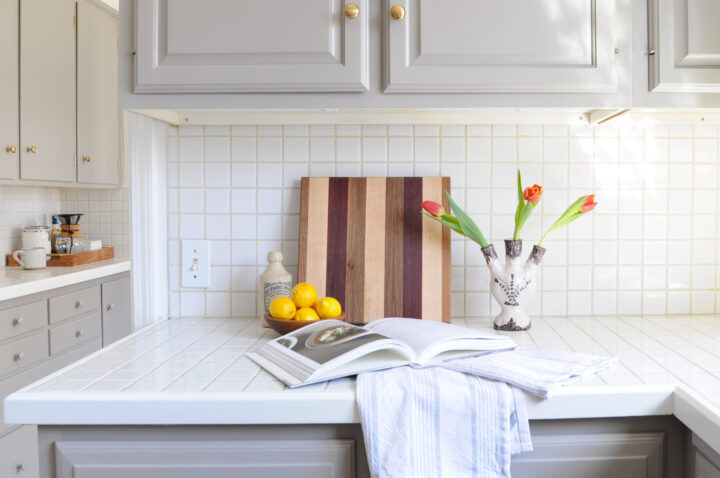
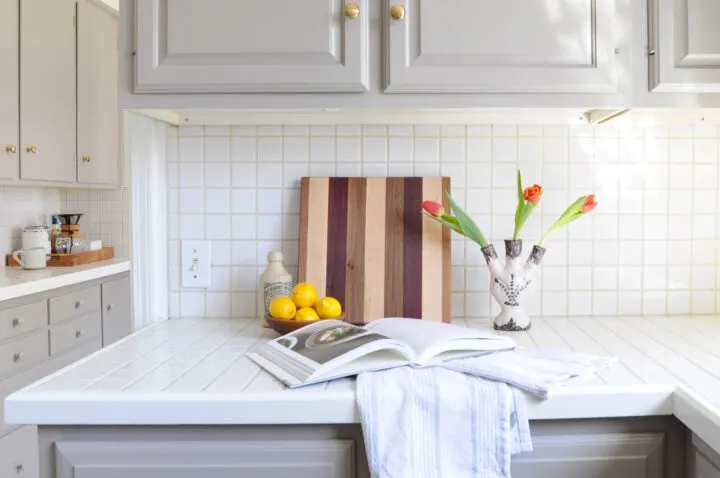
A cute fruit basket is great for function and looks pretty on the kitchen countertop.

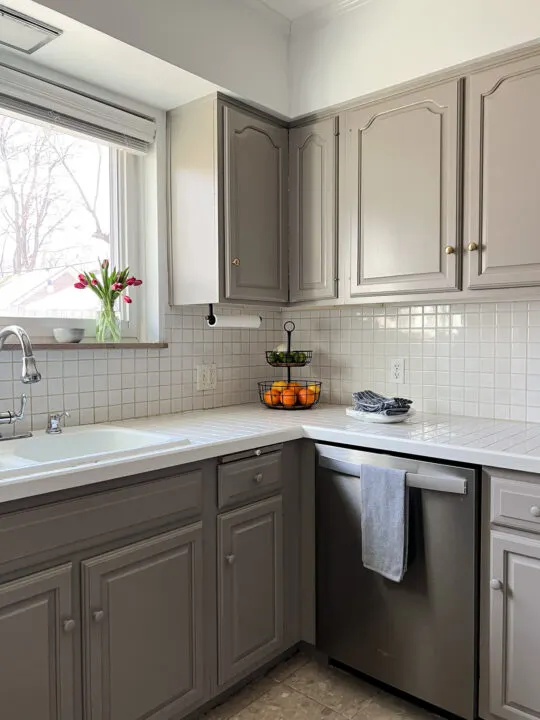
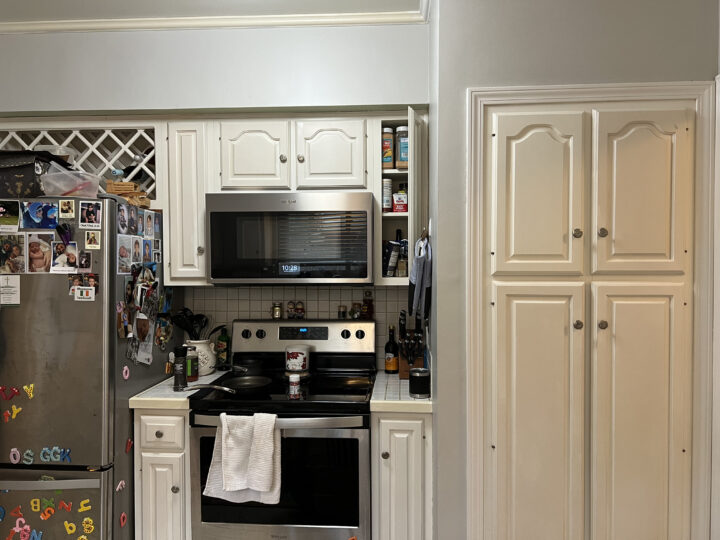
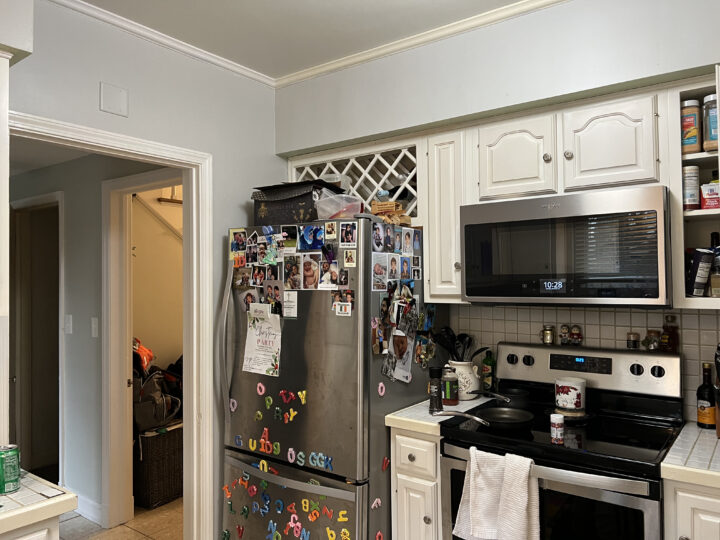
Stovetop and Fridge Wall
Here is the other side of the kitchen before the DIY makeover.
And that same view after!
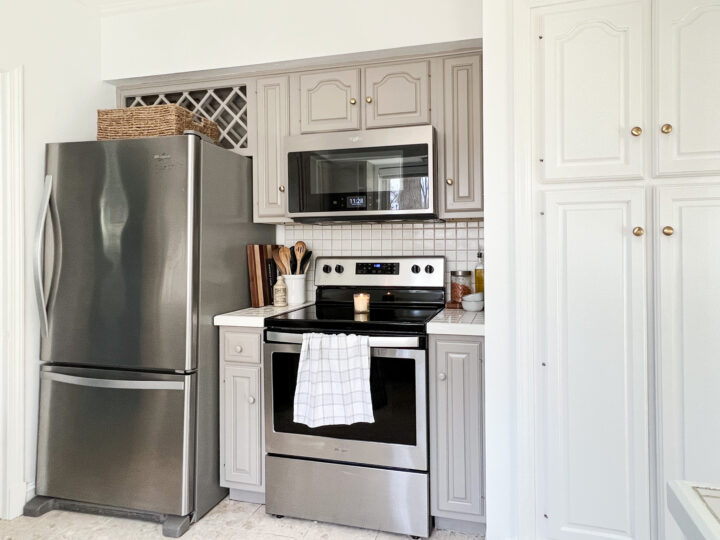


My brother and sister-in-law spent a weekend cleaning out their cabinets which allowed us to tuck away many of the items on the countertop.
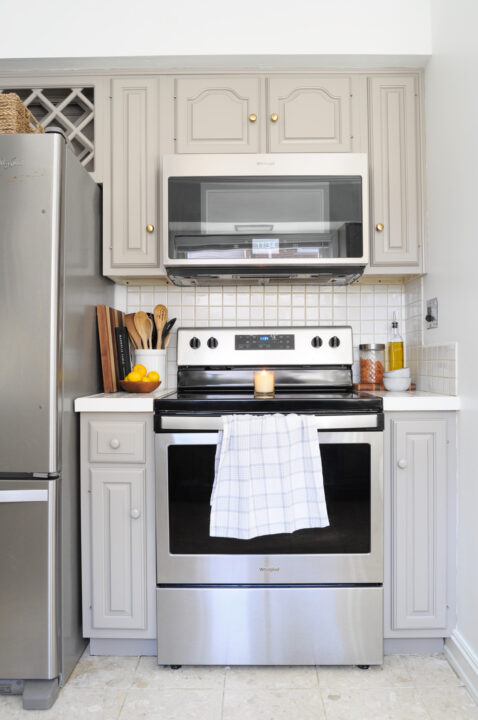

We also removed all of the knives from the big block and put them in the drawer. Getting rid of a knife block is a great way to add space on countertops.


Butler’s Pantry Reveal
Right next to the main kitchen area is the butler’s pantry. Even though these rooms are separate, they feel like one because we used the same wall color and cabinet color in each space.

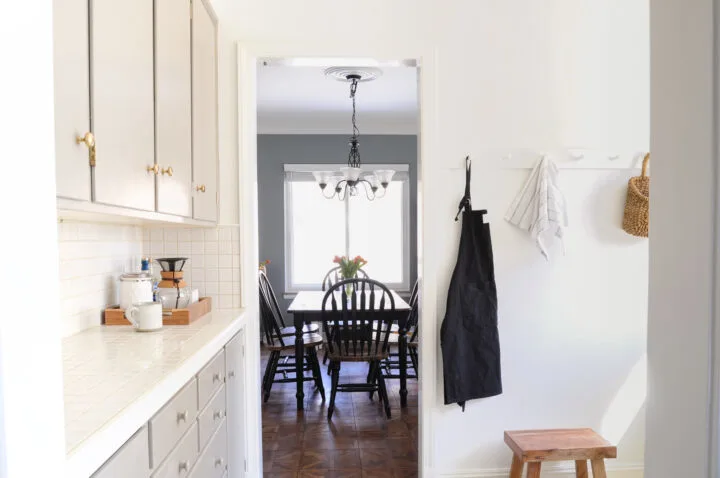
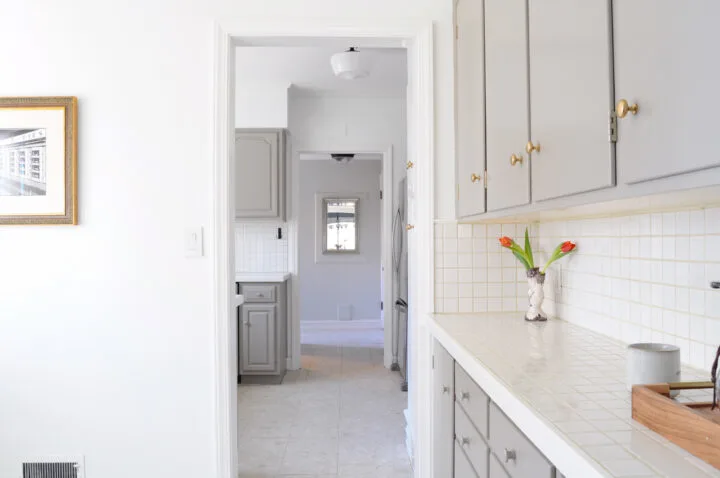
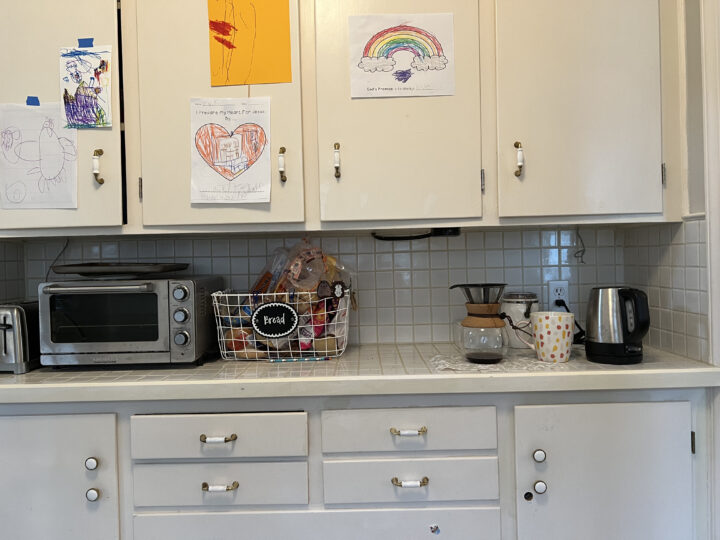
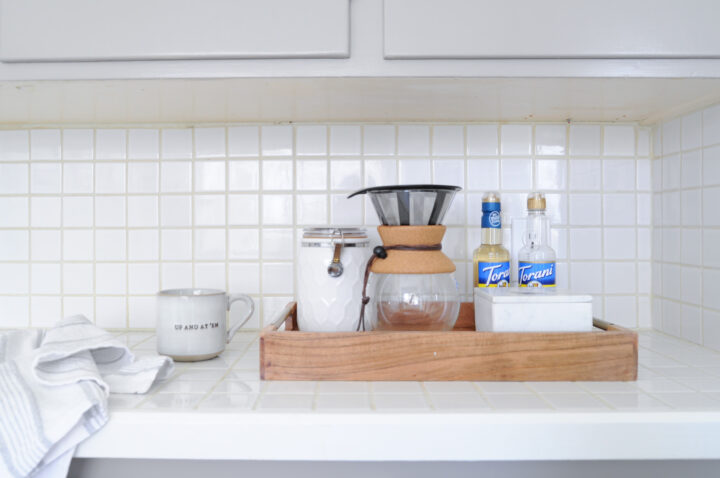
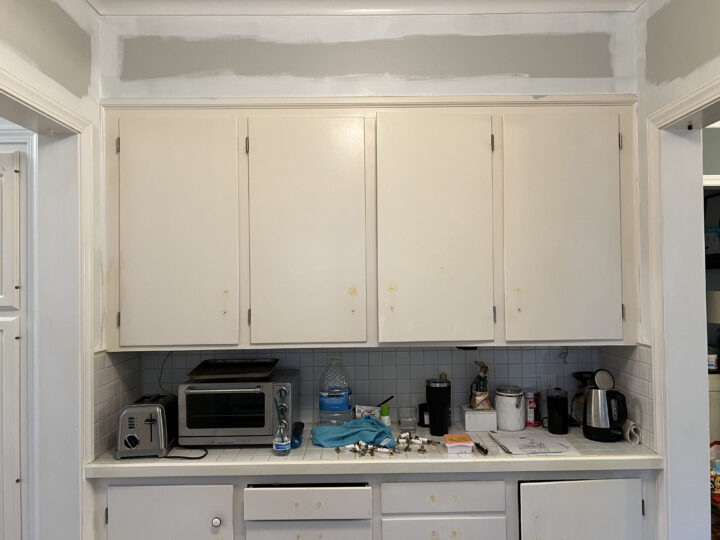
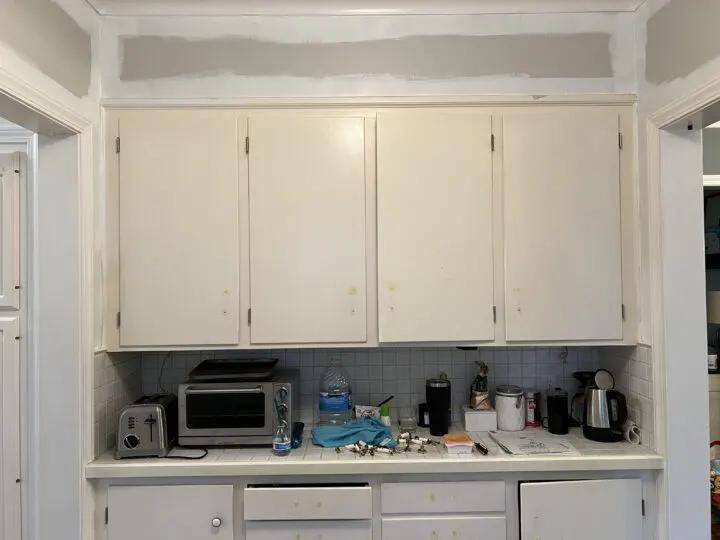
Coffee Bar
Here is a before shot of the butler’s pantry when I started painting the walls.
And here is that same area after the DIY kitchen makeover! First, we tucked away the appliances in cabinets to increase countertop space. Next, I corralled all of their small coffee items onto one tray.
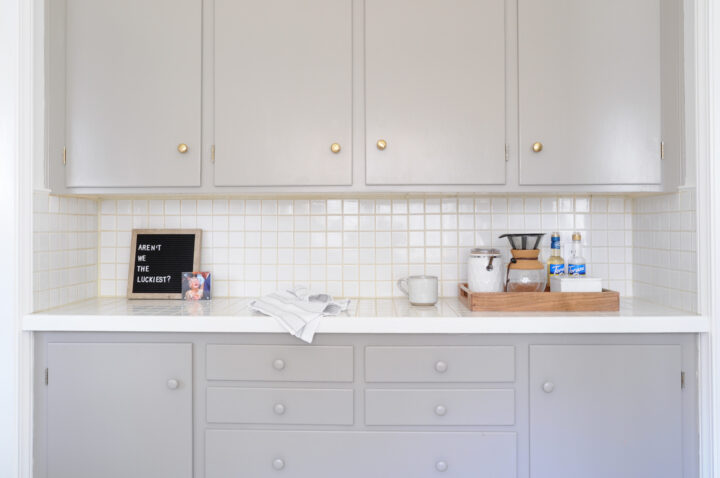
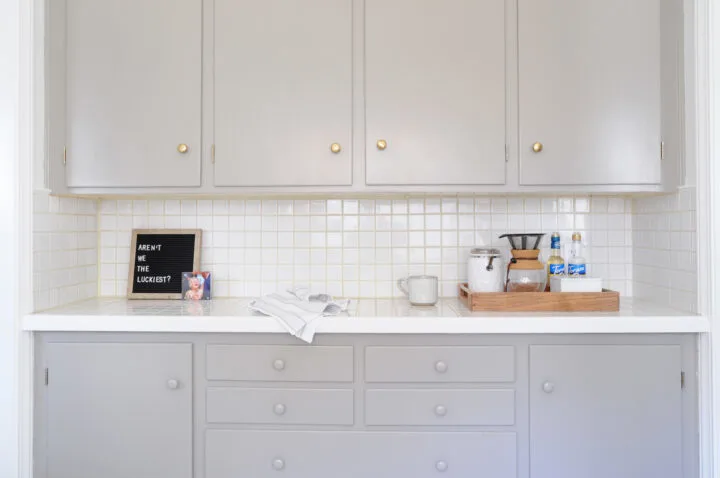
Pulling a bunch of small items onto a larger tray is an easy way to create a cohesive and organized design. All of the coffee mugs are easily accessible directly above the coffee bar.
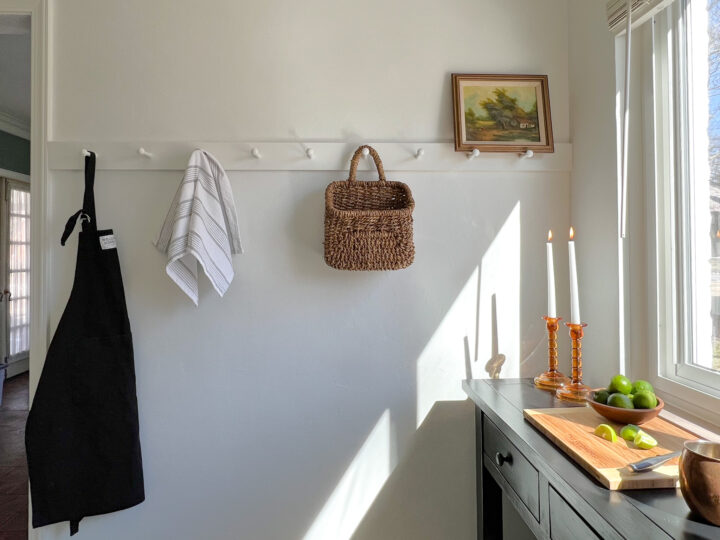
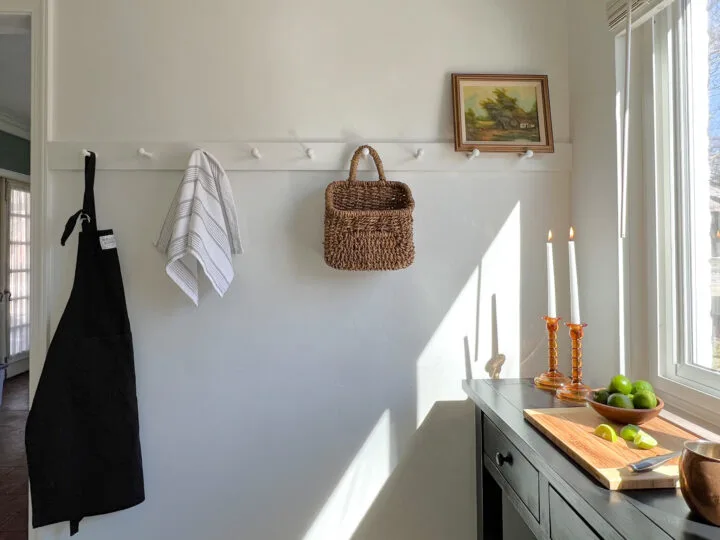
Peg Rail
Before, the butler’s pantry displayed sweet artwork from the kiddos but didn’t add a ton of function.
With that same view after the makeover, the family now has tons of storage with the DIY peg wall.

The kiddos now have a blank slate to display their works of art.
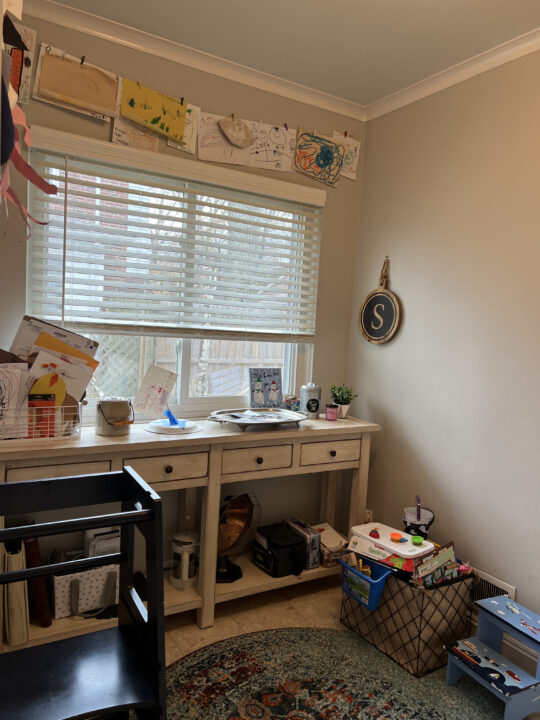
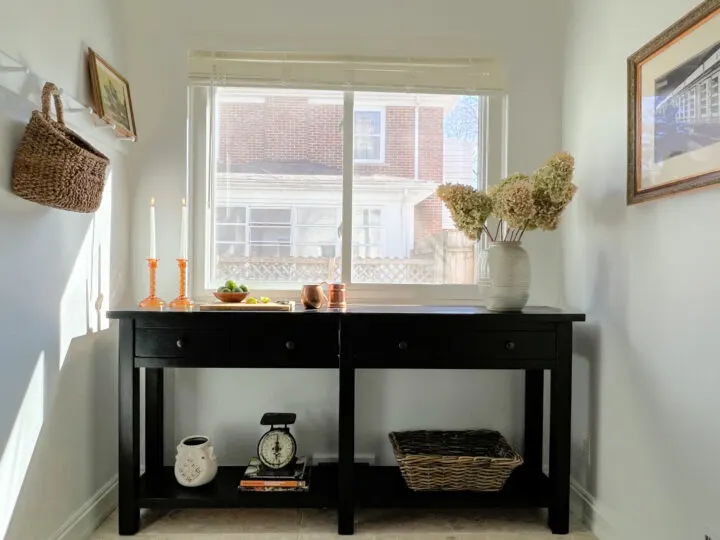
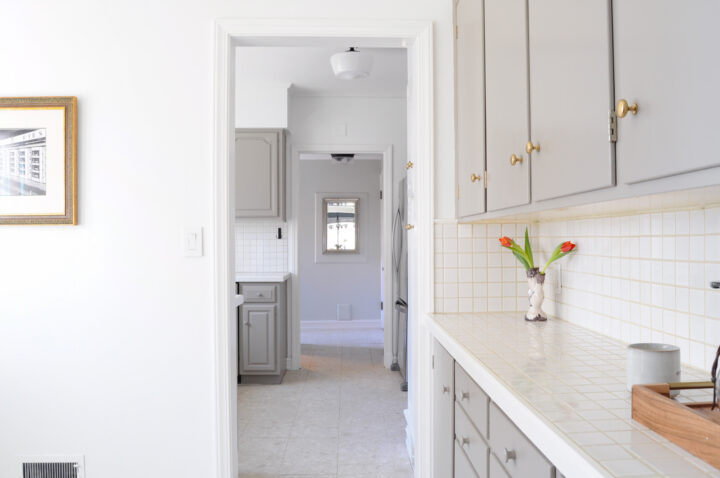
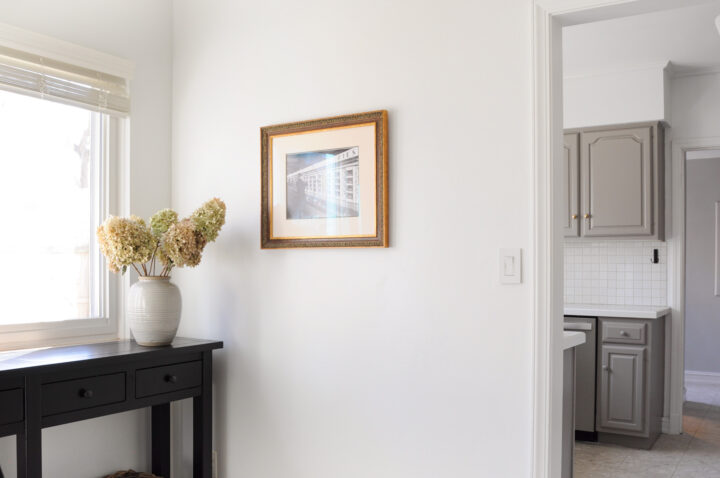
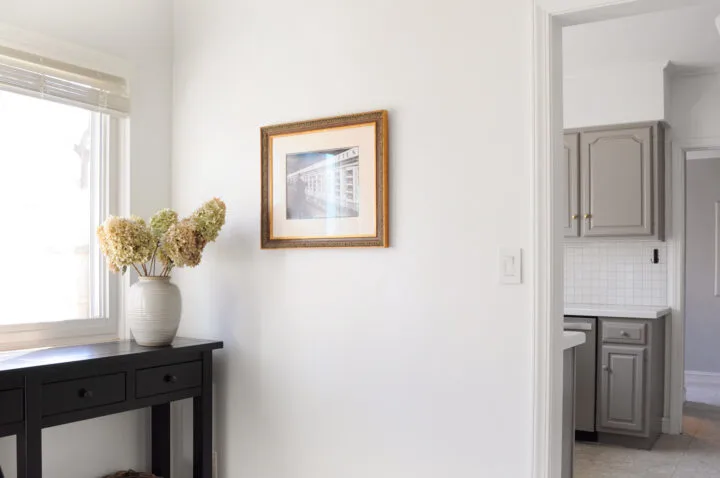
Open Space
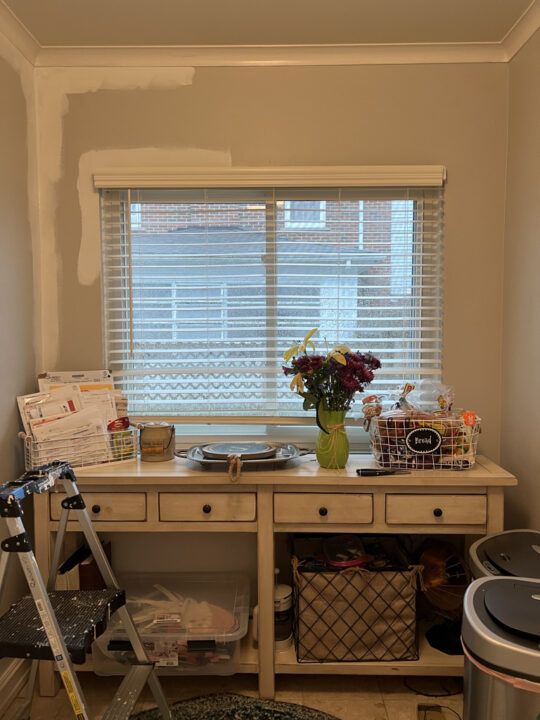
Here is another view of the butler’s pantry as I began painting the walls white.


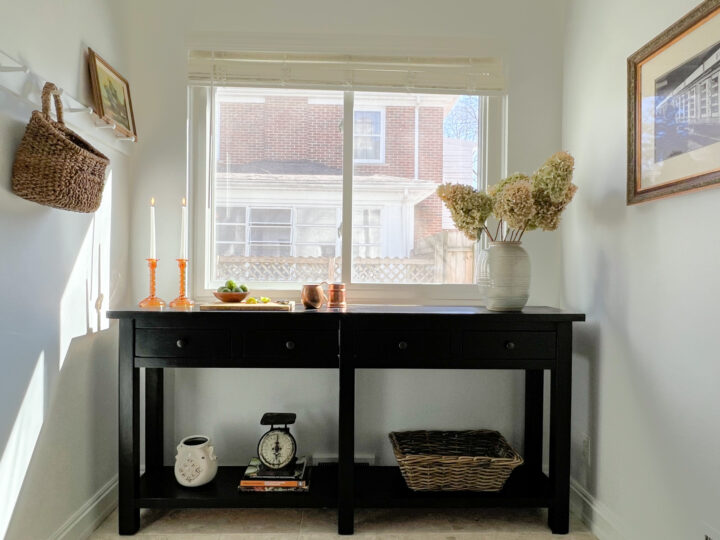
And that same view after! The white walls reflect the sunlight shining into this space and it just feels so cheerful.
I am SO happy that Jon and Shannon decided to paint the console black, it completely changes the look of the table! While I didn’t include the trash cans in this photo, they are stored against this wall.
I can get scrappy when I have a smaller budget and this artwork is a great example of that. When my friends clean out their attics, they know who to call if they have items to get rid of!
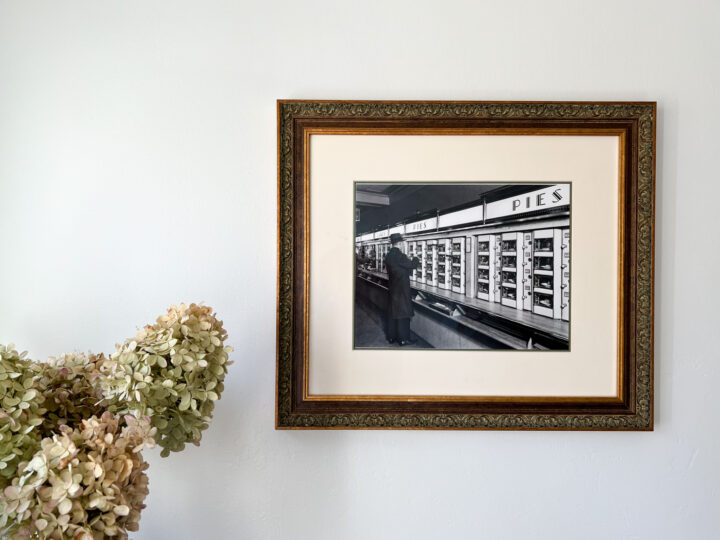

My girlfriend offloaded a bunch of frames from her attic that I have kept in my closet. This ornate frame was the perfect size and style for the butler’s pantry, I just needed a print! I found this vintage, downloadable print on Etsy for $4.50 and had it printed at Walmart. Total cost for custom art – $10!
Console Table
The console table fits perfectly against the wall under the window and is great for additional counter space. Before, the console had a farmhouse look with the faux, weathered paint. With the freshly painted white walls, the console table needed a little refresh.
I am a big fan of painting furniture because it can completely change the style and design. With a few coats of black paint, the console now feels updated and modern.
With a little DIY and a lot of effort, I am so proud of how this small kitchen makeover turned out. This tiny kitchen has so many wonderful qualities that are now highlighted with this budget-friendly transformation.
I put a lot of love and effort into this kitchen and it makes me so happy to create a kitchen that my family loves and will enjoy. While I spent a lot of time on this makeover, my brother and SIL, and my dad put in a ton of hours into it as well. I would not have been able to finish this project without their help!
DIY Kitchen Makeover | Budget Breakdown & Source List
- Kitchen cabinet paint: $50
- Wooden Knobs: $27
- Brass Knobs: $45
- Wall paint: Owned
- Trim & ceiling paint: Owned
- Black console paint: Owned
- Peg rail: $20
- Pantry Shelves
- Support brackets: $20
- Wood shelves: Owned
- Artwork (frame owned): $12
- Coffee tray: $30
Total Cost: $200

Kitchen Makeover Decor Source List
- Vase with hydrangeas (similar)
- Hanging basket (similar)
- Black apron
- Wooden tray for coffee items
- Coffee mug
- Olive oil container
- Glass jar for pasta (similar)
- Magnolia Table Volume 1 & Volume 2
- Cutting board (similar)
- Fruit basket
- Stoneware bowls
$200 Kitchen Refresh - Earlier than and After Pictures - WHITFIELDANGUS
Monday 17th of April 2023
[…] a result of it consists of every thing you want and there’s no sanding required,” Lindsey says on her blog. (That’s as a result of the equipment features a chemical deglosser in addition to a bonding […]
B&A: A 1930s Kitchen Gets an Easy “In-the-Meantime” Refresh for $200 – My WordPress
Monday 17th of April 2023
[…] love using these kits because they include everything you need and no sanding required,” he says. says on her blog(That’s because the kit includes a chemical deglosser and a bond coat, both of which help set […]
$200 Kitchen Refresh – Earlier than and After Images – CONSULIMEHOUSE
Sunday 16th of April 2023
[…] result of it consists of all the pieces you want and there’s no sanding required,” Lindsey says on her blog. (That’s as a result of the package features a chemical deglosser in addition to a bonding coat, […]
$200 Kitchen Refresh – Earlier than and After Images – CERATILES
Sunday 16th of April 2023
[…] a result of it contains all the pieces you want and there’s no sanding required,” Lindsey says on her blog. (That’s as a result of the equipment features a chemical deglosser in addition to a bonding […]
$200 Kitchen Refresh – Before and After Photos – Famous Avenue
Sunday 16th of April 2023
[…] love using these kits because they include everything you need and no sanding required,” he says. says on her blog(That’s because the kit includes a chemical deglosser and a bond coat, both of which help set […]